


Hiya! I’m Samantha, Garage Kit Builder & Illustrator in the USA.
For Work Schedule Updates - Click Here
1/7 Sansei Muramasa
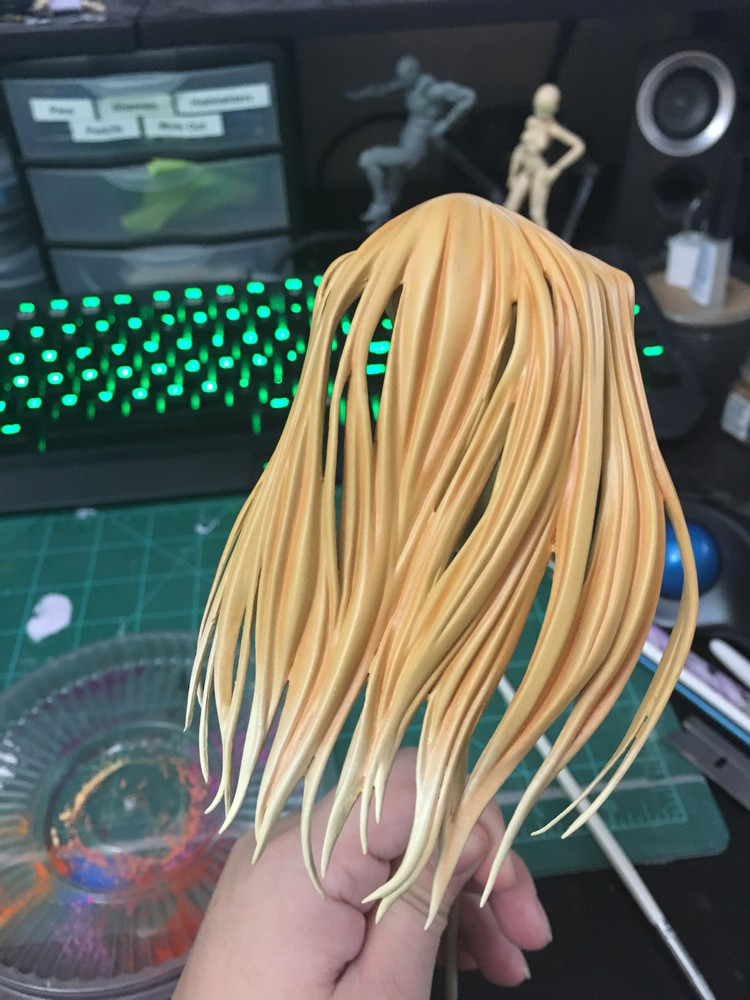
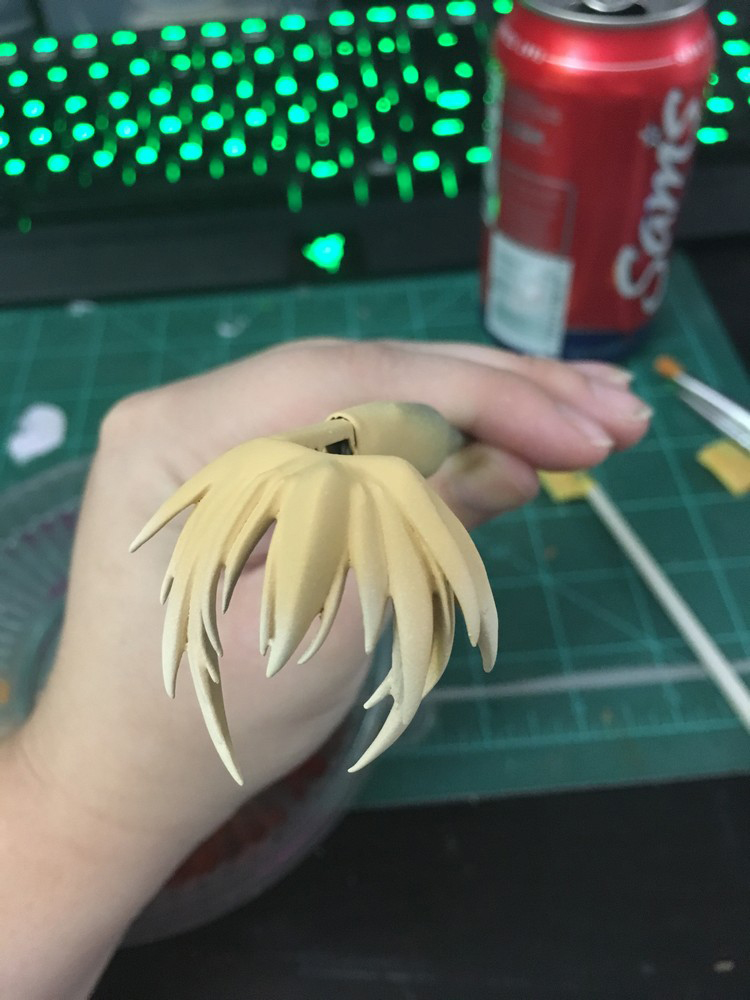
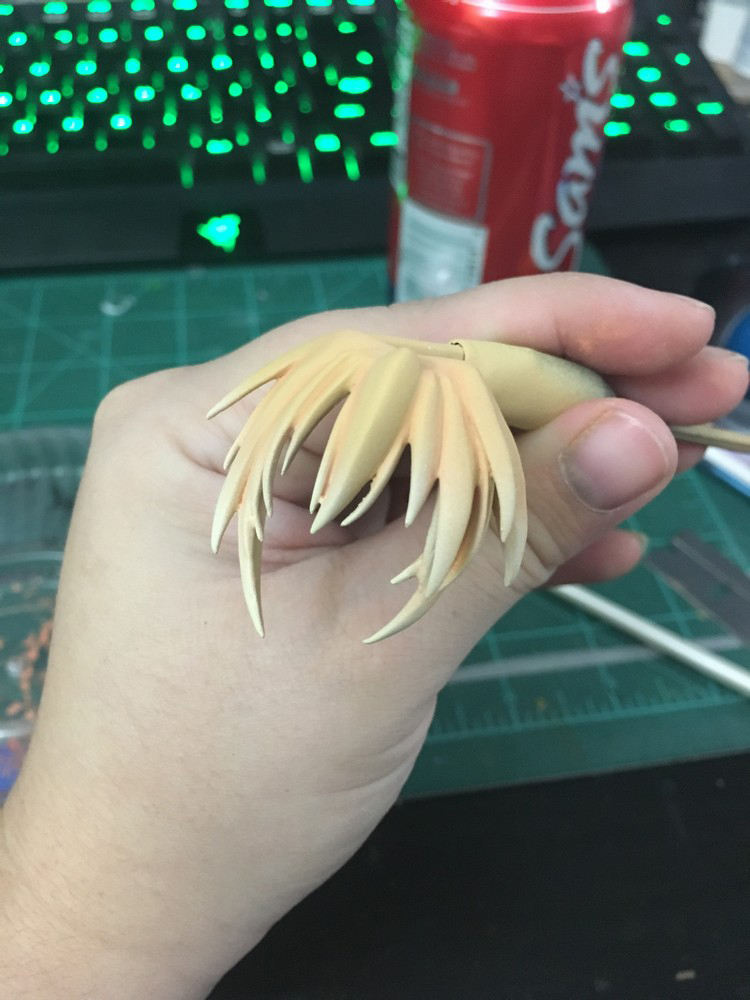
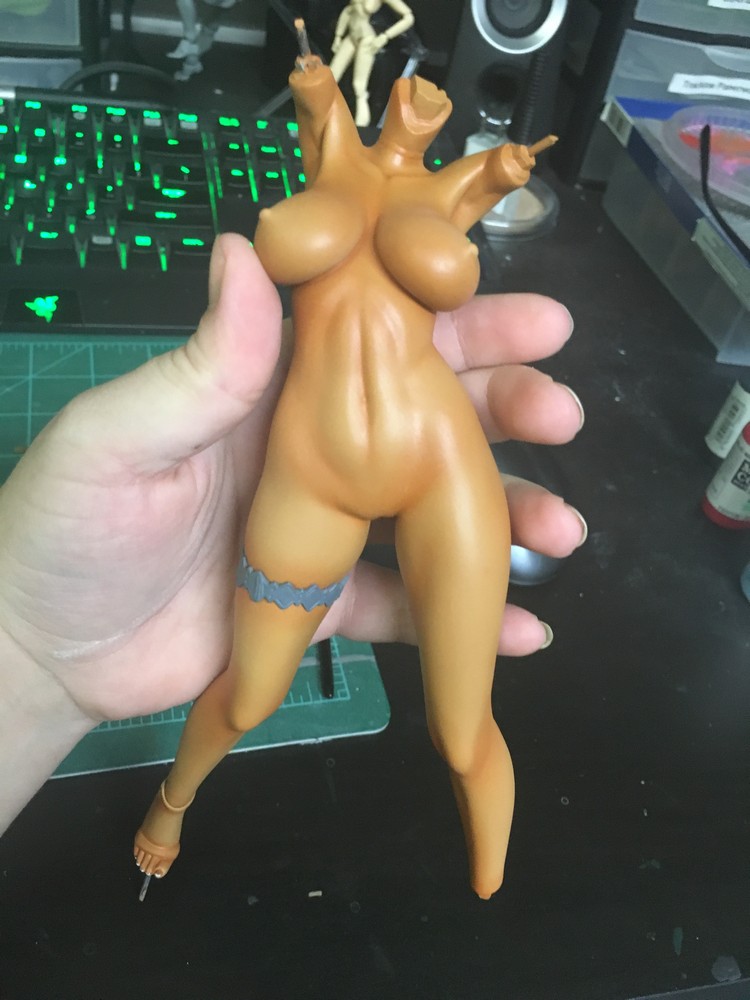
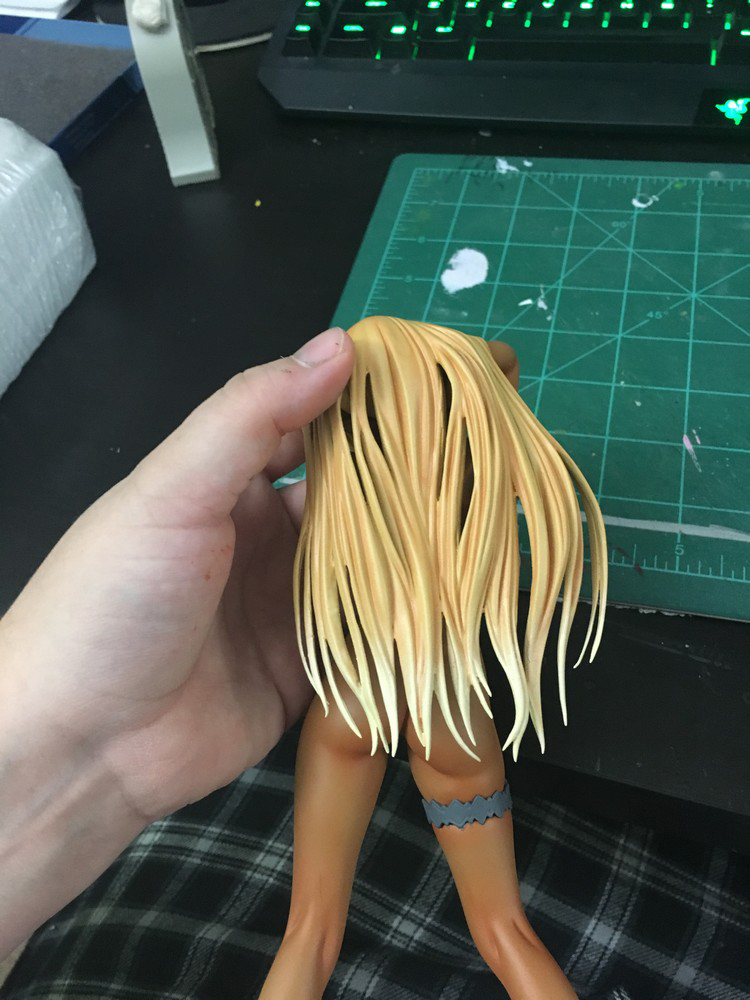
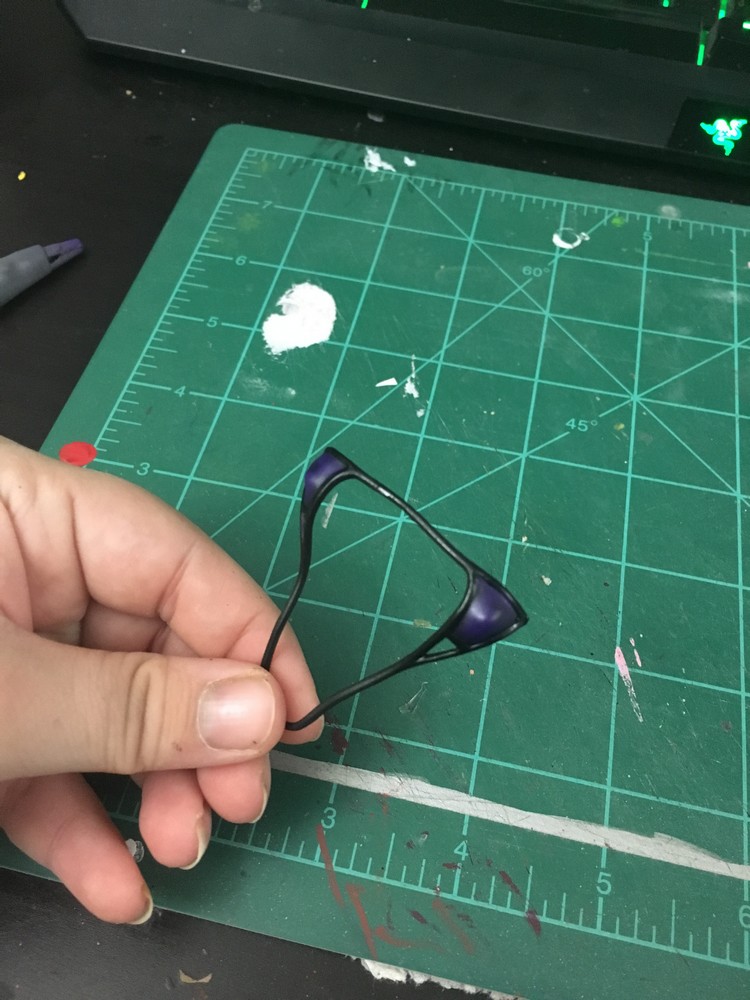
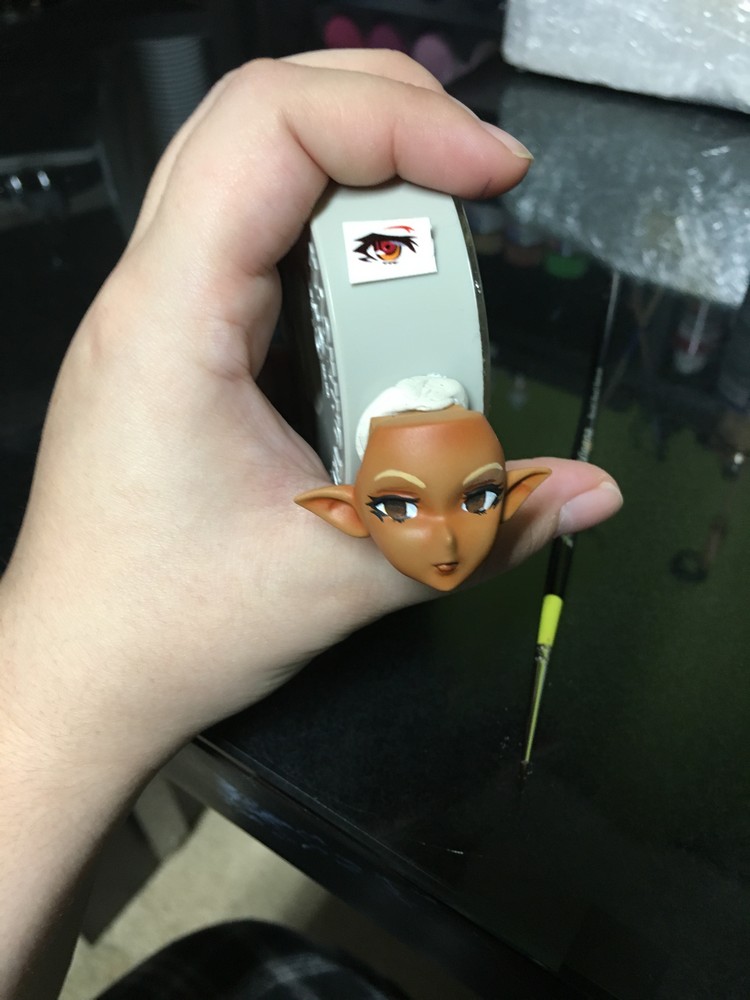
Commissioned Piece Requested to paint her but more of a tanned look, compared to the PVC model where her skin is a bit lighter than what she wanted. Aldso wanted the bits of her bikini to be a purple tone with still jhaving the black bikini straps. Top will be removable only. Black glossy heals with gold buckles along with gold arm bands. Also asked for a custom base with a beach scene, this was a totally different field for me in designing so I tried a few methods before doing a final design attempt. Necklace will be a real chain instead of a resin one. Hair color still the same but more of a creamier color.
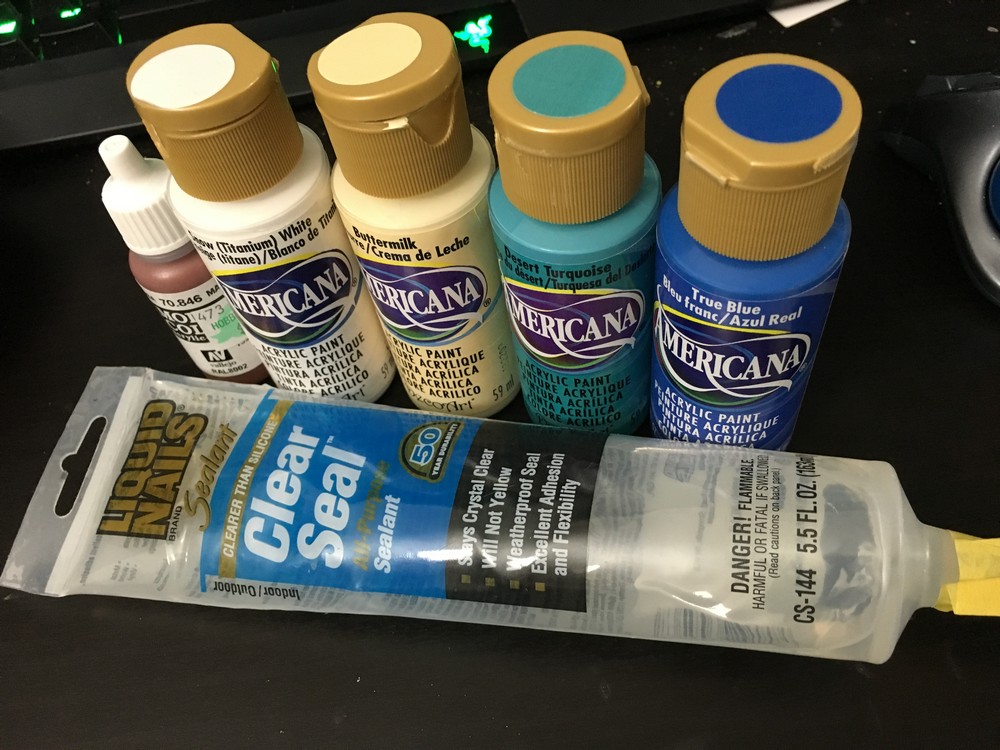
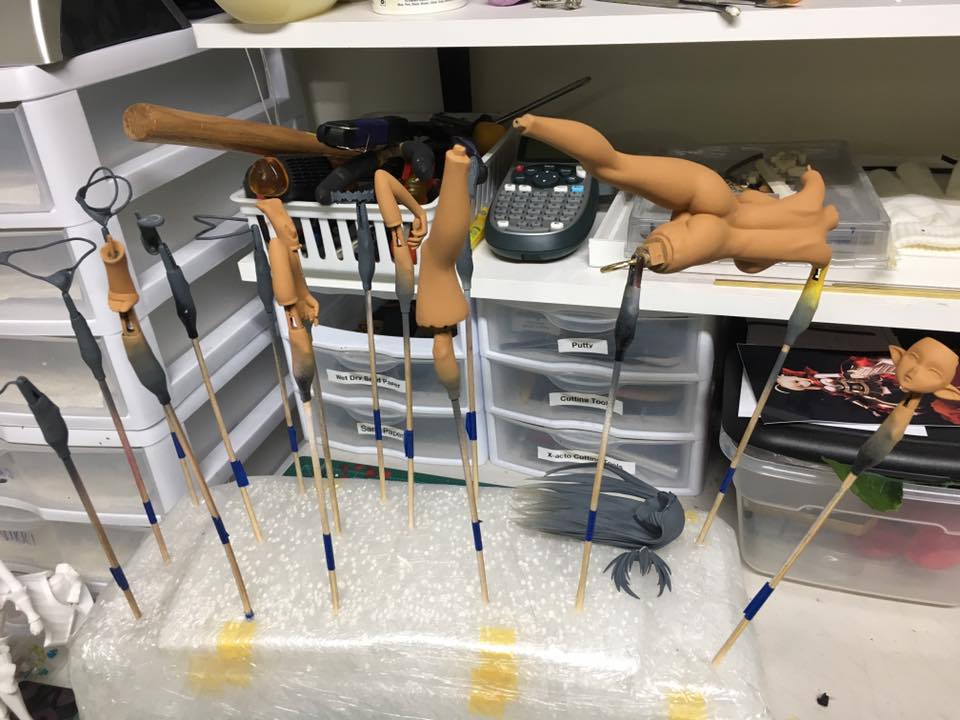
Some supplies used I had lying around.
White used for the water foamy stuff.
Buttermilk mixed with either the Vallejo Brown or something equivalent, not sure what mixtures I used for the edge of the water touching the sand >.<;
Last blue hints I used for the water as well as Buttermilk for the sand illusion.
NOTE: If you plan on using the sealant, its difficult to work with and you have very little work time, this stuff is best used for rough water surfaces like ripples or waves. I used this stuff for my Custom Tiki commission. You will get air bubbles.
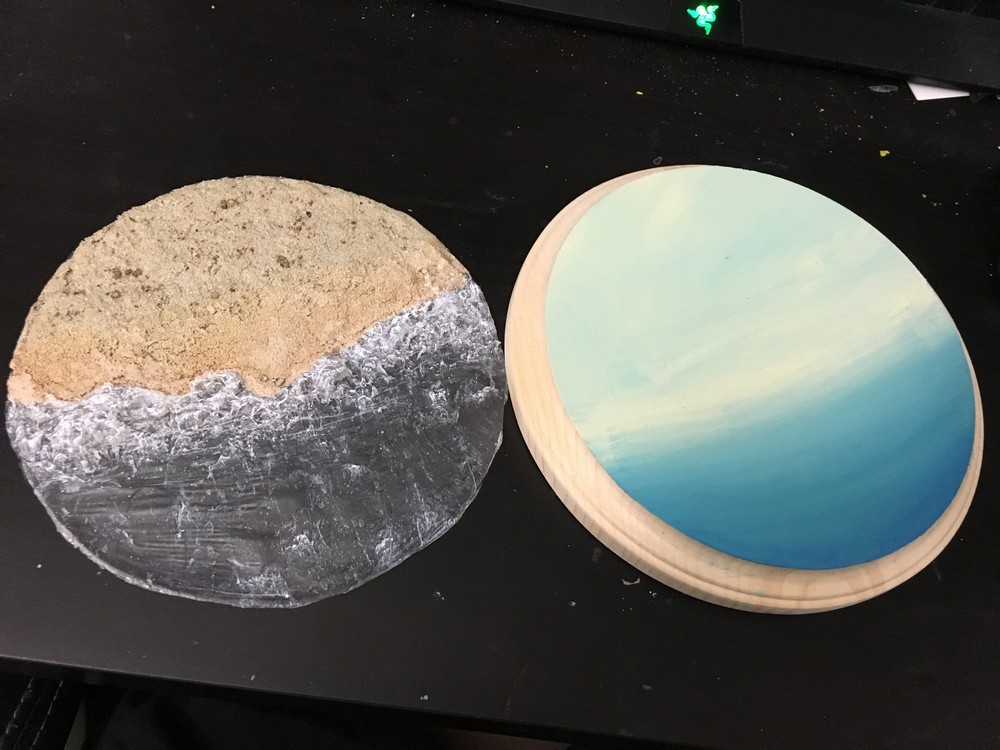
Wooo! Removable to make my job easier to paint the water is I mess up xD Will be perminantly attached and patched up once finished.
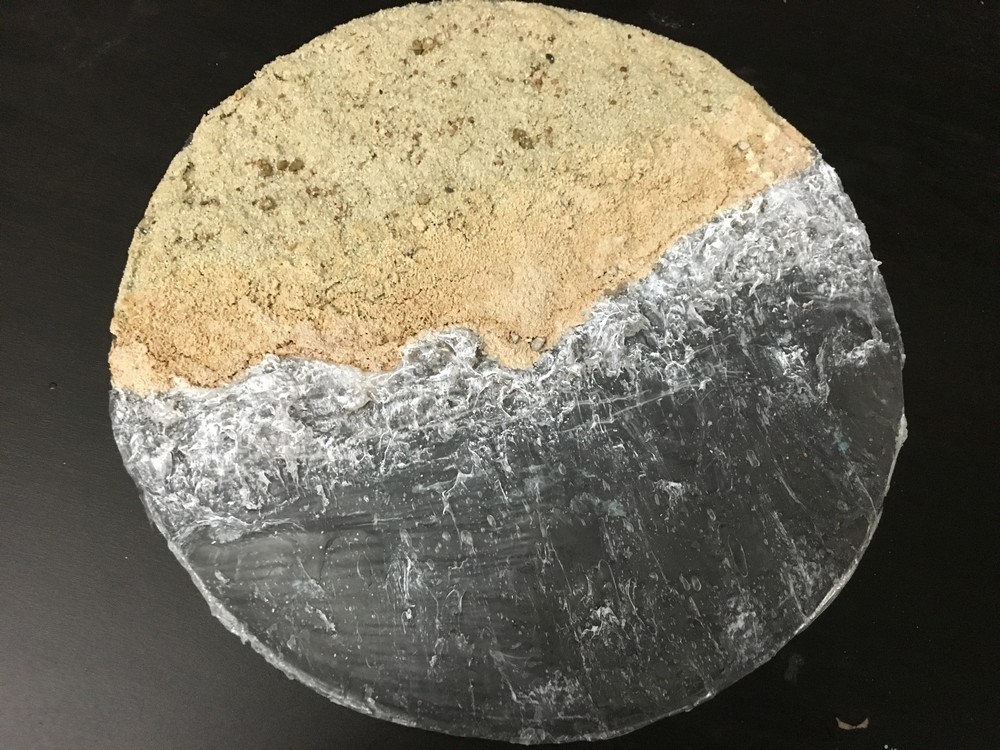
Sorry I didn't take much progress shots making this, I had very little working time with this sealant. Basically, I wrapped the wooden base with plastic wrap very tightly to prevent creases. Next I used a heavy dury glue so that the sand would stick to the plastic wrap (don't overdue it on the glue, apply in layers along with the sand or your gonna have one hell of a time in watching this junk dry for days.) Once the sand was hard enough where no excess falls off, I then applied the sealant (water) starting from the edge of the base very heavily, then used tooth picks and palet tools to drag the sealant to make somewhat splashes or wave patterns. To make the foamy bit I just used the excess sealant I scrapped and tapped it very rapidly with my pallet tool to get the foam effect. Then added white acrylic by dry brushing it on to make the wave ripples and foam edges stand out.
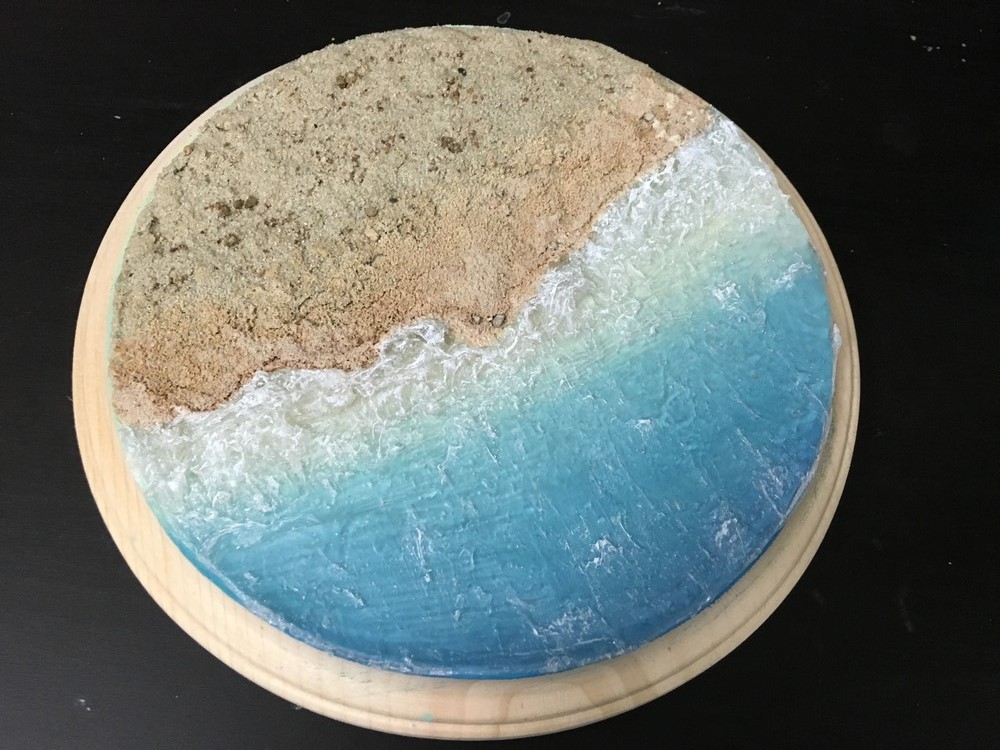
Testing how the gradient looks on the water portion. Once the sand and water was done, I cut around it with a knife to the dimensions of the base, though, I overcut on some areas, so I needed to glue the base down with super glue *and not regular glue, given it will leave airpockets in areas) then just used extra sand to fill in the overcut areas later on (not shown in this photo).
 7
7
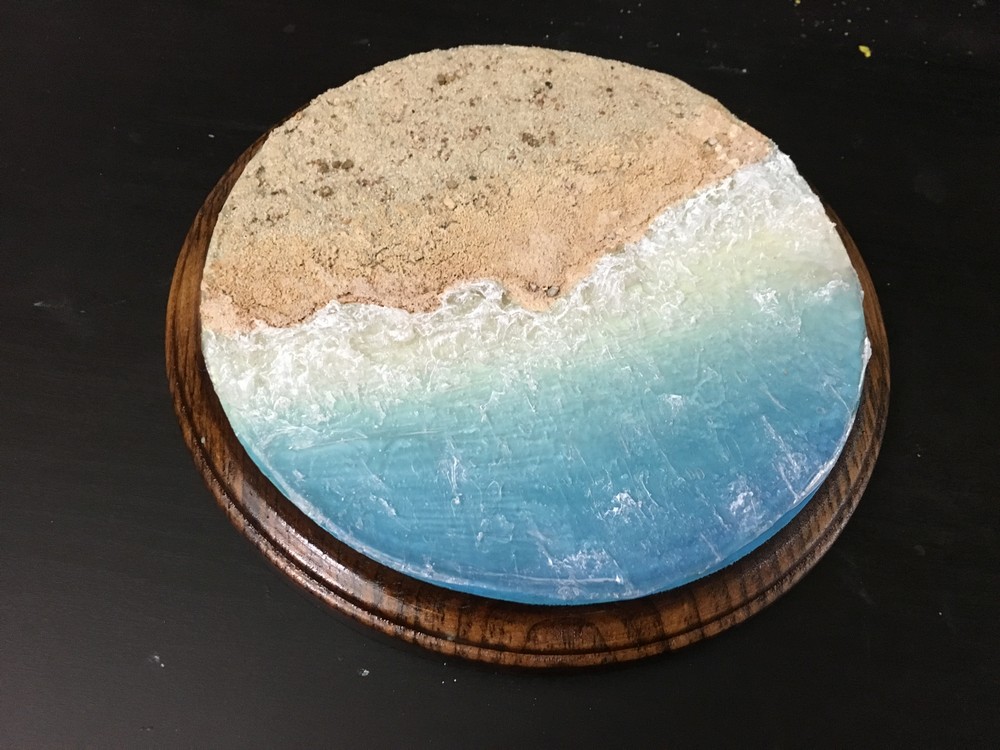
Added wood stain. Sadly due to my not wrapping the plastic tight enough on some edges it wrinkled slightly.
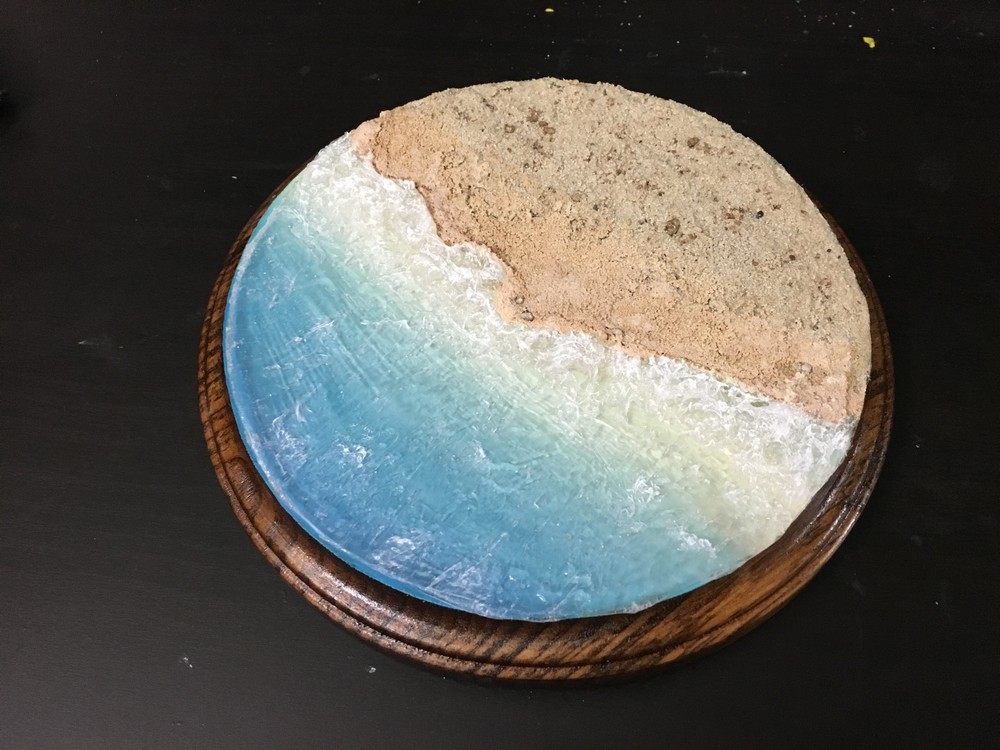
Just another angle, nothing special xD
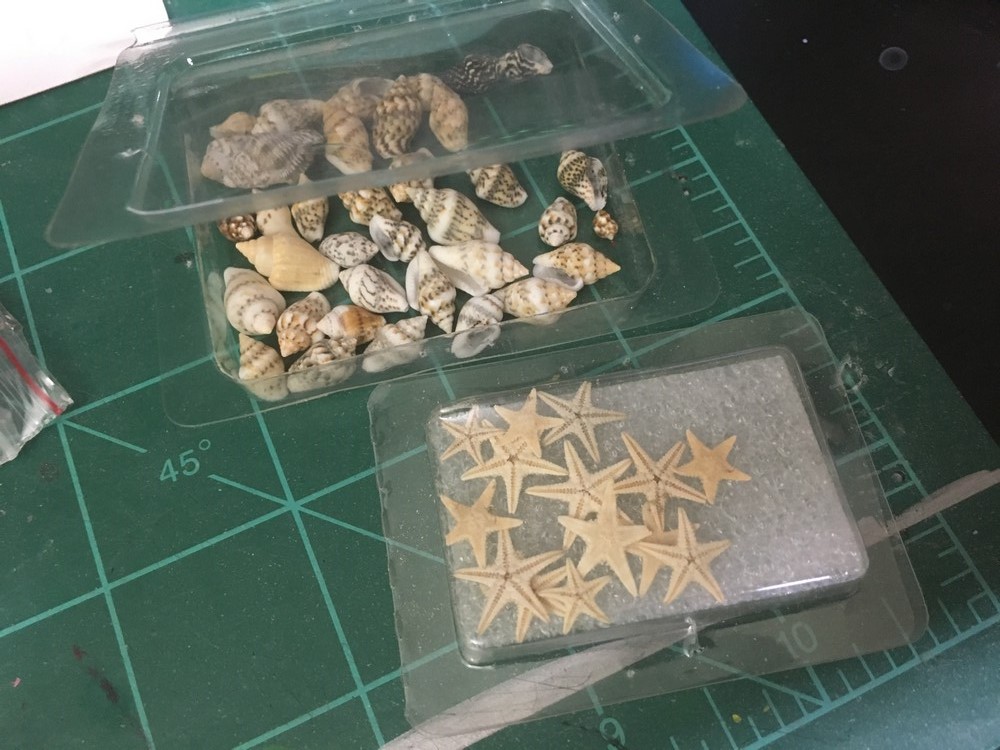
Managed to finally find mini starfish and shells in the jewelry section of my hobby store of all places -.- Mainly used for filling in pendants and junk, so these will come in handy touching up the beach theme even more! Given I had to rip up the water from the base for other seasons, I will place a few starfish undet the water to give it a cool effect visually =)
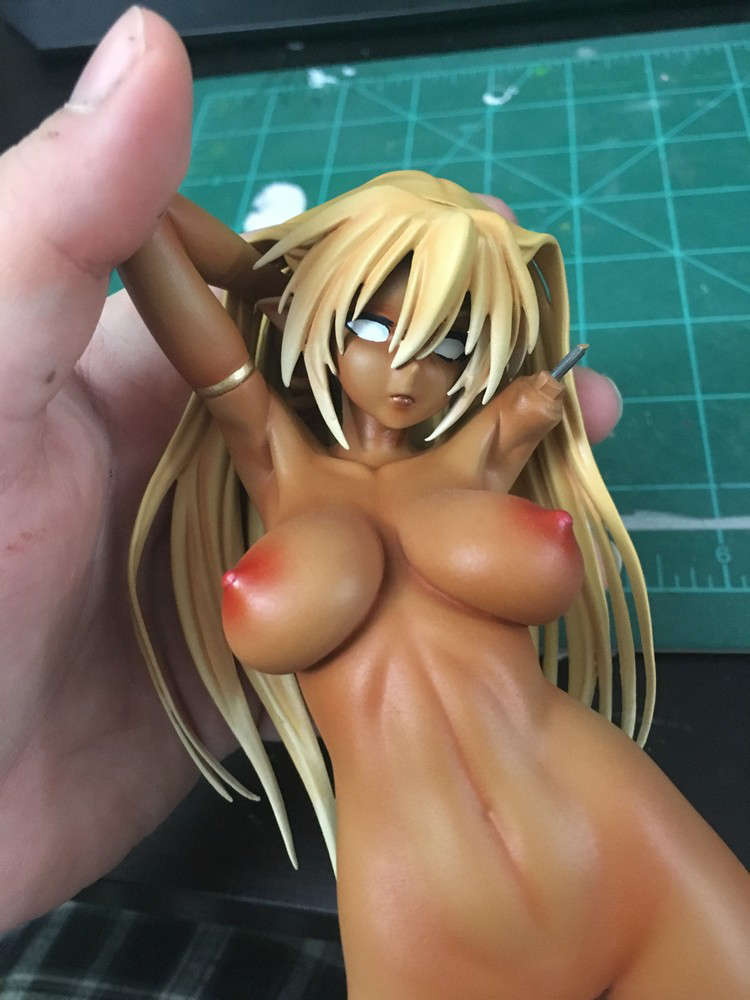
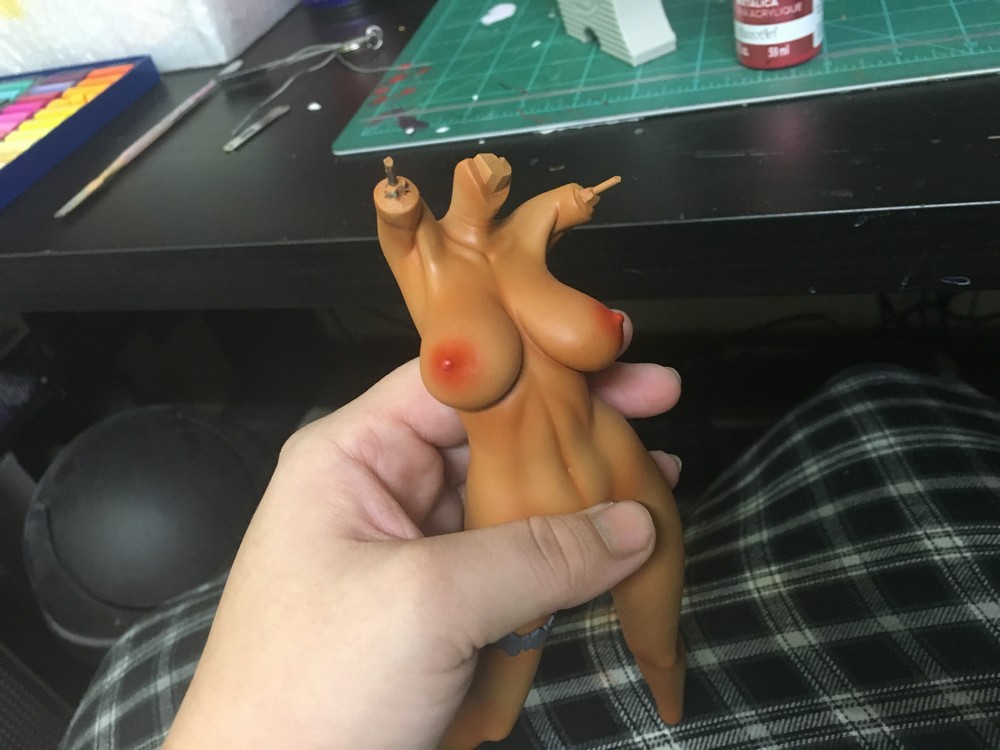
After priming was done, I begam to spray the flesh base coat before pastel shading warmer shadows. Normally I would use darker and saturated colors, but given my client / friend wanted to her to have a tan look, I chose warmer shadows.
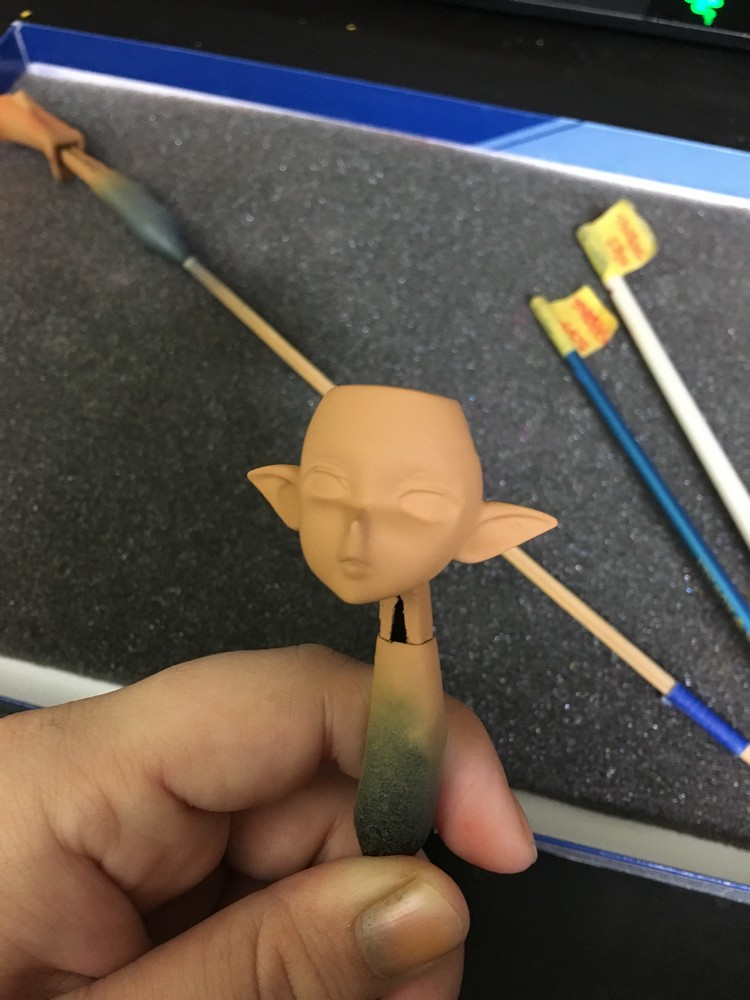
After adding the flesh base coat
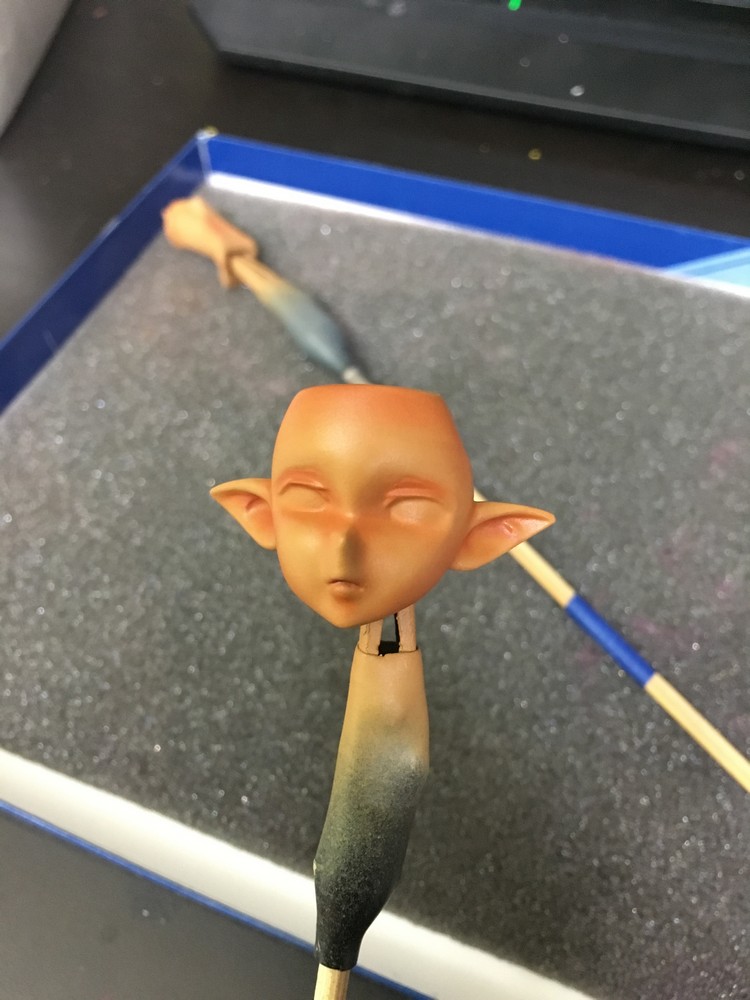
After adding two shadow shading tones and sealing the pastels. (Matt sealant still drying at this point)
After adding pastel shading (ver minimal since I didn't want to make too prominant shadow and make it 'unrealistic'.
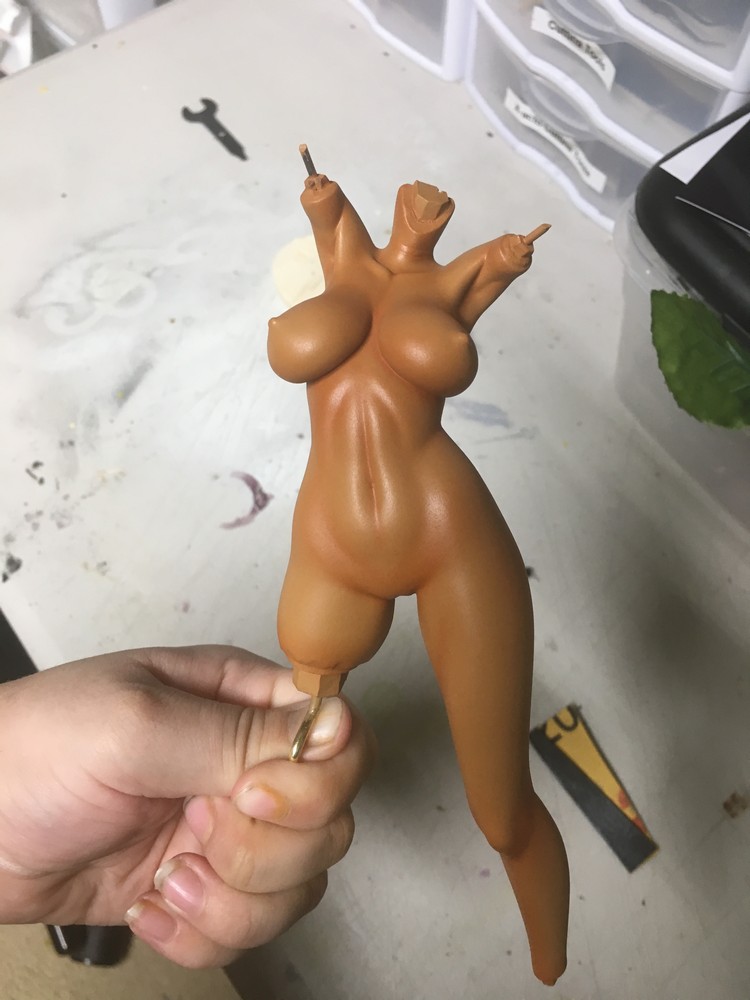
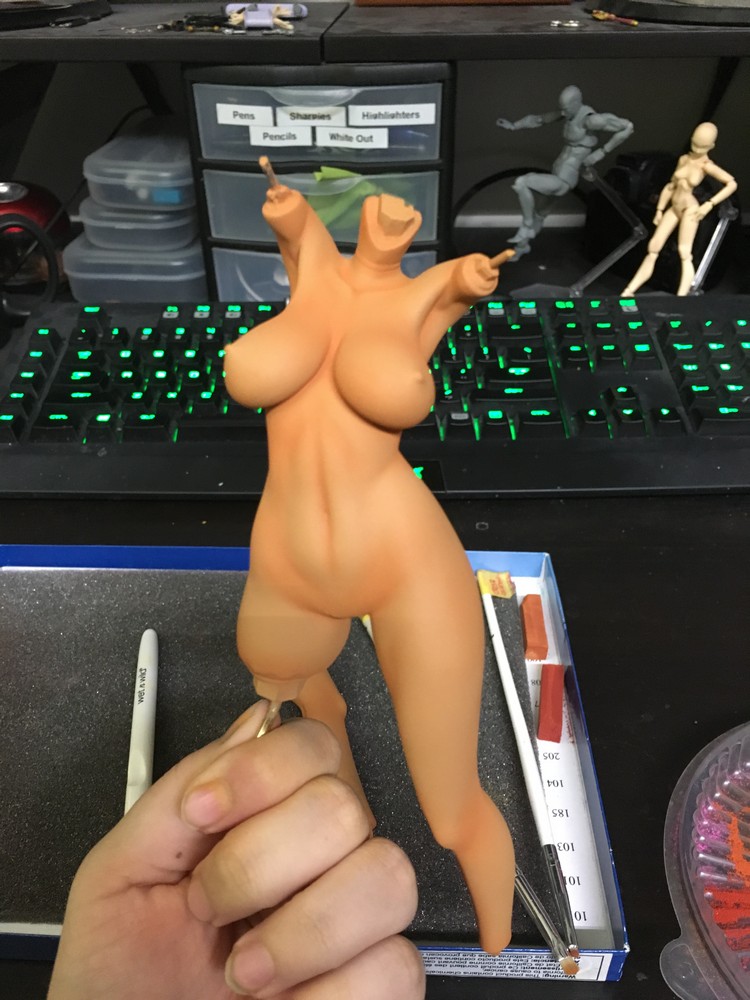
After sealing the body, though the photo and lighting does not do it justic. Skin came out very lovely. Final photos I will try to catch the skin tone better than my phone DX
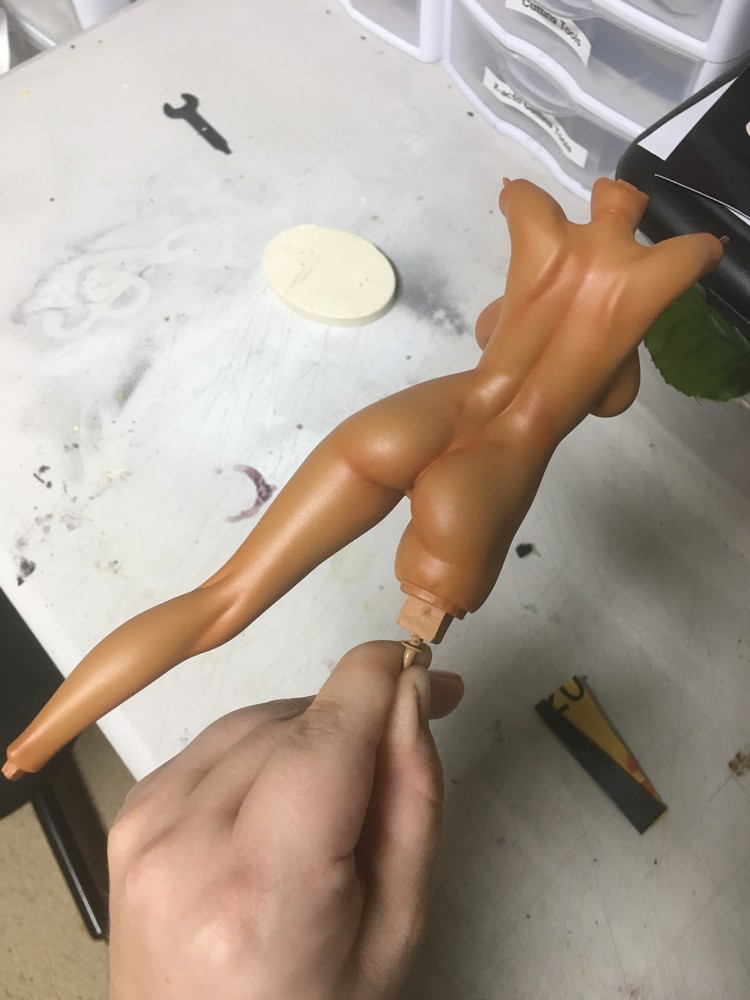
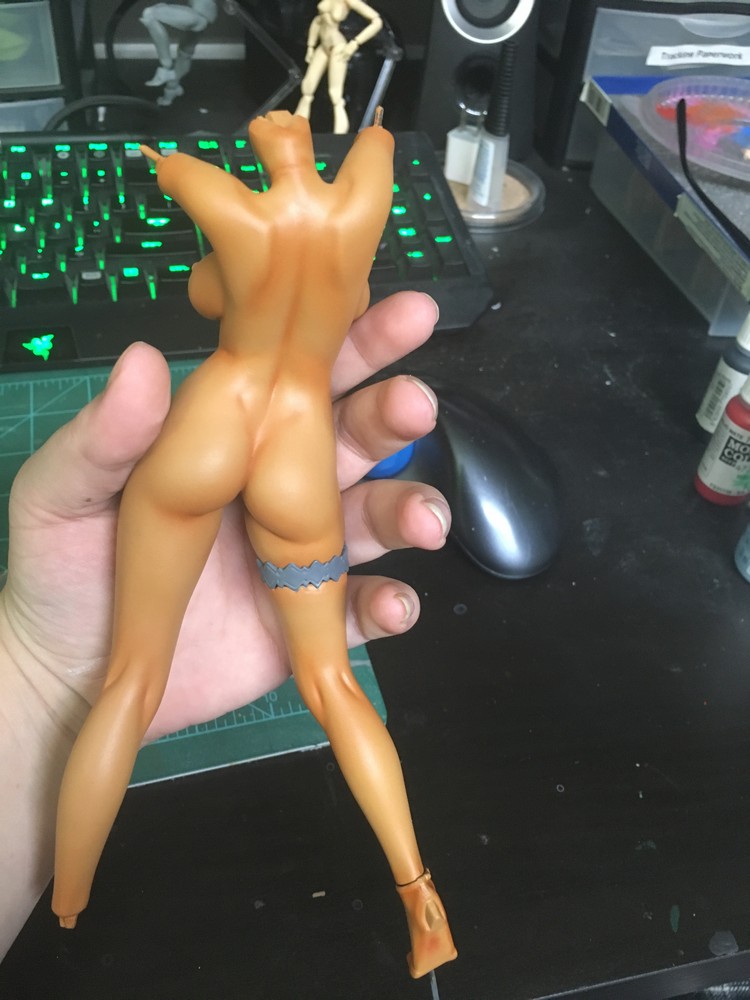
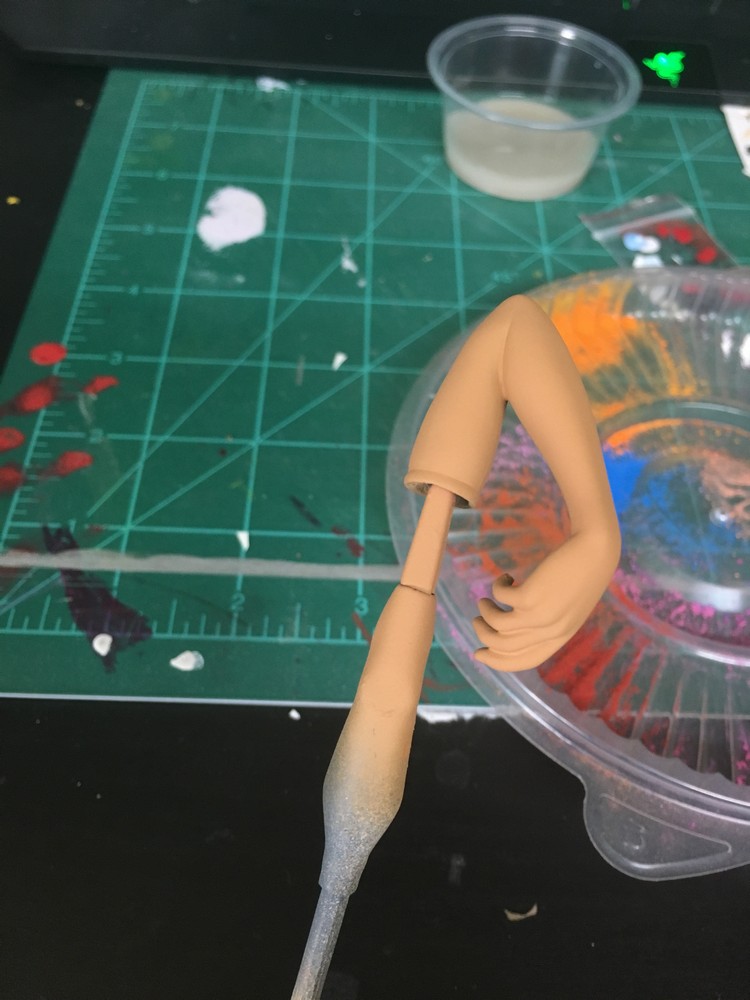
Just the back side, nothing special other than that bootay! Lol
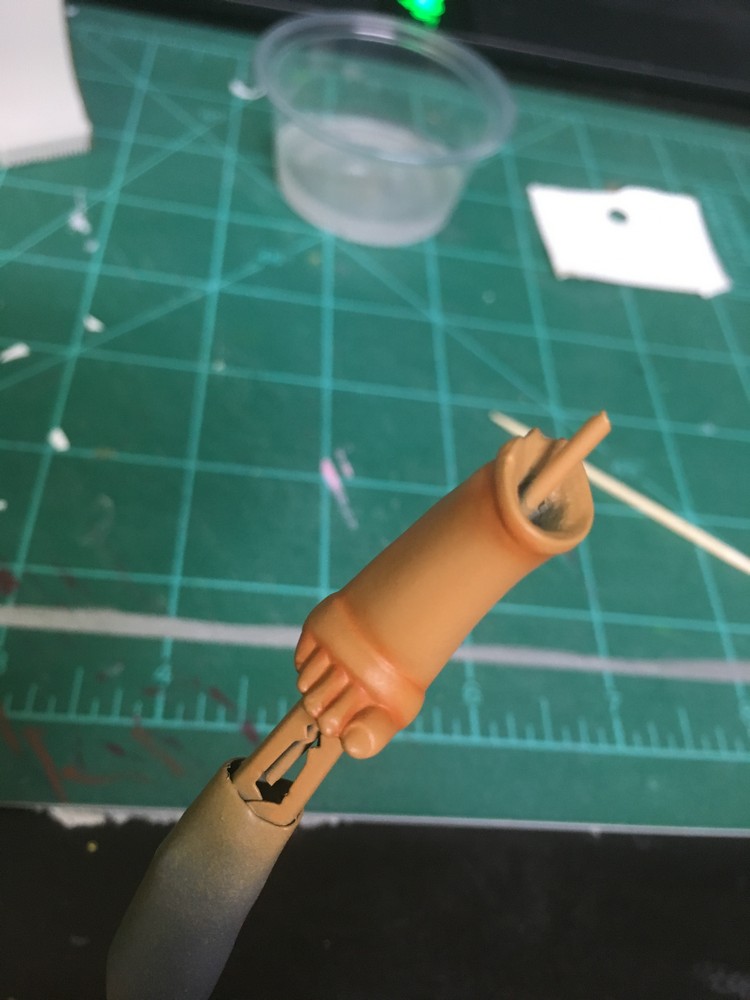
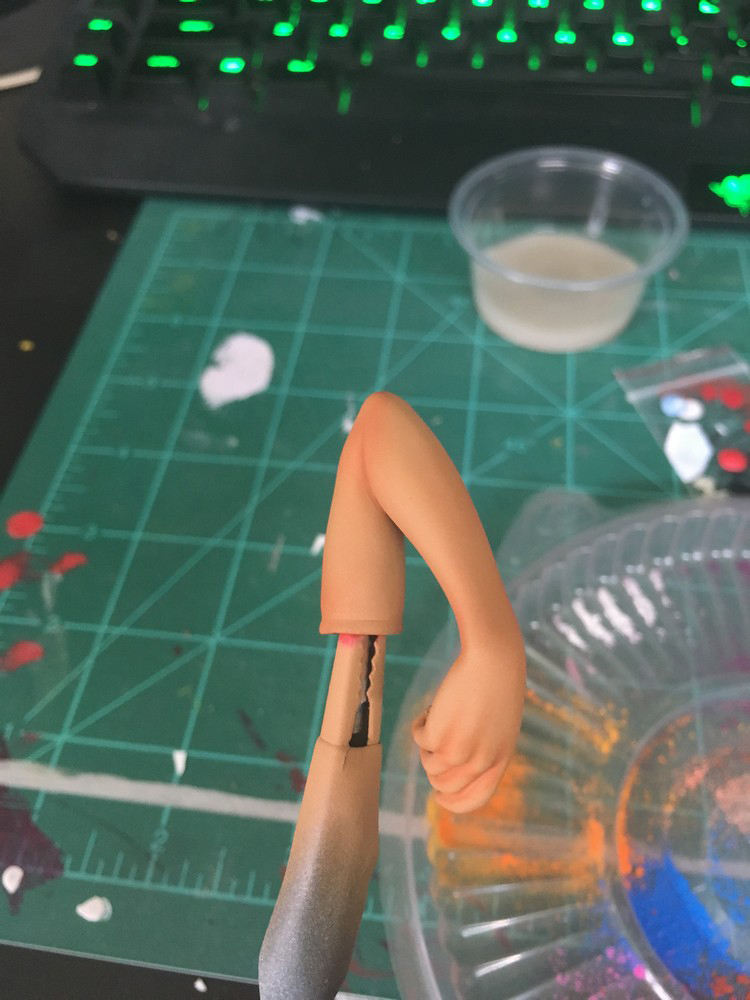
Dat foot after sealing. Going to give her black gloss heals as requested along with bronze polish with french tips.