


Hiya! I’m Samantha, Garage Kit Builder & Illustrator in the USA.
For Work Schedule Updates - Click Here
1/7 Saber - Shinwa Reisou
Commissioned Piece Had a friend of mine from MFC contact me to have me paint his original Saber kit. Requested to mimic the official promo event photos by color scheme, look as well as the custom base she is displayed on. Given I have limited tools to replicate something almost exact, I try to use everyday materials that are affordable to get the job done. Below is the process of me working on Sabers base. Eventually I will have a section for when I have enough progress of building Saber to share.
Parts List
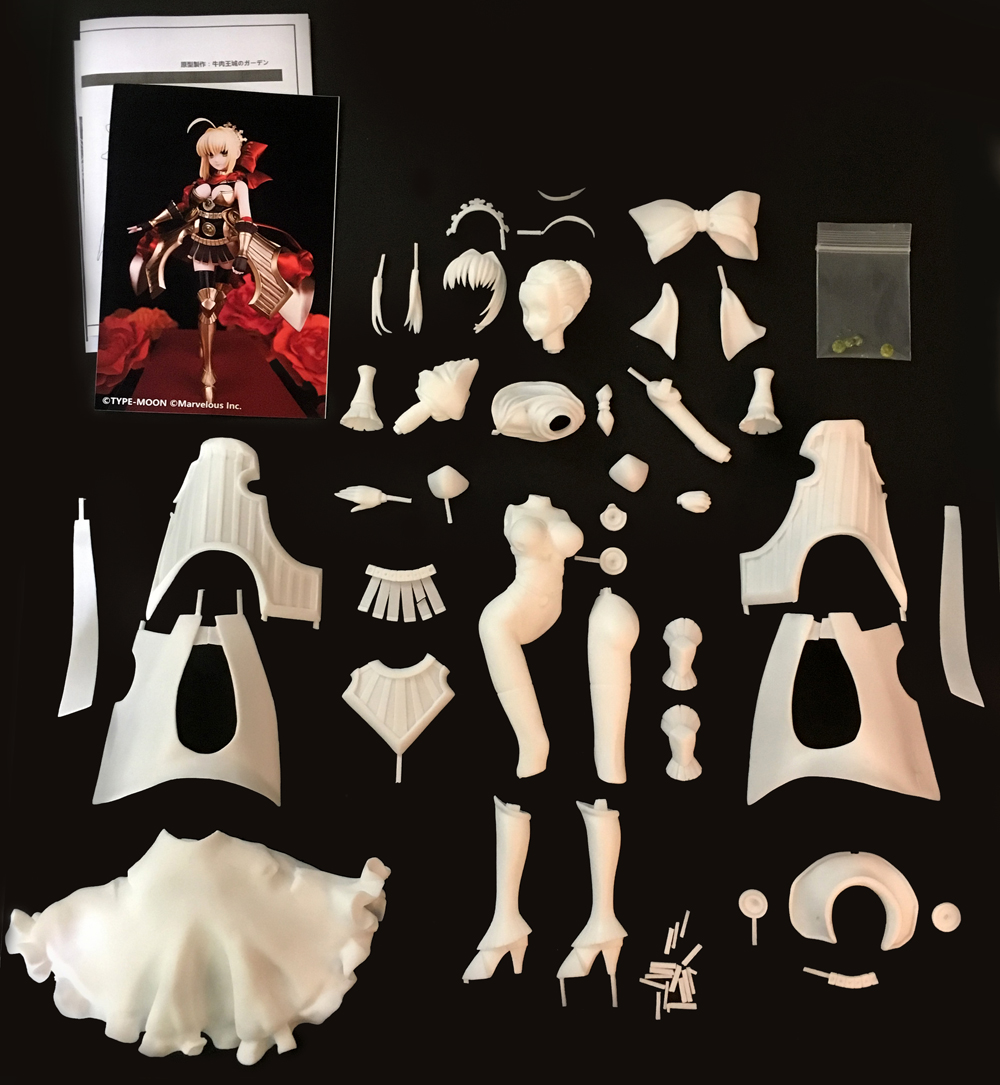
After inspecting the original parts, the quality was very lovely, some broken / chipped parts and some resin clumps / air bubbles but everything connects pretty decently. Only issue is the the lack of instruction on her armor connecting to her skirt but managed to figure it out by heat bending her armor piece to fit over the skirt.
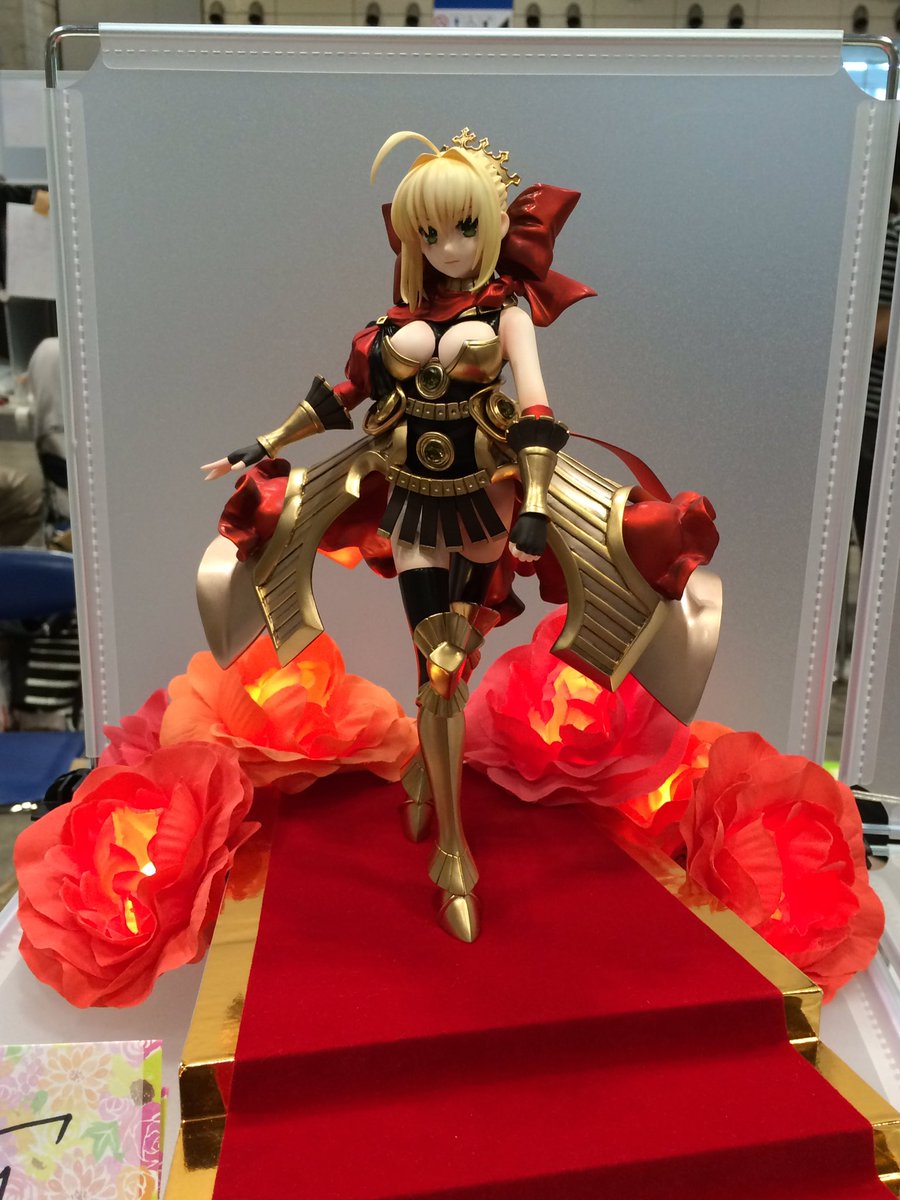
(Left) Original Event photo. (Right) What my finished replication looks like I will be achieving today.

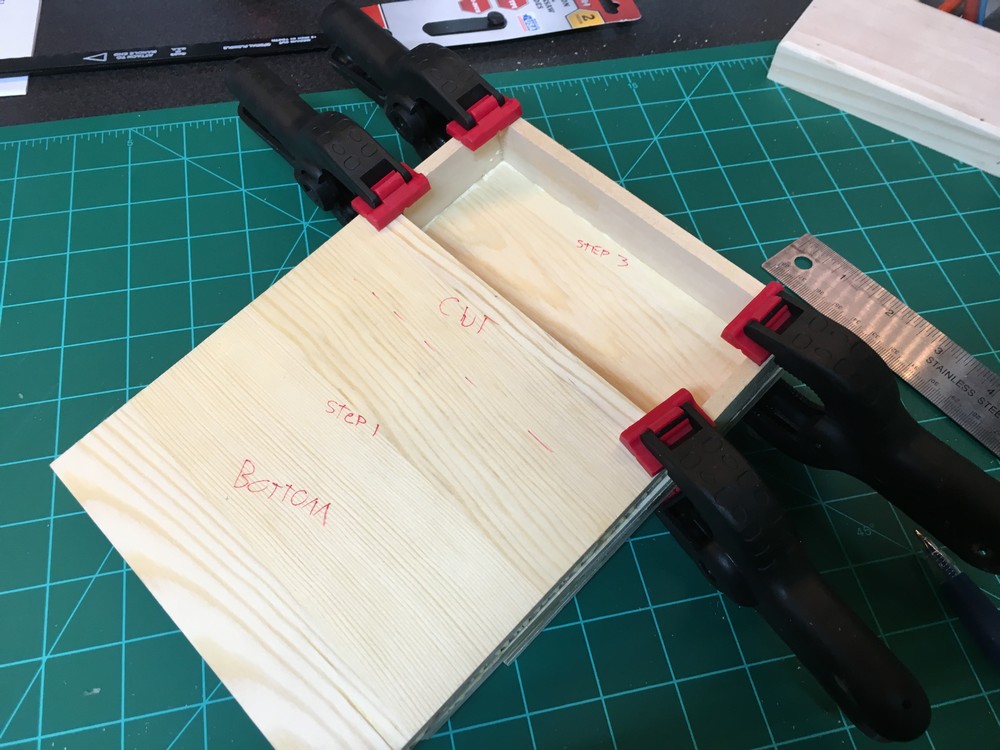
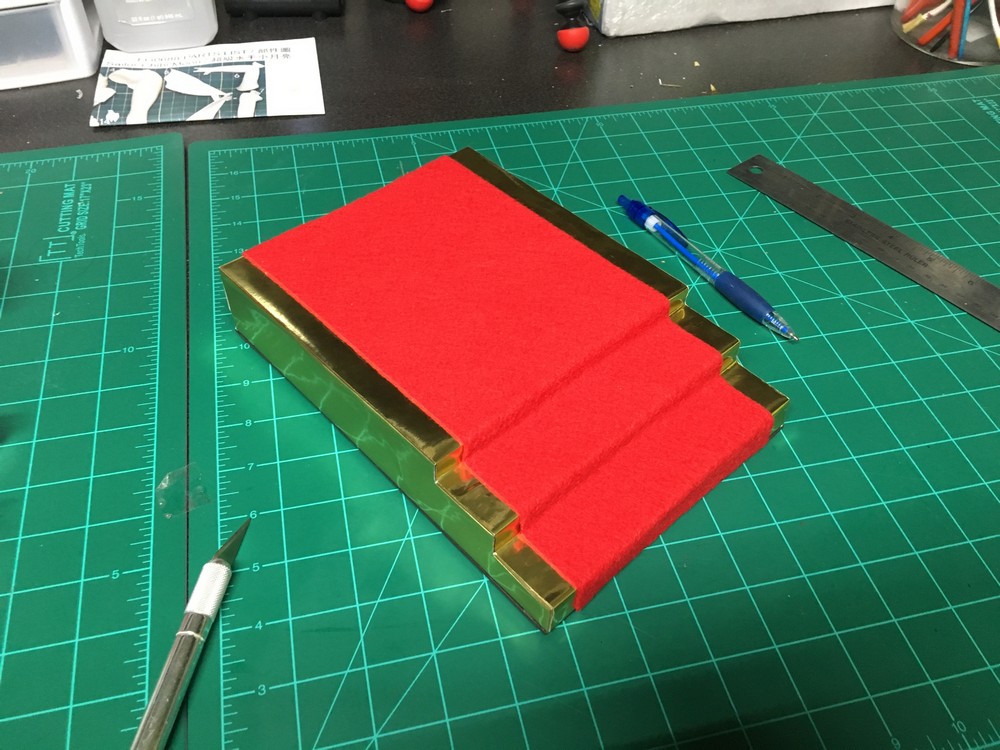
(Left) Purchased 6 wooden square piece from my local hobby store and proceeded to use wood glue and clamp each stair piece one by one and letting it dry over night. In this photo I used wood glue again and clamped all 3 stair case pieces together. (Right) Here is the underside of the base which originally we were going to use a battery pack to light up the flowers, but found out how the look was achieved and decided to cover the boxes in area later on. Also made the base lighter regardless.
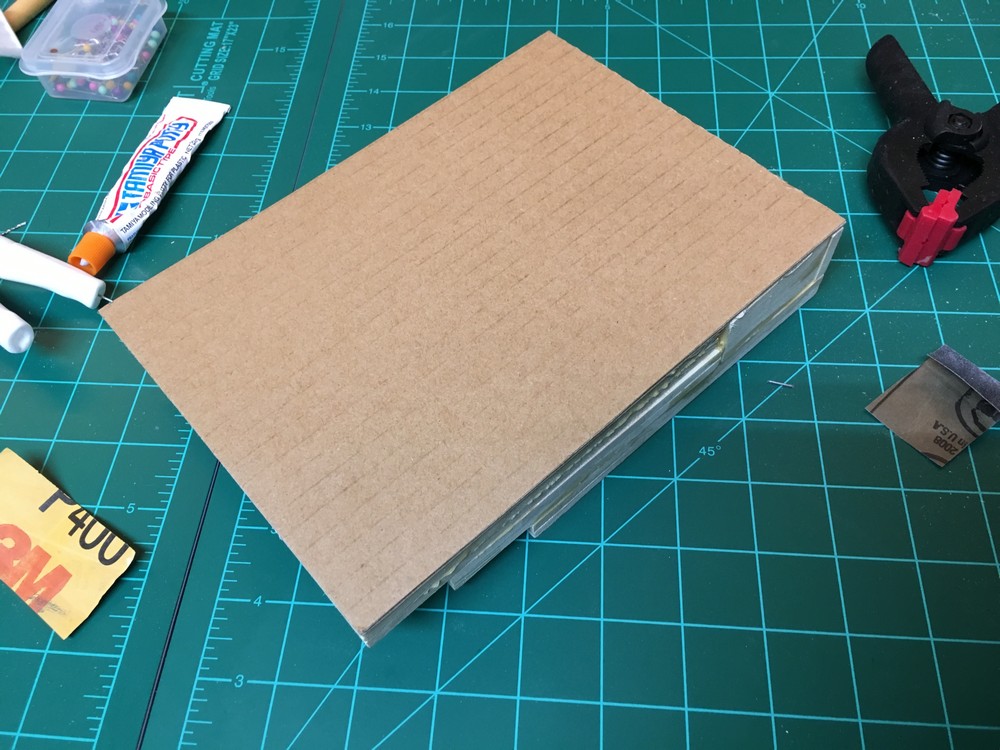
Covered the bottom of the base with heavy cardboard since it's light weight than adding another wooden layer piece on the bottom. Used hot glue to attach this to the base.
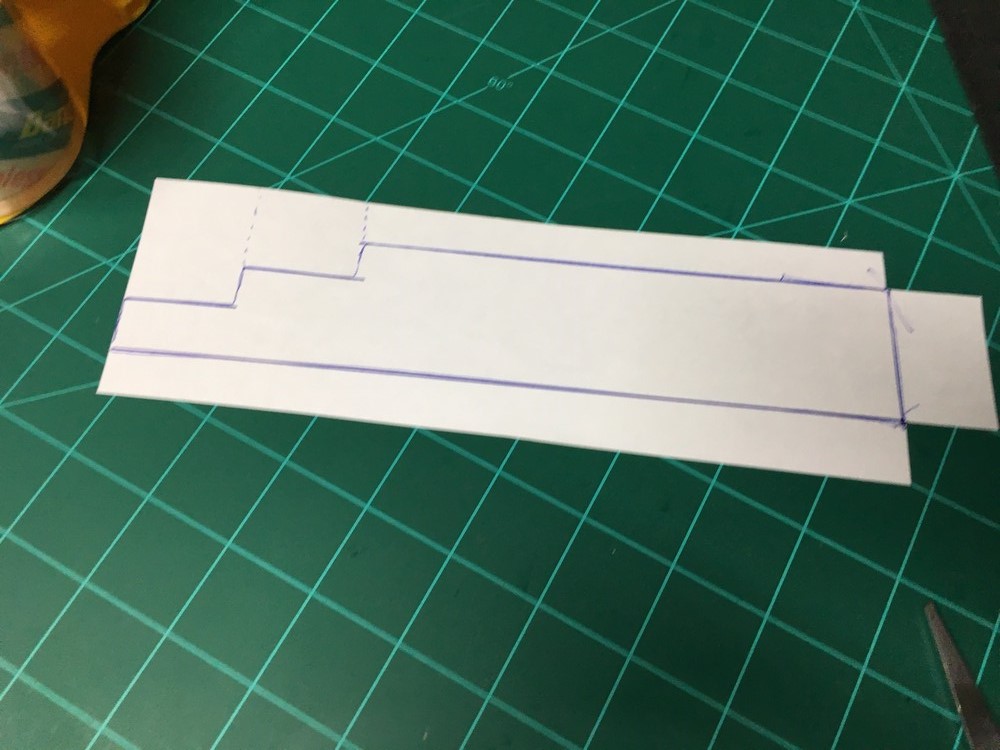
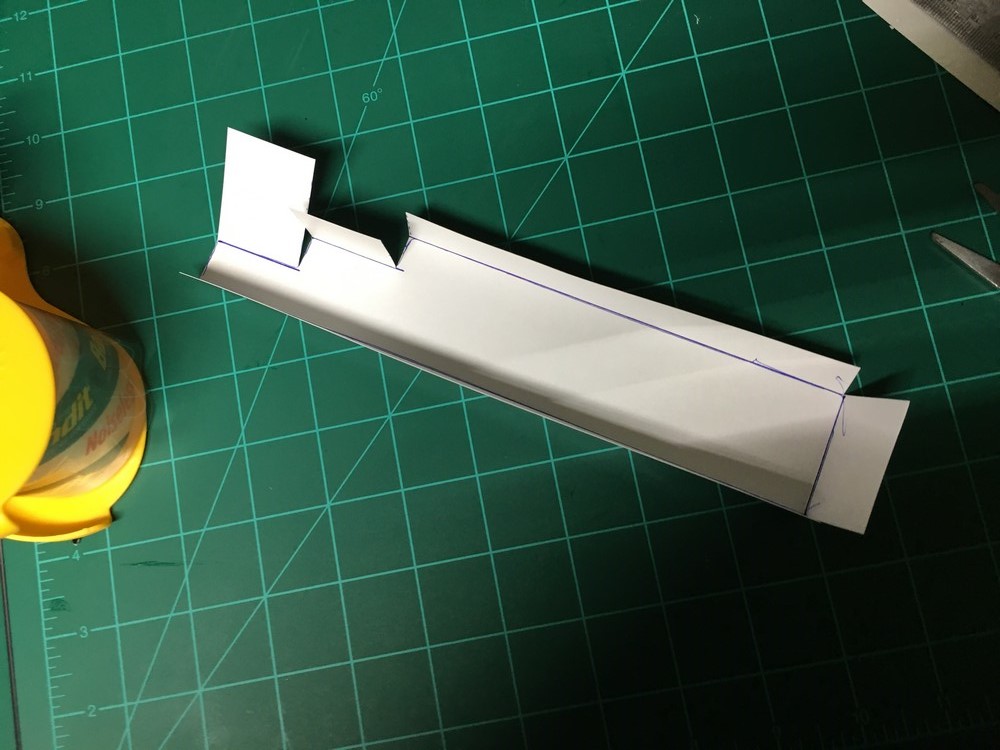
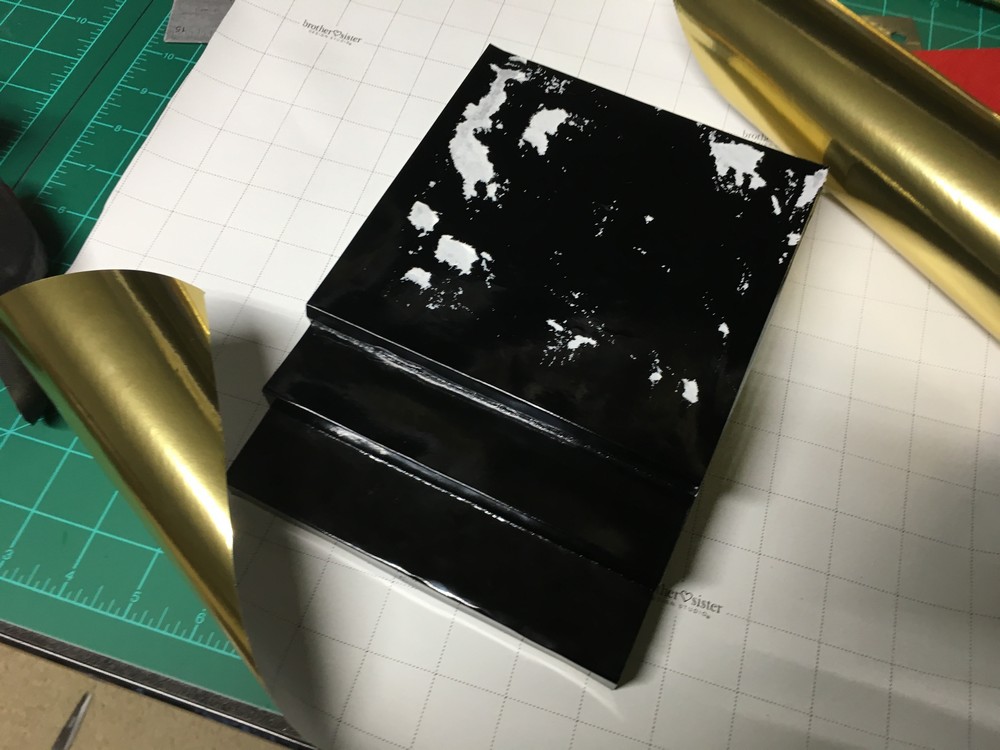
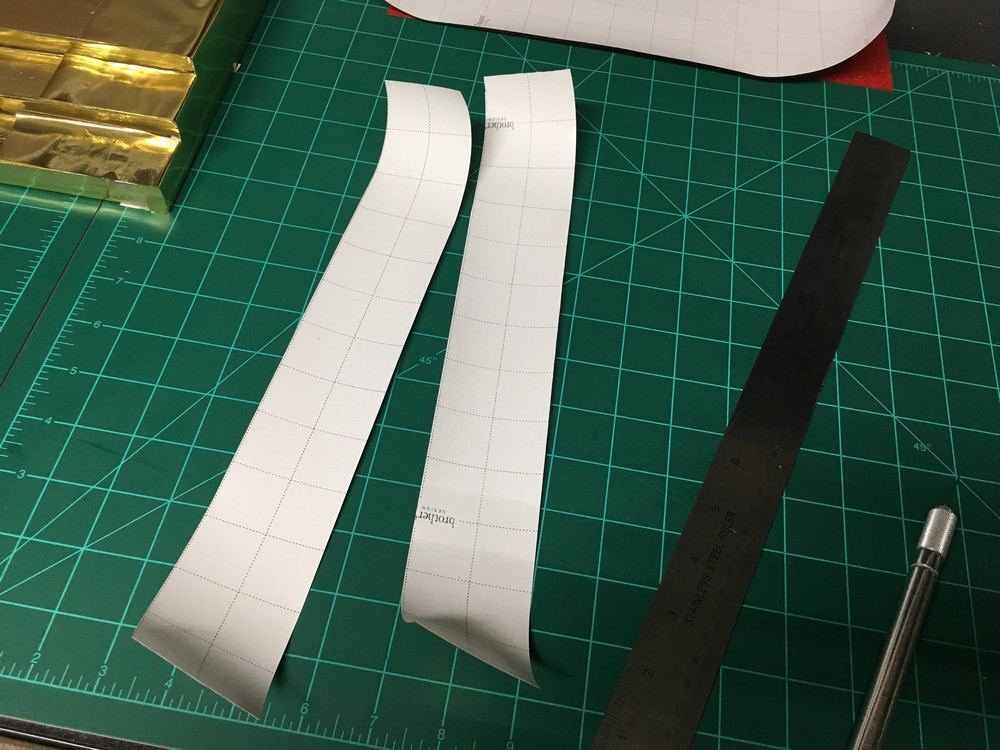
After I sanded off the sides of the wood from excess wood glue and rough leveled areas, I proceeded to cut out some black card stock, so that way when I use double sided tape on the foil wrapping paper, it wont wrinkle up from the imperfections in the wood. Here is the one side panel after measuring. Reason I am adding tabs is so that the sides of the black card stock does not peel off over time and not adhere well, by having the tabs it insures security of these issues.
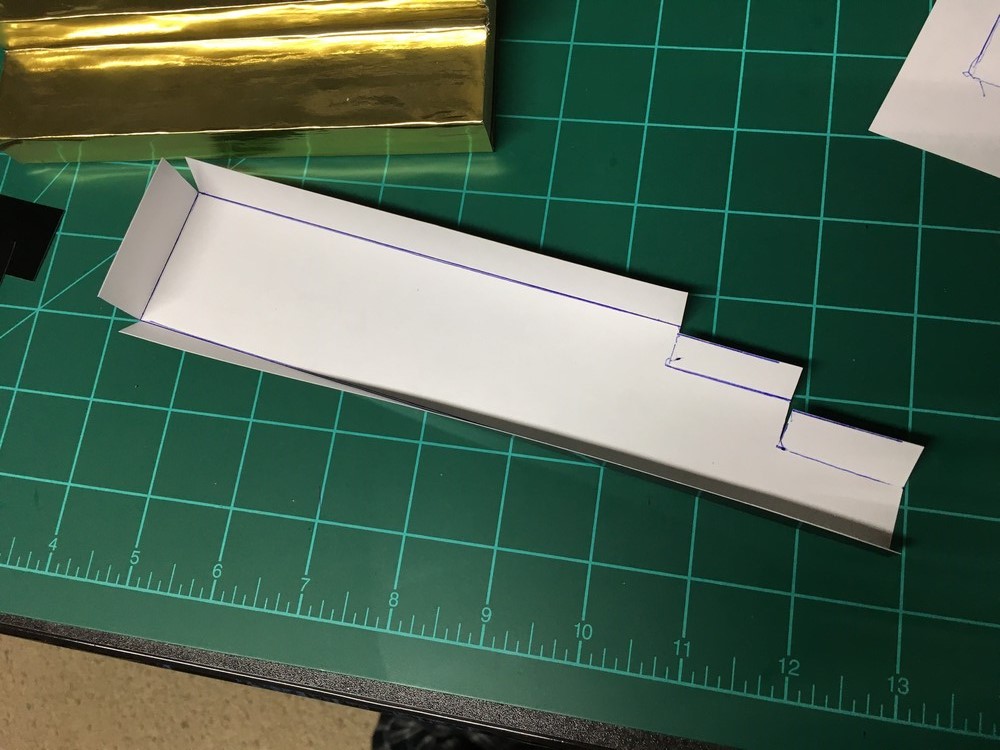
After scoring and folding the edges that will be taped.
What the side panel looks like before tape is added.
Here is the other panel for the other side, same method.
How it looks after tape is added and eveything is attached.
After thee side panels were done, I cut out a long piece of card stock to go over the top of the base, stairs and back of the base. Here I am just showing what it will looks like once I add tape, but I had to score the edges and push them into the stair crevices to prevent buckling or empty pockets showing in the stairs.
After all of that was done, this was the result, though I think this was my first attempt given I used glue in the beginning and not tape later on (ignore the yellow tape roll, that was for something else xD)
Lesson of the day, don't use glue with wrapping paper and card stock...dropped this photo in here so you avoid my mistake xD This was when I started using tape for the foil.
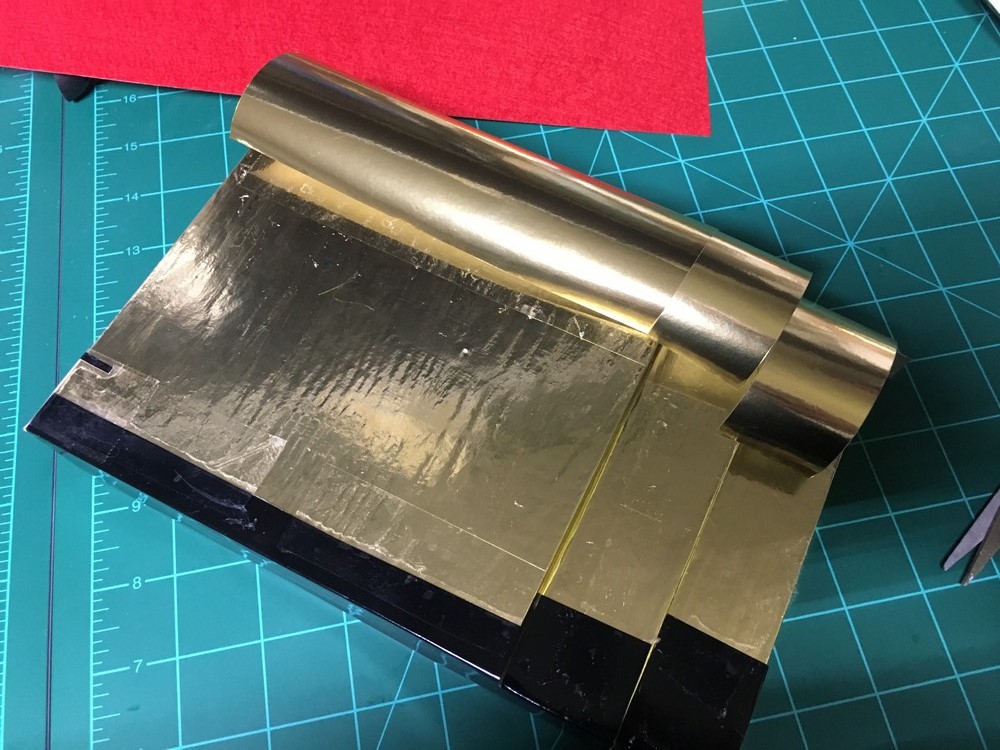
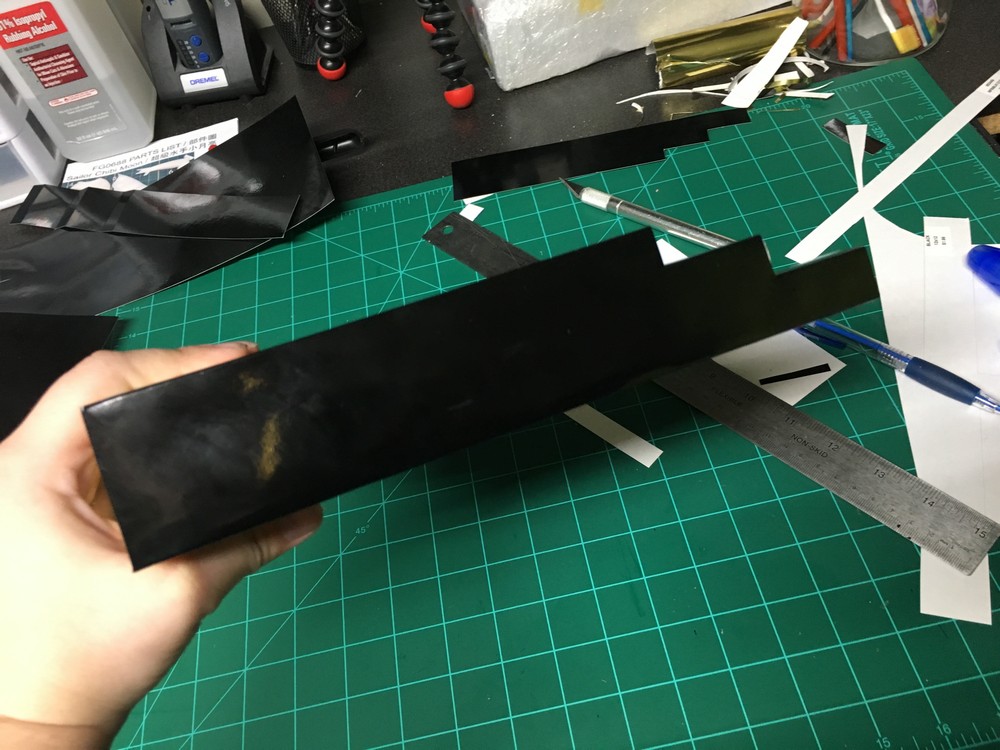
You might be thinking "Hey, what happened to the black top portion of the base?" I wound up peeling it off given the damaged from the glue attempt with the wrapping paper, but if you followed my earlier instruction, your best bet is using straight up double sided tape and NO glue when applying the card stock and wrapping foil paper. Anyway, moving on. So in this photo I did the same thing when I did the black card stock edges, measured the side panel on the wrapping paper and cut to shape, leaving tabs so I can form over the stairs.
What it will look like once folded over, as always I left longer tabs so it'll hide seam lines of the underside of the wrapping paper.
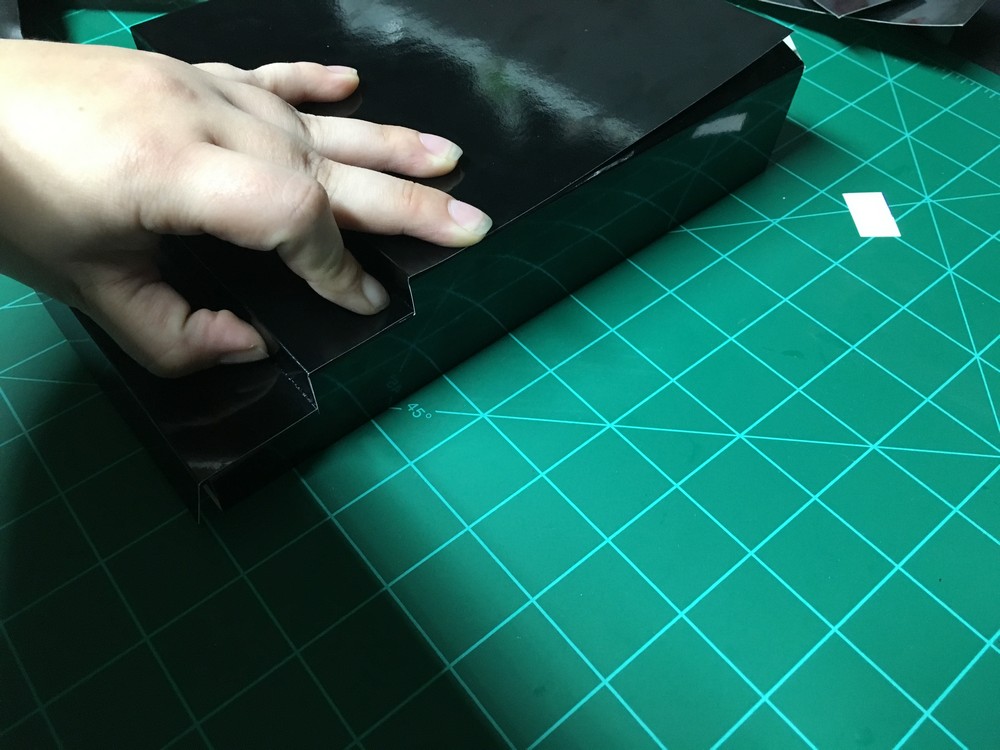
What the side panel looks like after tape is attached, as you can see, the tape has better application, don't apply too much finger pressure for the paper will show the ripples of the tape. You only need a bit of pressure to get the paper and the tape to stick to the card stock.
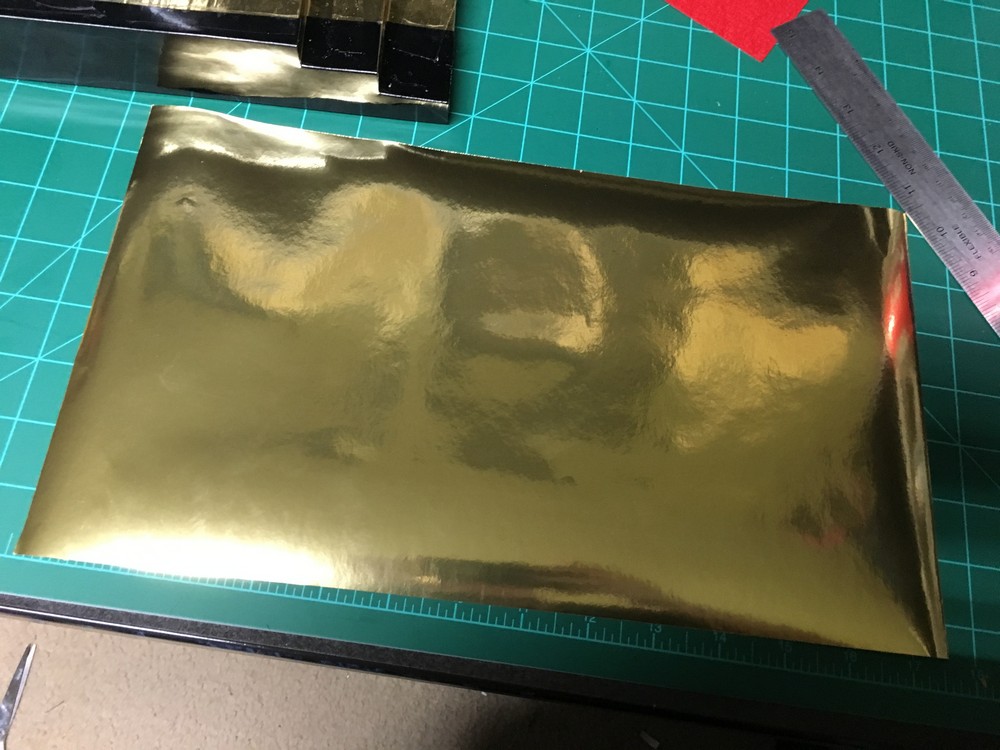
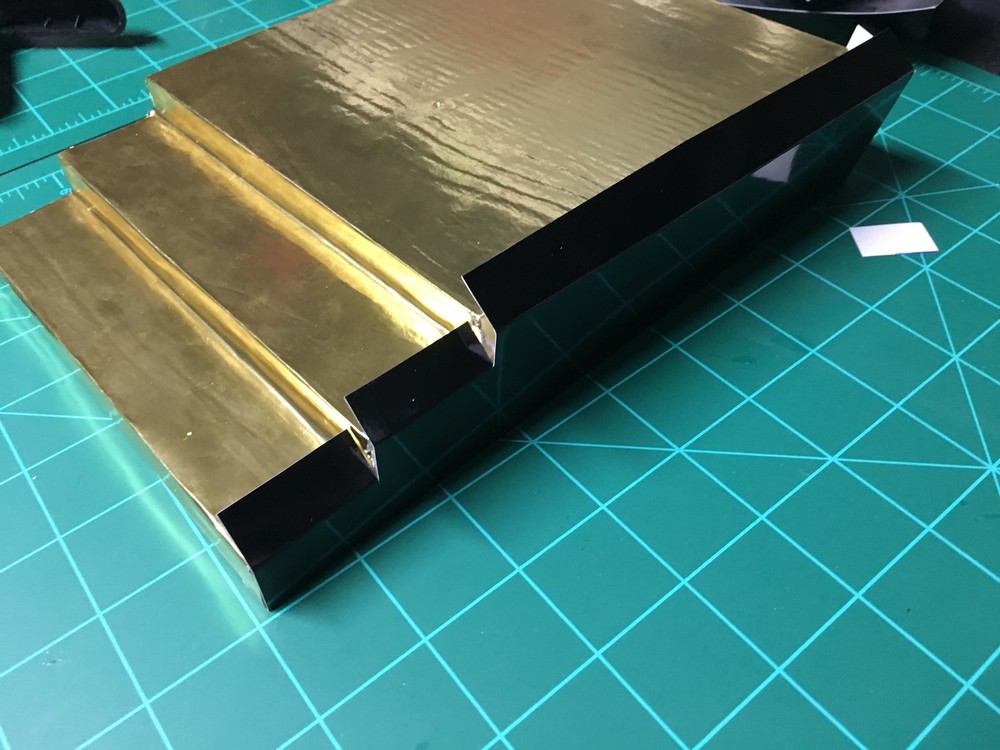
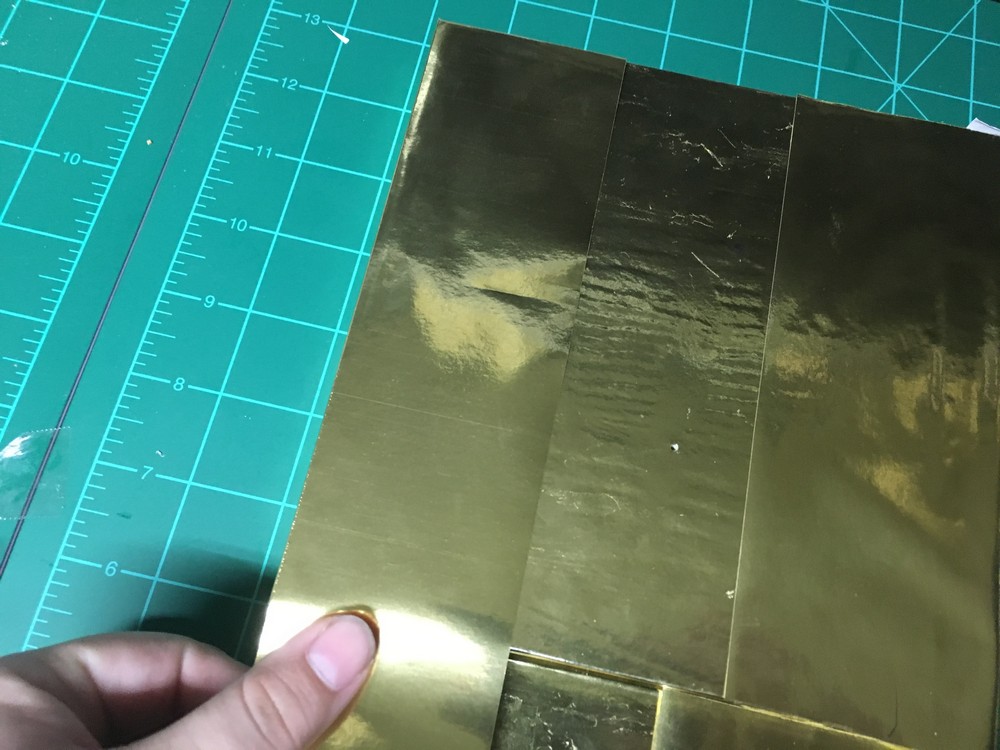
Here I scarified so much wrapping paper, but it's all in the name of perfect section of foil with no flaws...given my roll of foil paper had a long defect on it.
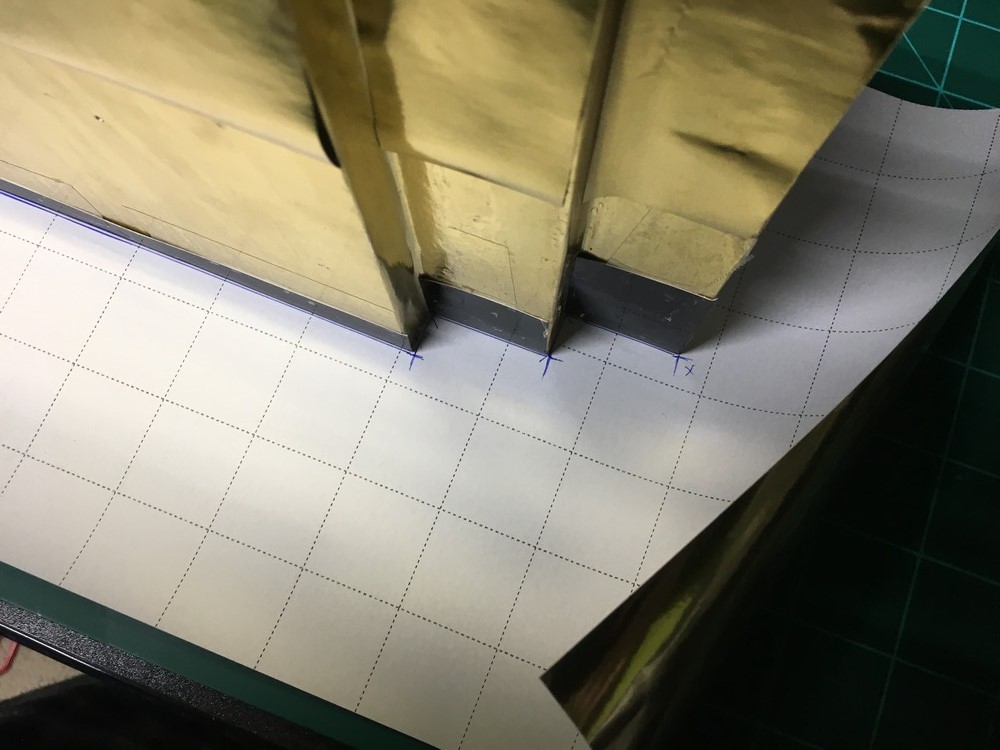
Here I am marking off areas for the other side panel.
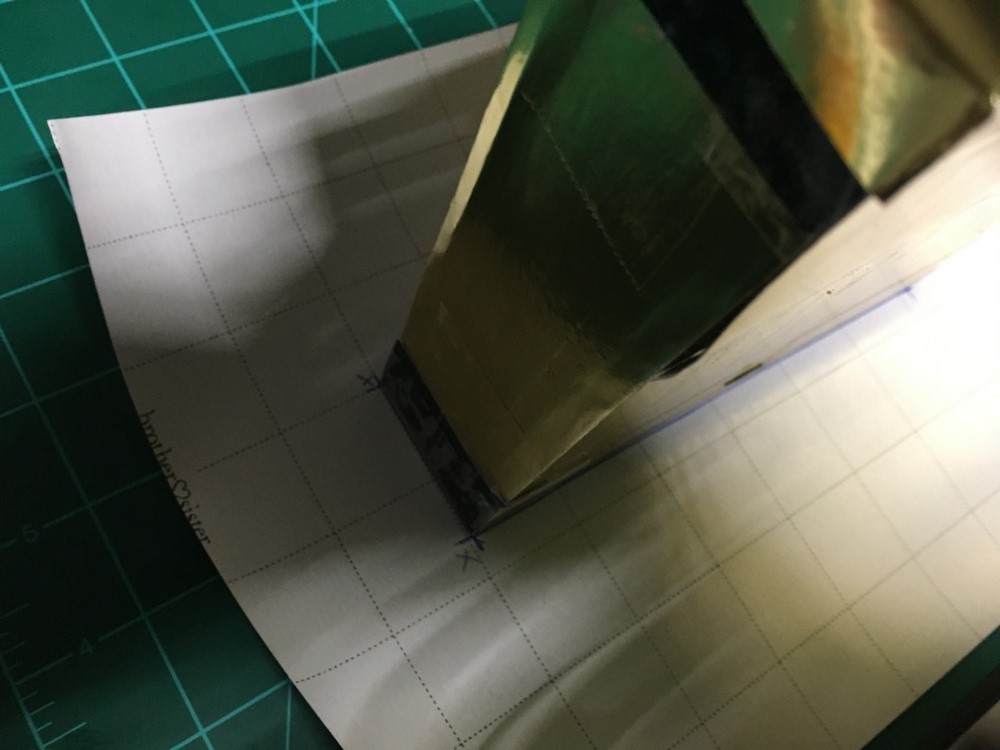
The (X) marks are just were I will cut those section out.
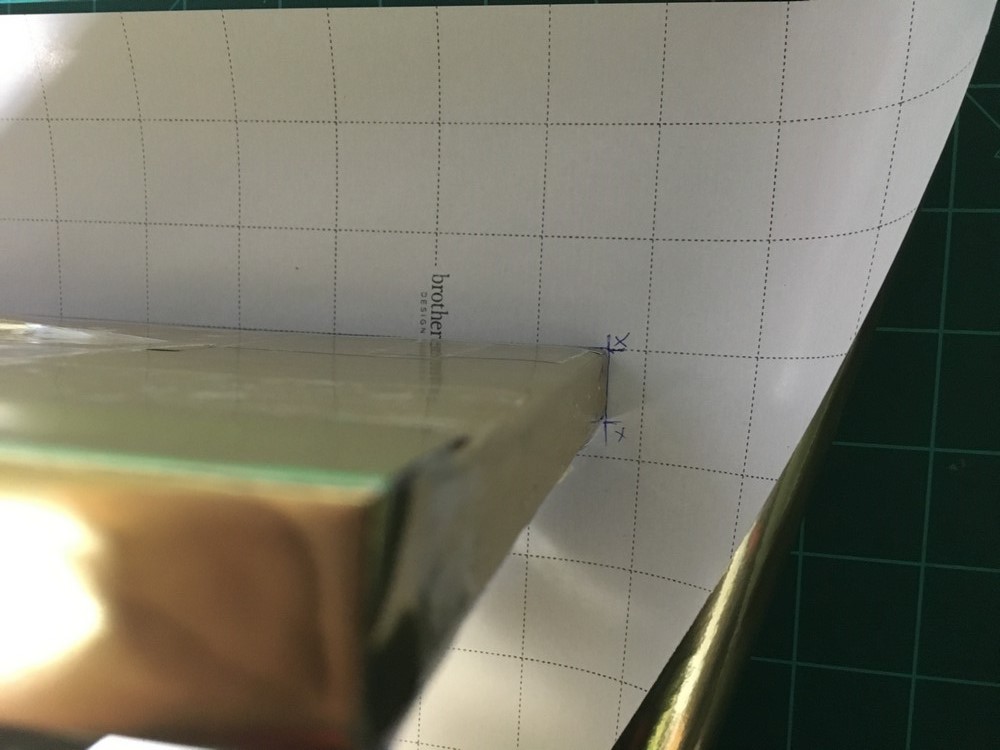

What my 'template' looks like after marking off the areas, once this was done I extended some of the lines where I will have the tabs to fold over the stairs and over the base.
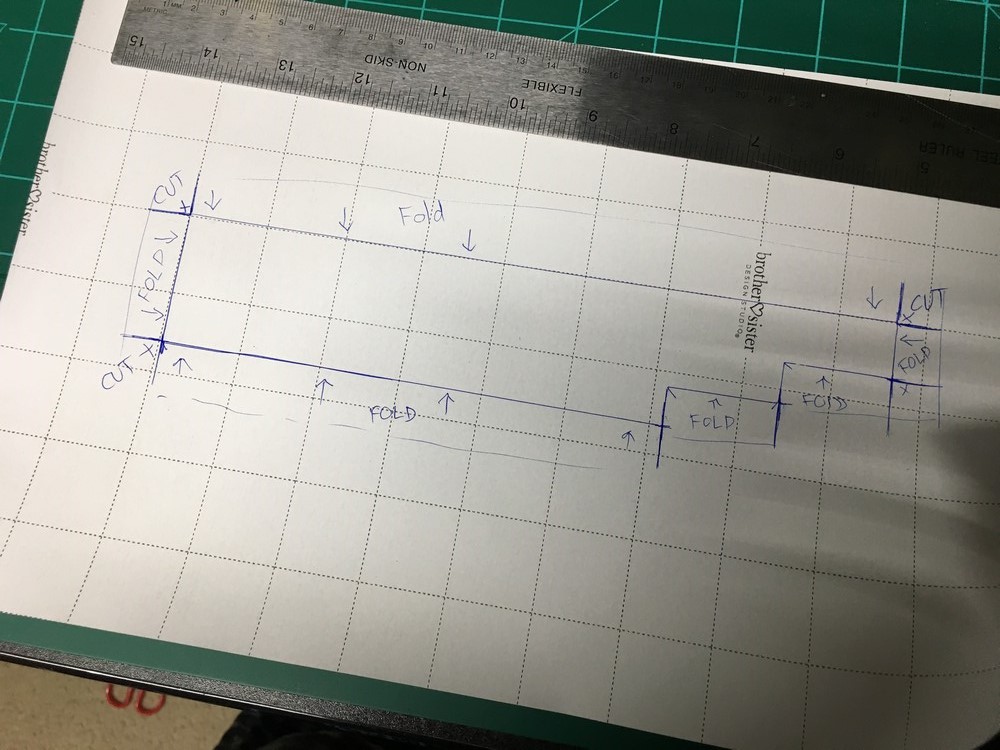
After extending cut lines and knowing where to fold.
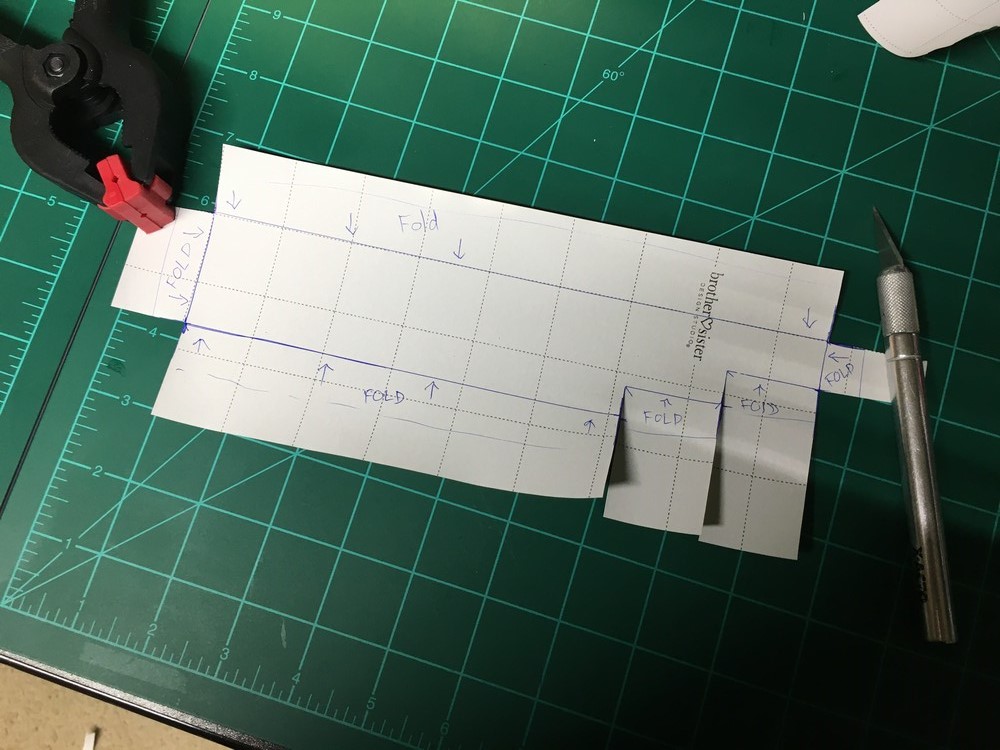
After cutting the areas out. Once this was done, I scored all the areas very carefully and not too card (cause the pressure will show through the underside of the foil).
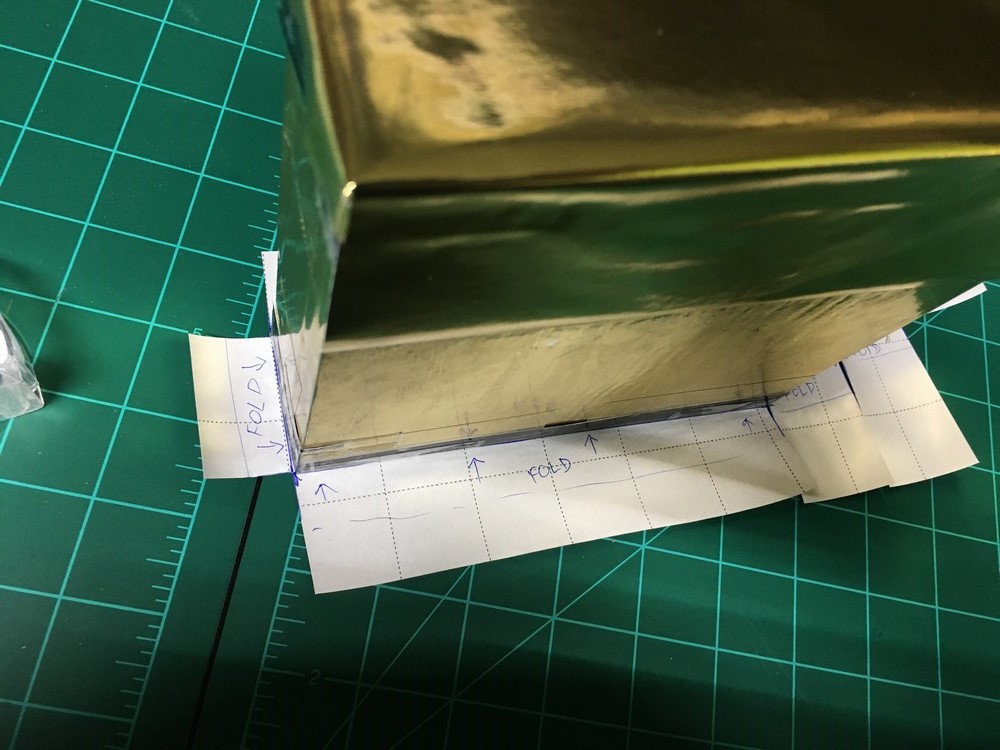
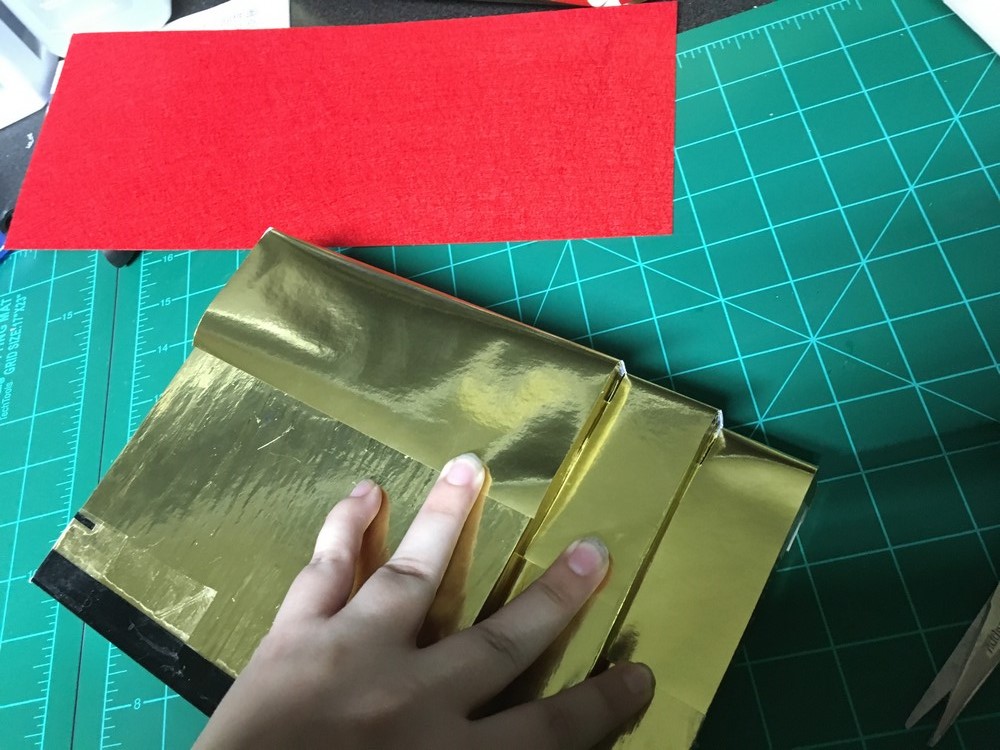
Lining up the foil side panel against the side of the base, once all looked good enough, I applies double sided tape to all corners of the base, that includes the corners, meaning, adding tape that folds over two edges.
If you didn't get what I mean by 'folding over two edges', check the stairs in this photo, the tape goes on the side panel and part of the stair case so it has a cleaner look with less buckling of the paper.
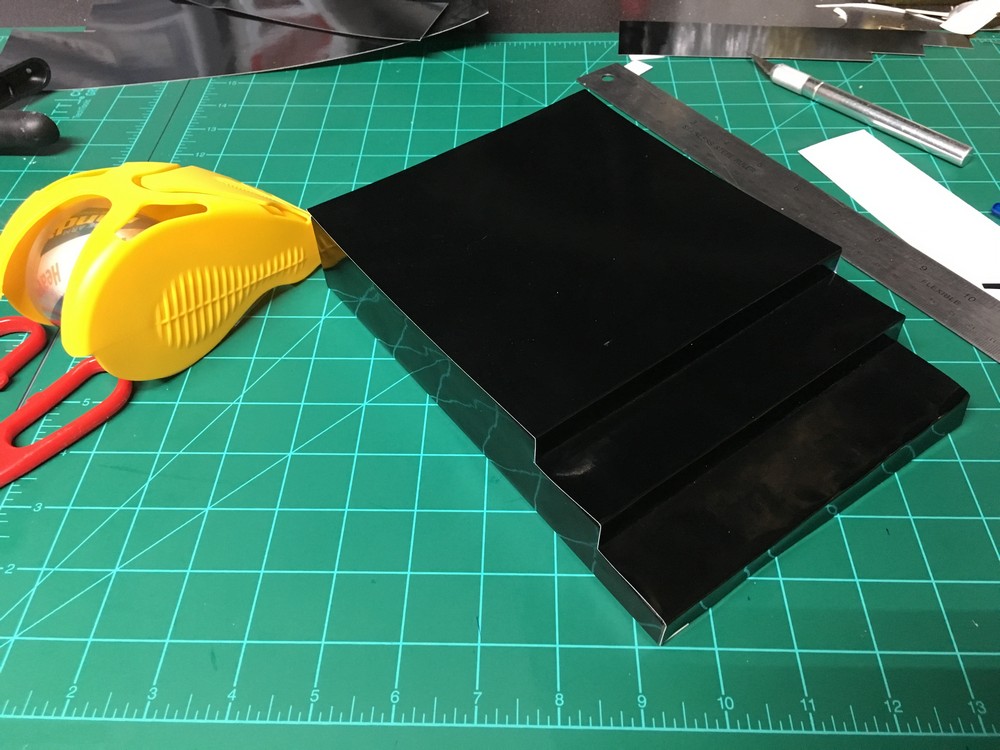
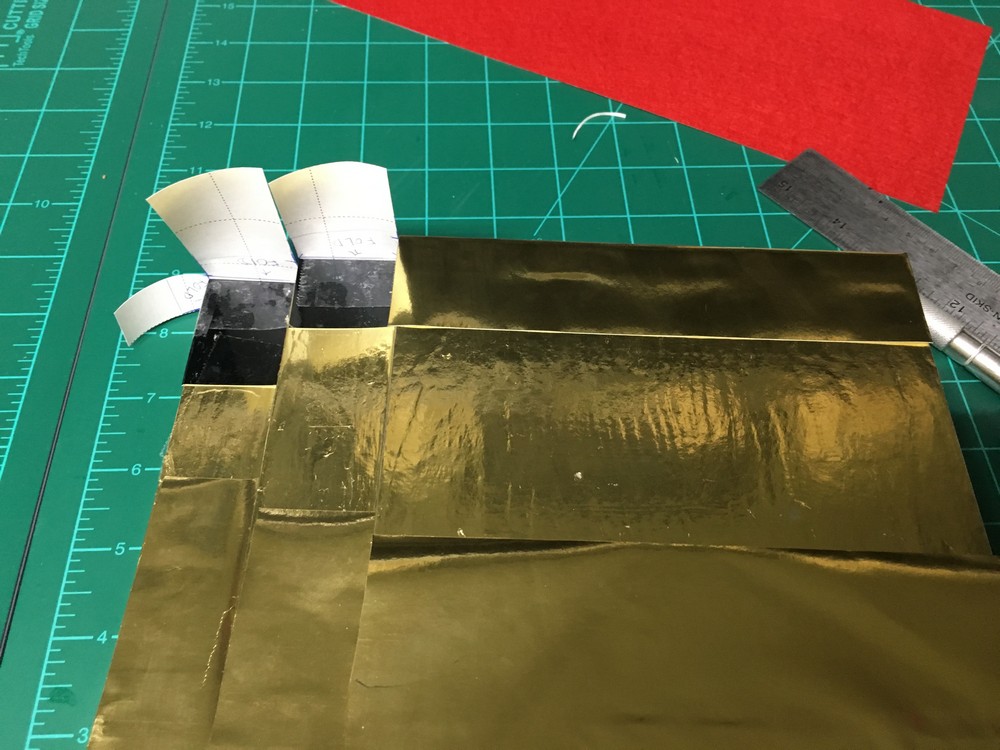
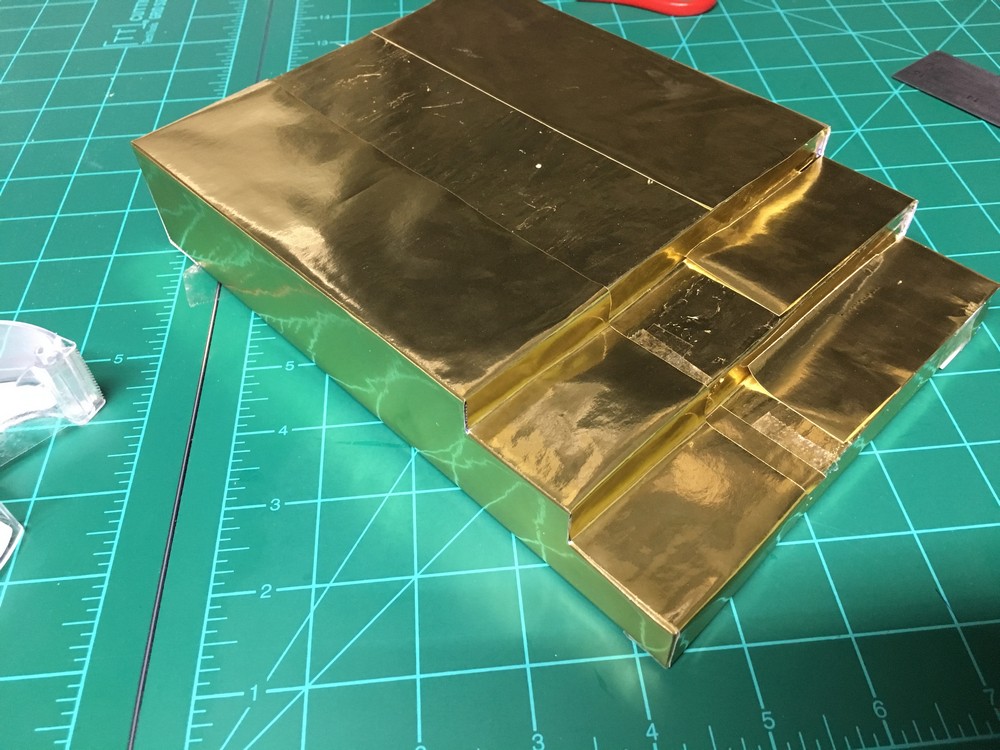
After this side panel is done.
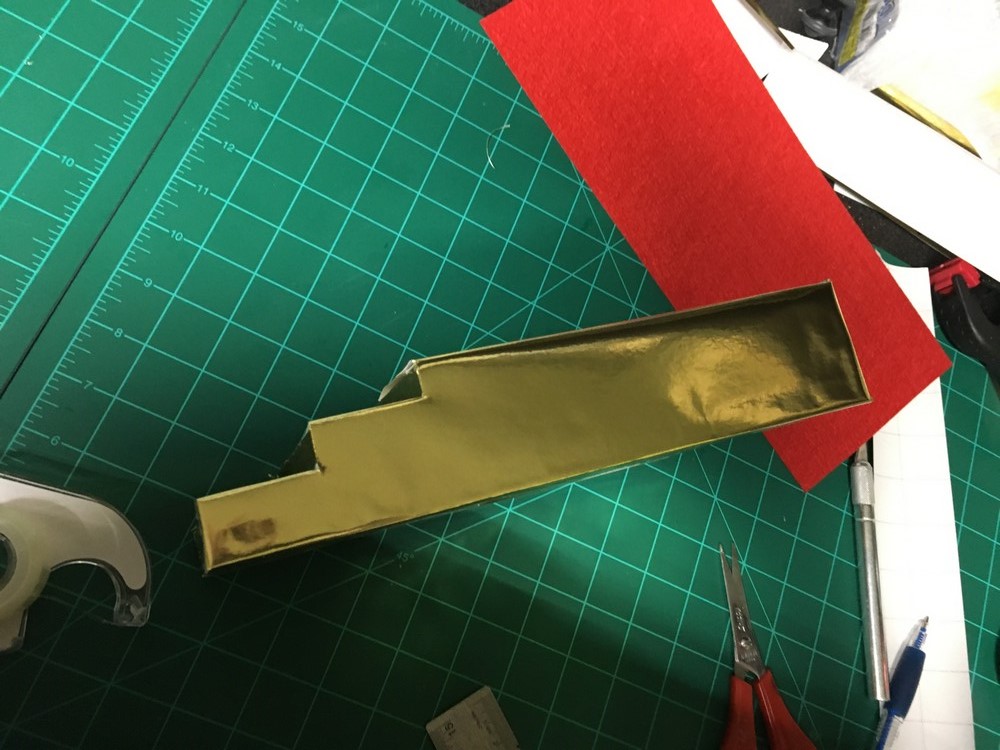
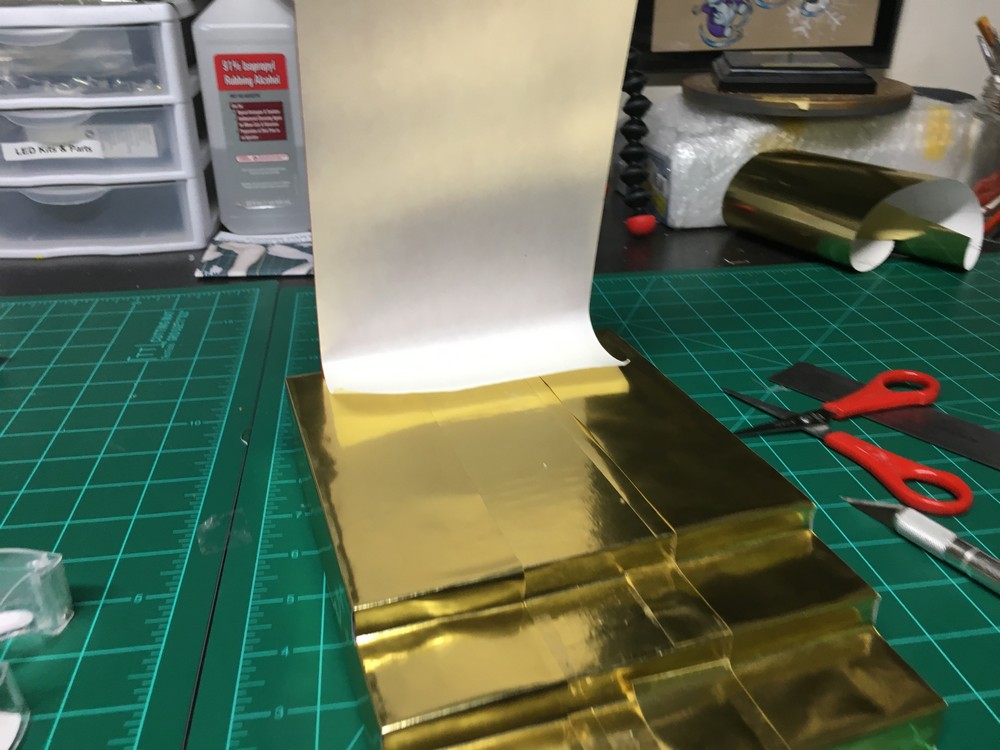
To save from future headaches, instead of covering the top of the base and stair case with a large foil piece and it buckling allllll the time, just cut out 2 inch thick strips. Since the run out rug will cover a majority of the stairs and top of base, their is no need to add more foil that won't be visible.
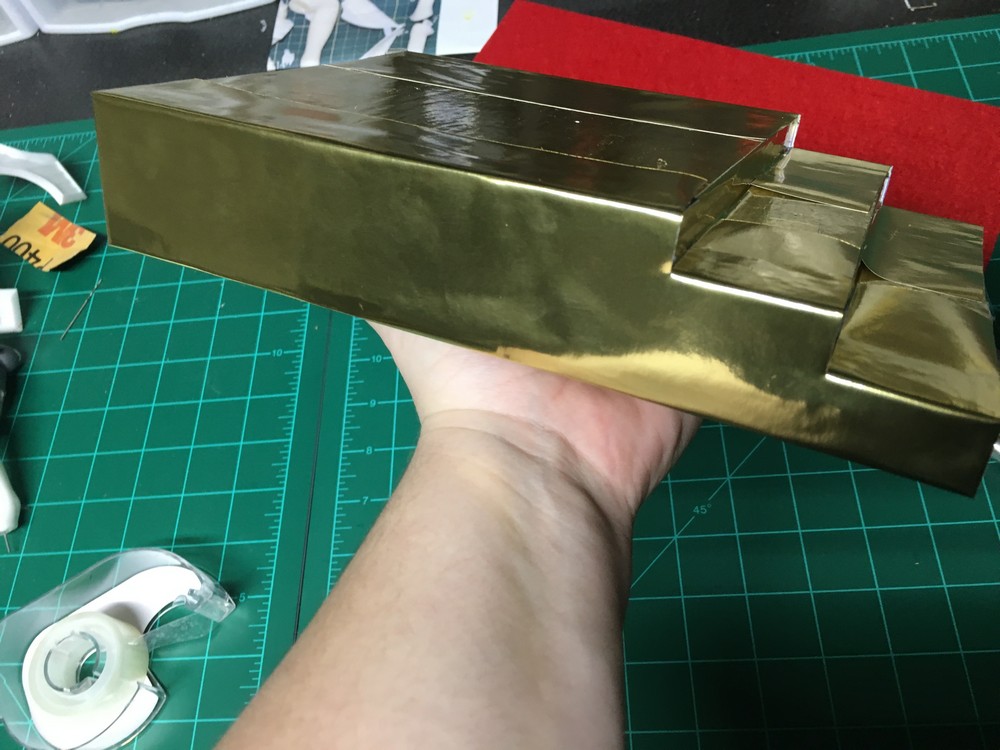
Here you can see what I mean, easier control using the 2 inch strips than a whole foil piece. Started from the back under side of the base just so it had peel off protection, then the back side of the base, then the top of the bases, stairs, then front cap of the base. Also used a ruler to push the paper into the stairs more to get a tighter look to the stairs instead of the paper being loose.
After all the gold foil paper is added, might not look as pretty in this photo but take a gander at more photos below to see what I mean by covering rough areas up with thee rug runner.
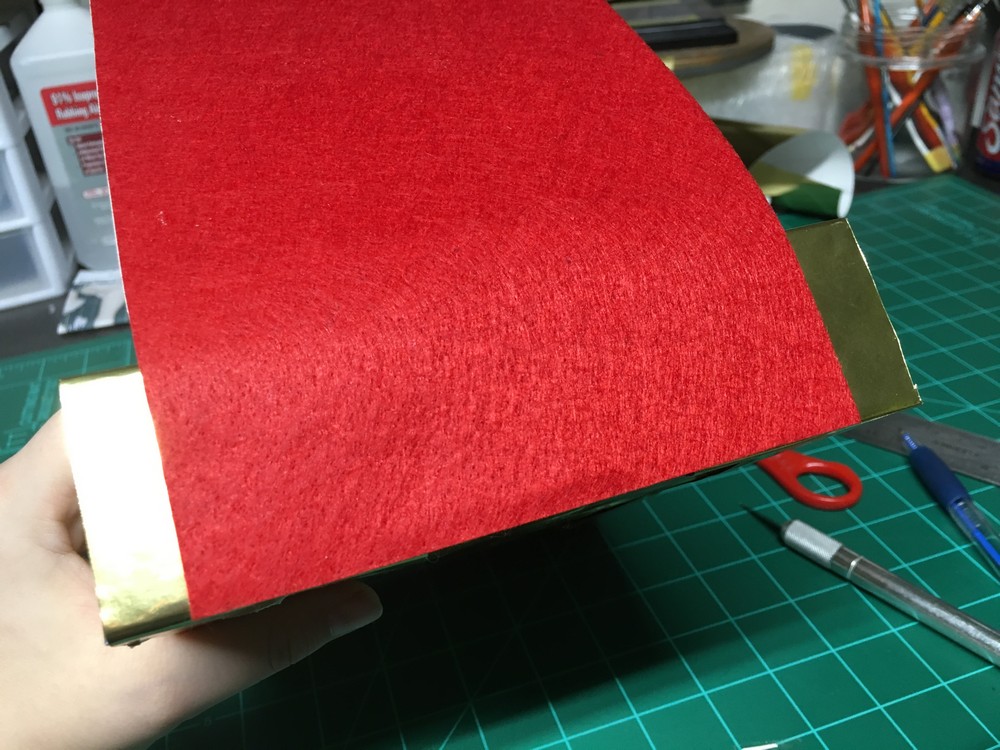
Want to mention early on at this point I wound up peeling this red felt sticky from the base, given it was very very starchy. Went back to the craft store and picked up another sheet that was soft and malleable and not so starchy, the stairs came out allot better visually. Anyway, same method with the new back sticky side felt. Started from the back then worked my way to the front.
Here I am triple checking alignments of the felt, given it can stretch on you and miss-align where your attaching it to the base. if I screwed up, I just carefully peeled it back off.
When I got to the point to work on the stair case, I used my ruler to help me push the felt into place, but still keeping an eye on the alignment cause it will shift on you. Once all of that was done, I cut off the excess and then added black foam bottom to the bottom of the base. This helps protect your shelving units and prevents the base from sticking to your shelves. Also looks good and presentable under glass shelving units. But yeah! This was the end result of just the stair case throne walkway, still need to add the light up flowers, but waiting for the light to arrive.
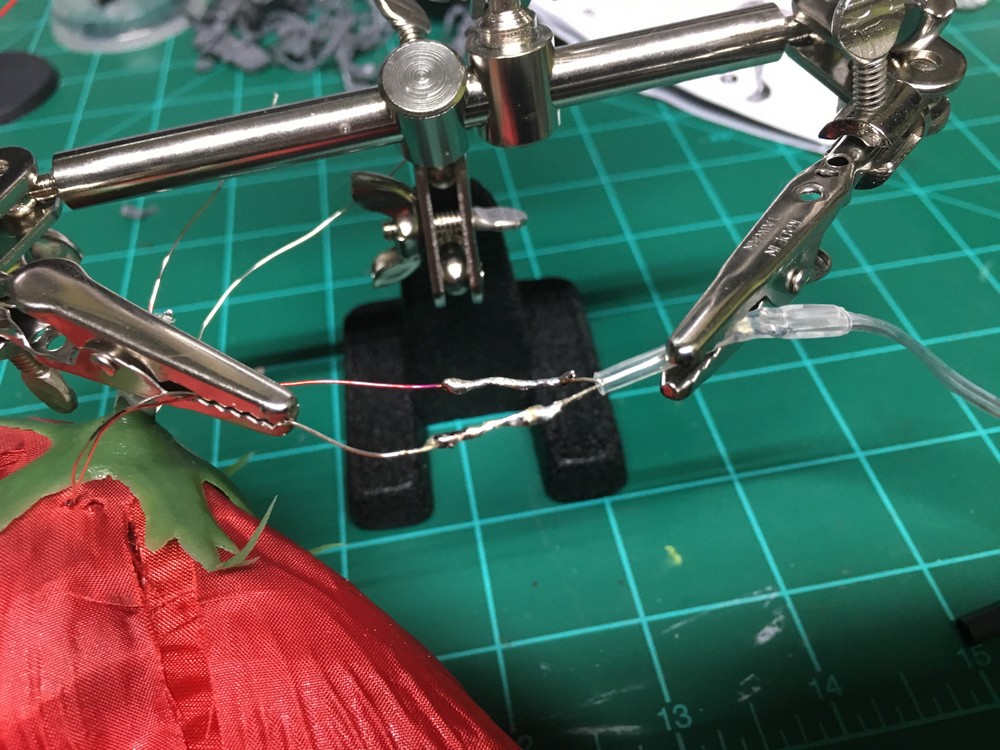
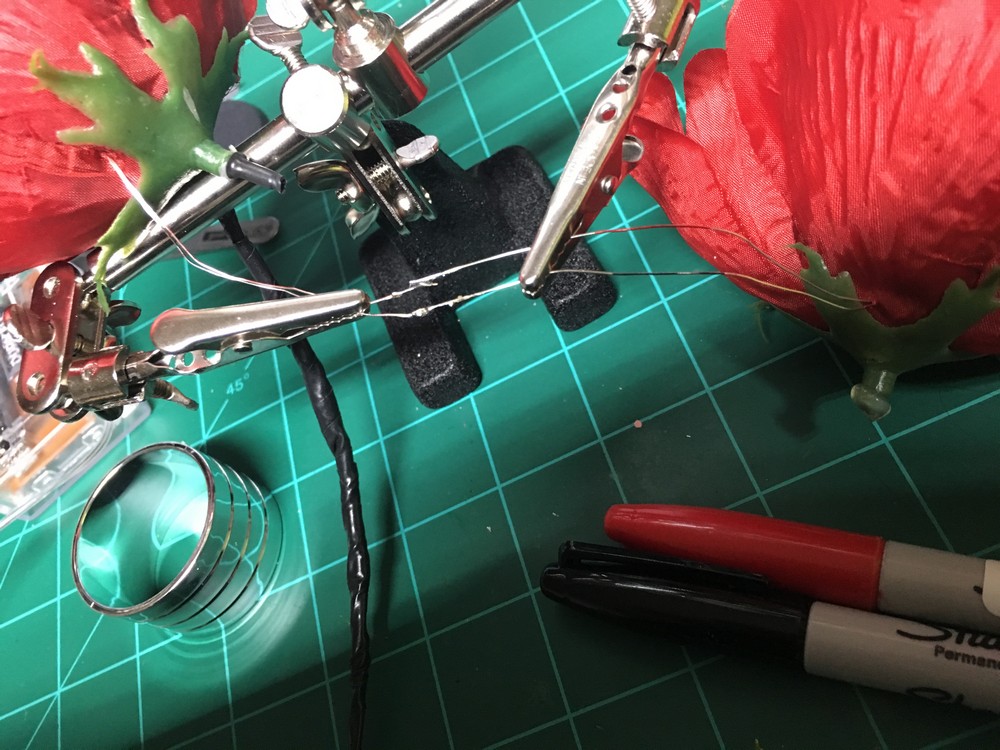
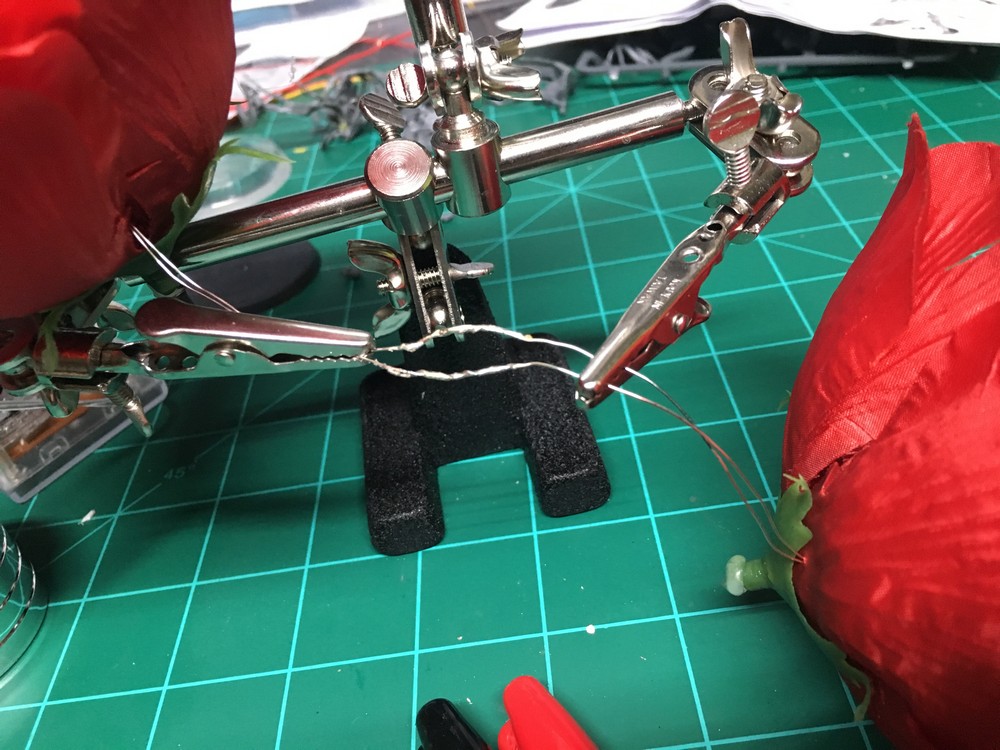
Now for this particular kit, I needed to keep 'convenience' in mind as far as the lights go. So I found a timer based LED kit from a local craft store that when turned on the timer setting, it can stay on for 6 hours and turn off for like 12, forgot what it said number wise but thats just an example. Their is also a manual on and off setting as well. With this being said, I wanted to reuse the battery pack since I don't need to buy and LED / battery case housings from Radio Shack. So what I did to start off with was I cut the LED bulb strip off and set it aside. In this photo above, I split the positive and negative lines and soldered the +/- to the first LED bulb strip.
Wrapped both +/- connections so they do not touch and shoten out, aka prevent from the LEDs to turn off
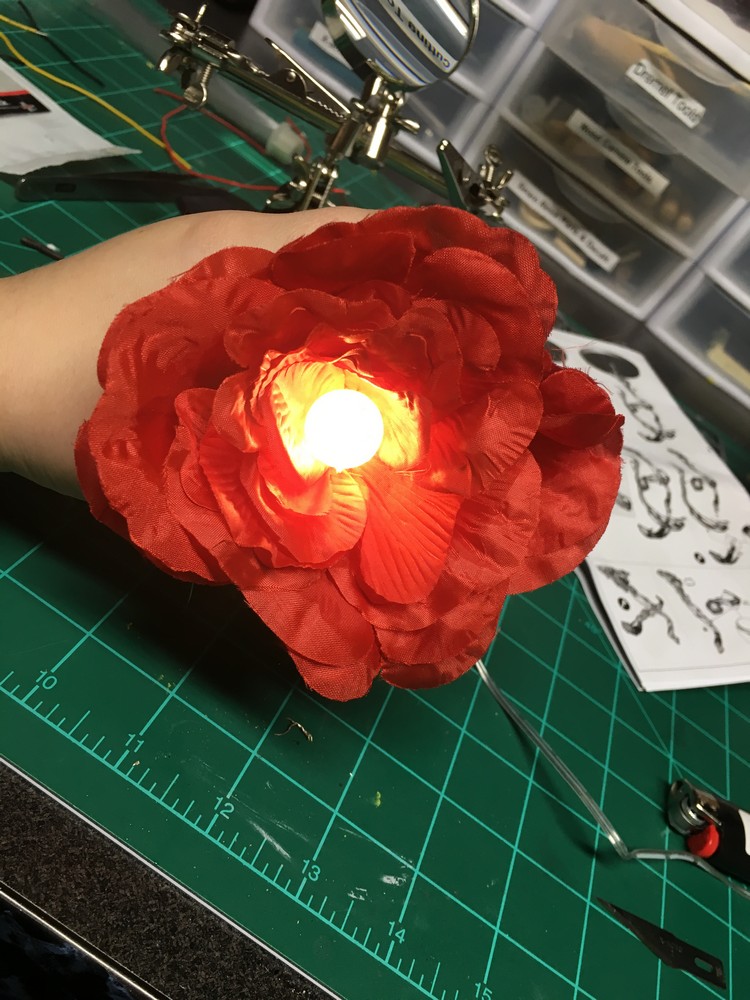
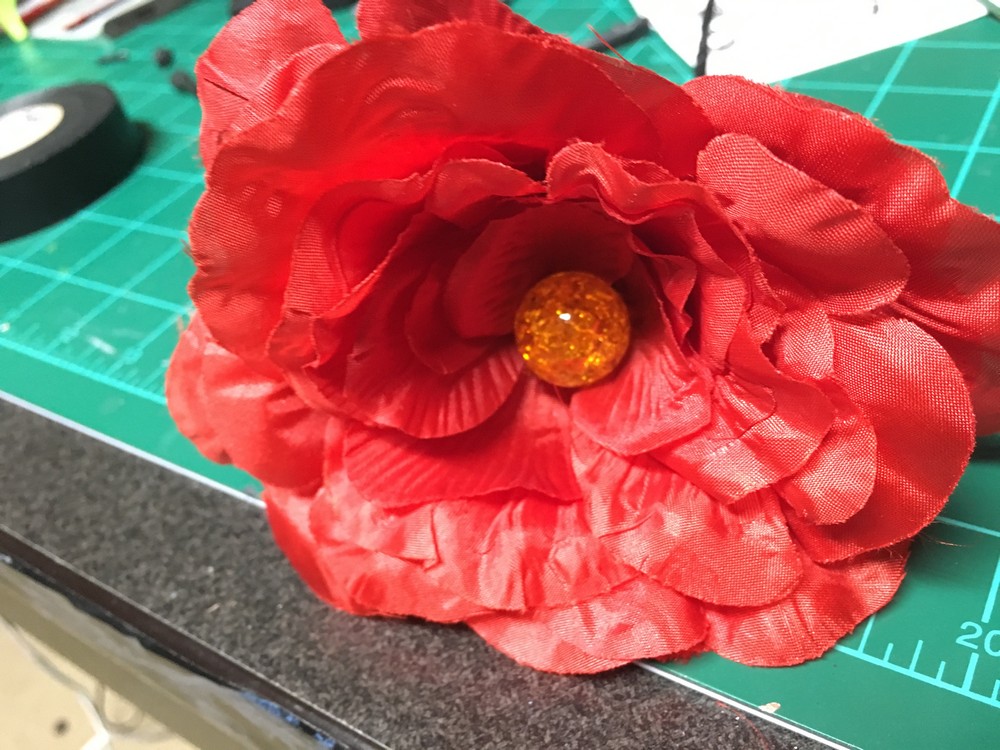
To ge tthe led bulb in the flower, I had to remove the stem support and pettal support (looks like a basketball hoop on the inside). If I didnt remove the hoop, the bulb would not sit so close to the center of the flower bud opening. If the tem wasnt removed I cant have a clean look to it nor insert the bulb closer to the base. After the stem and hoop was removed from the flower, this was a pain in the ass to prevent the flower from collapsing on me, I used a sharp poking needle, about the size of a mechanical pencil tip to stab through all the layers of the pedals so their is a clean hole for the +/- wires to go through the flower hidden. I poked two holes per flower. After the wires were fished through, I put a tab of hotglue in the center of the flower(s) and pushed the bulb as hard as I could while also gently pulling the LED cables.
Since my client wanted the flowers to look ressigh organge in light apperance, I used Tamiyas clear color line to get the effect. Just airbrush it on and let it dry and your good to go. For me to save time I brushed it on and worked totally fine.
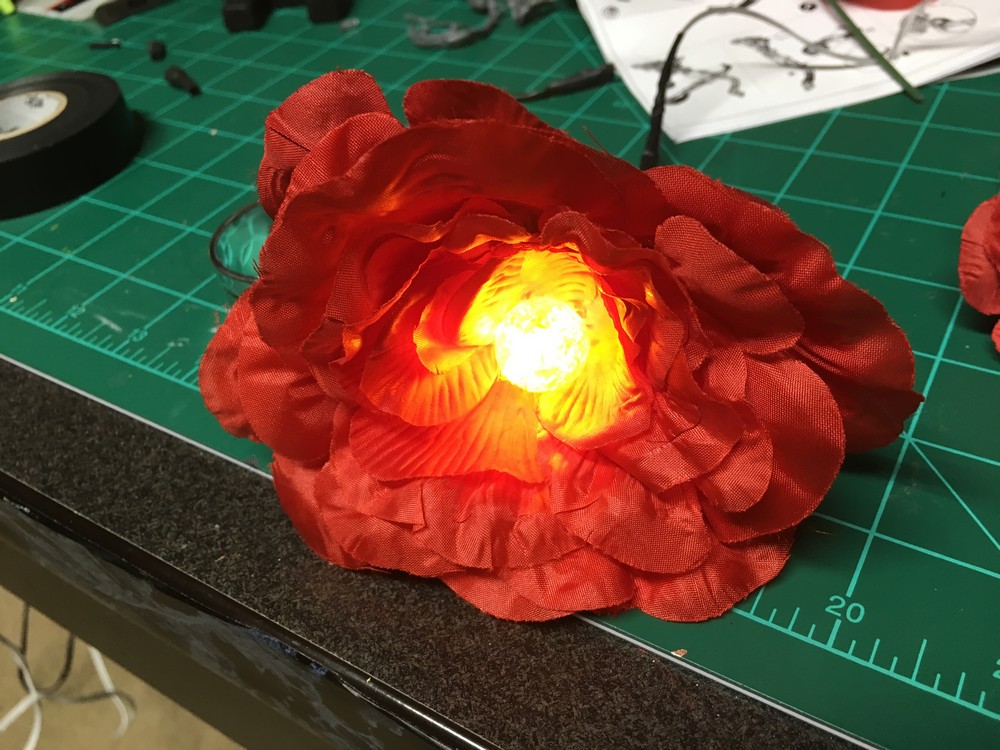
The light is more spread out than in this photo but you get the idea on the color xD
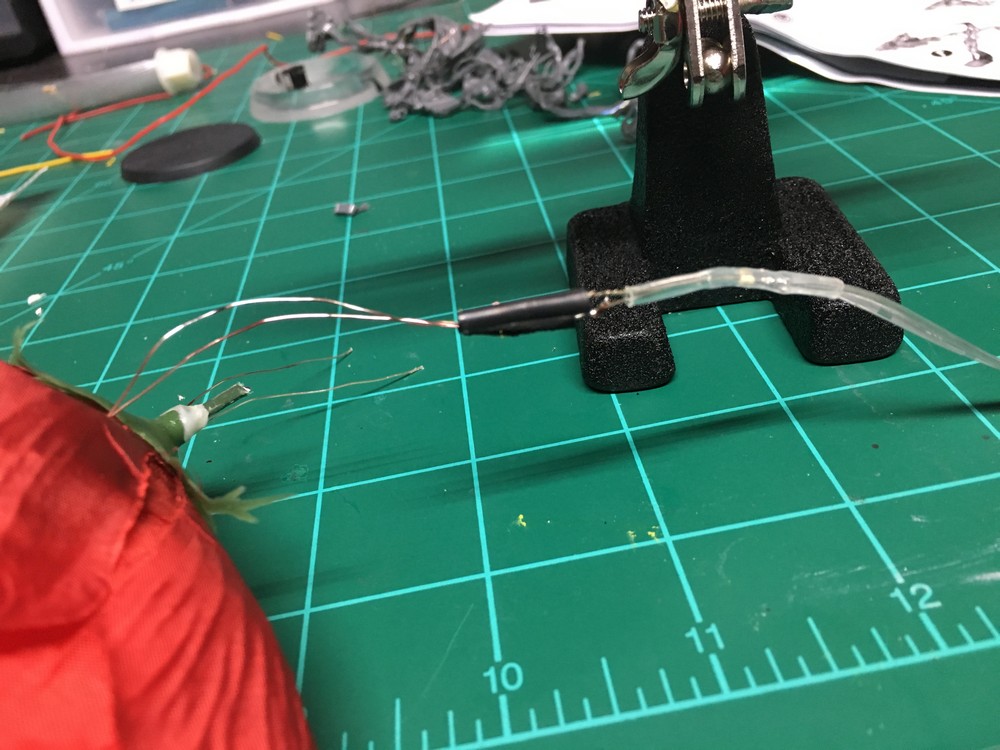
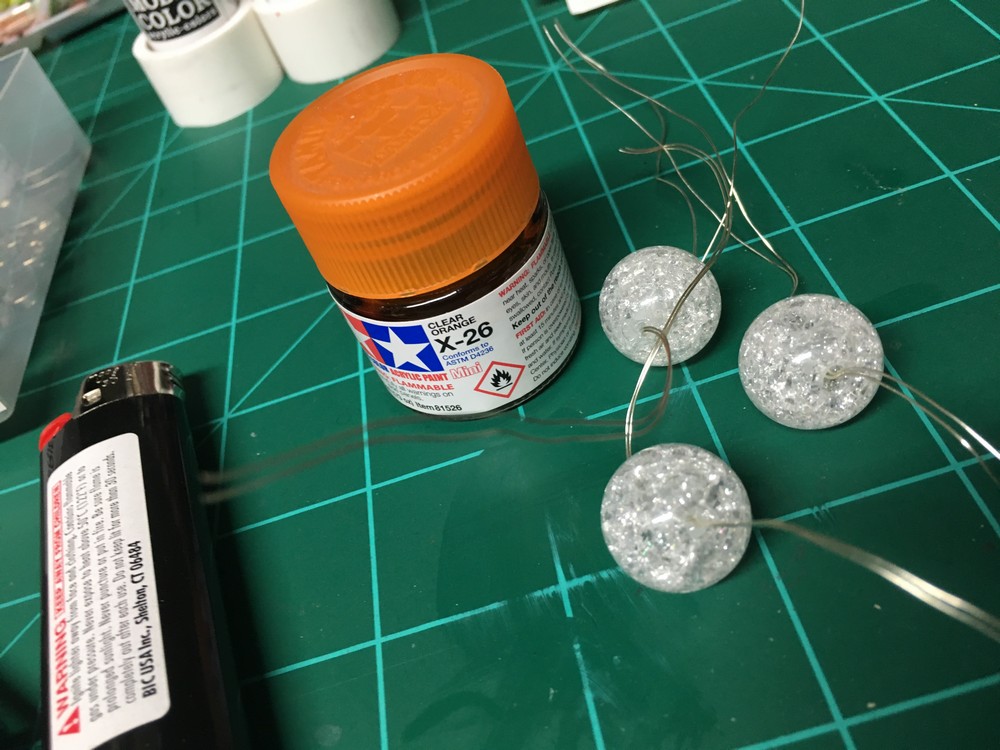
After removing flower supports, poking holes through the flowers, fishing wires through them and hotgluing the bulbs in place, it was time to finish painting the bulbs and continue soldering them togethere.
Since I was still new in connecting multiple LEDs on one line, I kinda messed up this part several times where I didnt part the +/- of each LED wire strip which resulted in the LEDs not turning on. THe other thing was I derped and didnt wrap the solder connections individually on the +/- lines so it was shortening the wires contantly.
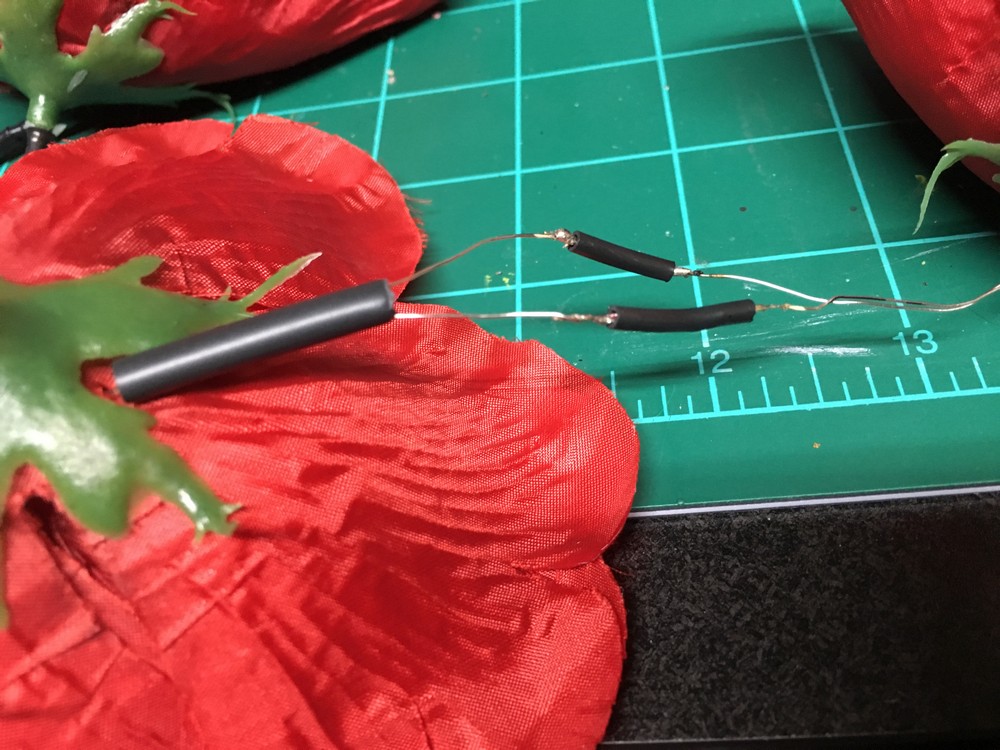
Note: Before heat shrink tubing your lines or taping them (if you decide to go this route) always test youe lines before taping to avoid painstaking backtracking on removing the shit, lol. Managed to find heat shrink tubing in the automotive section of Walmart that cam in various sizes. Buying in bulk was crazy espensive, luckily this was onlya f ew dollars for just the few pieces I needed. Downside was the wires were so thin, the smallest heat shrink tubing whem compressed didnt fit, so I just wrapped the ends in electrical tape.
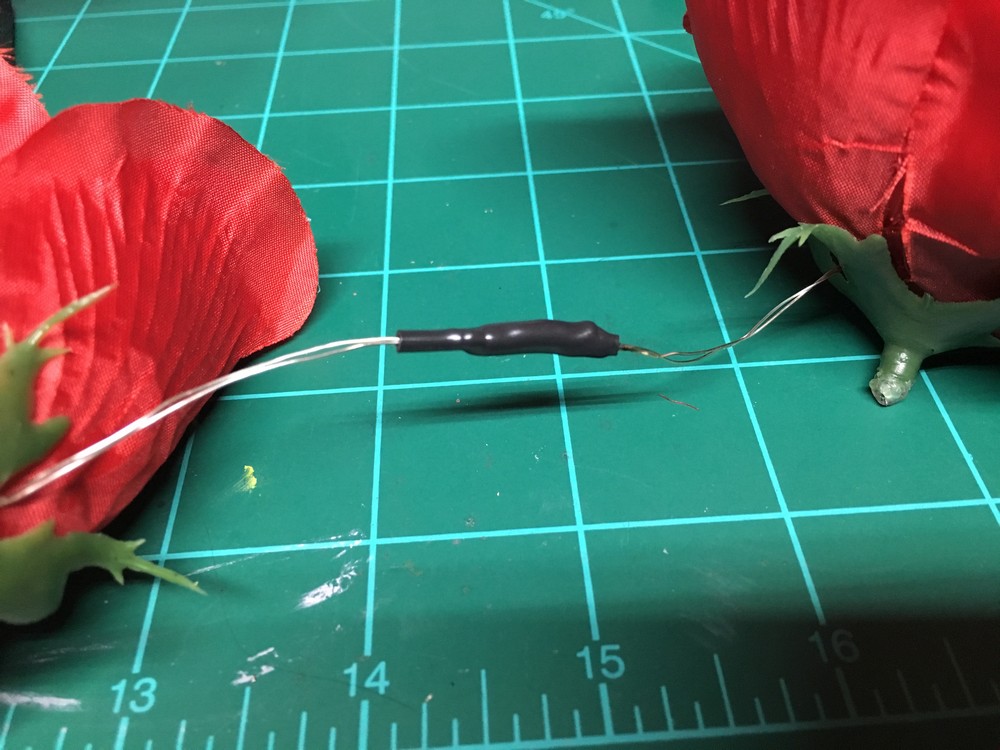
Later on after the connections were completely covered on the +/- sides, I used the next size up on the shrink tubing and combined them together.
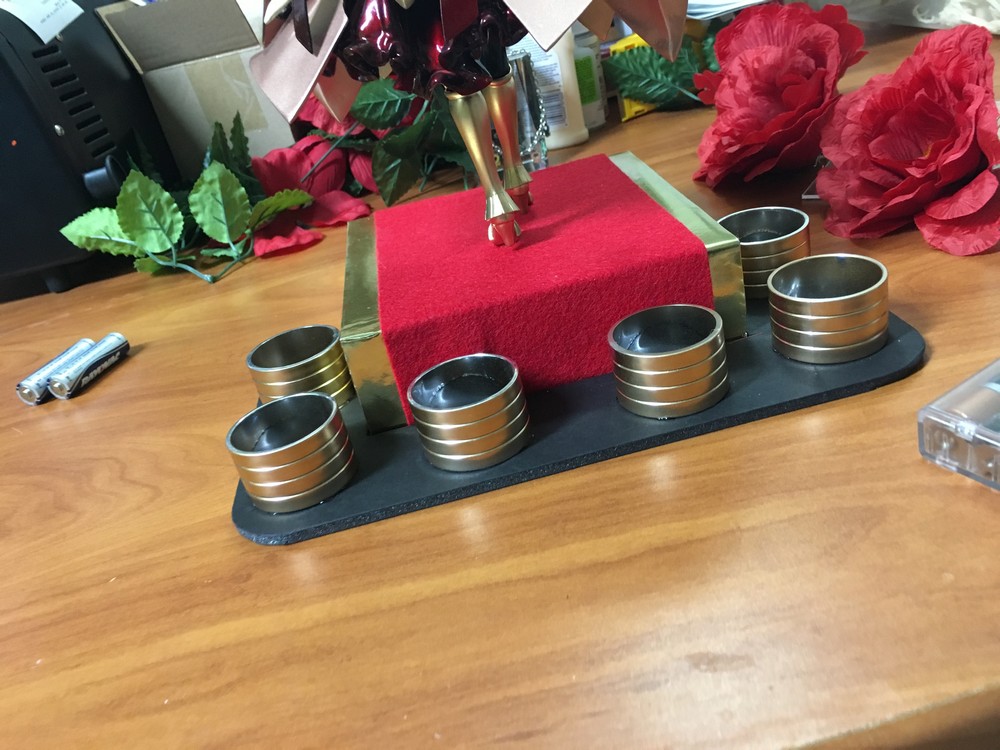
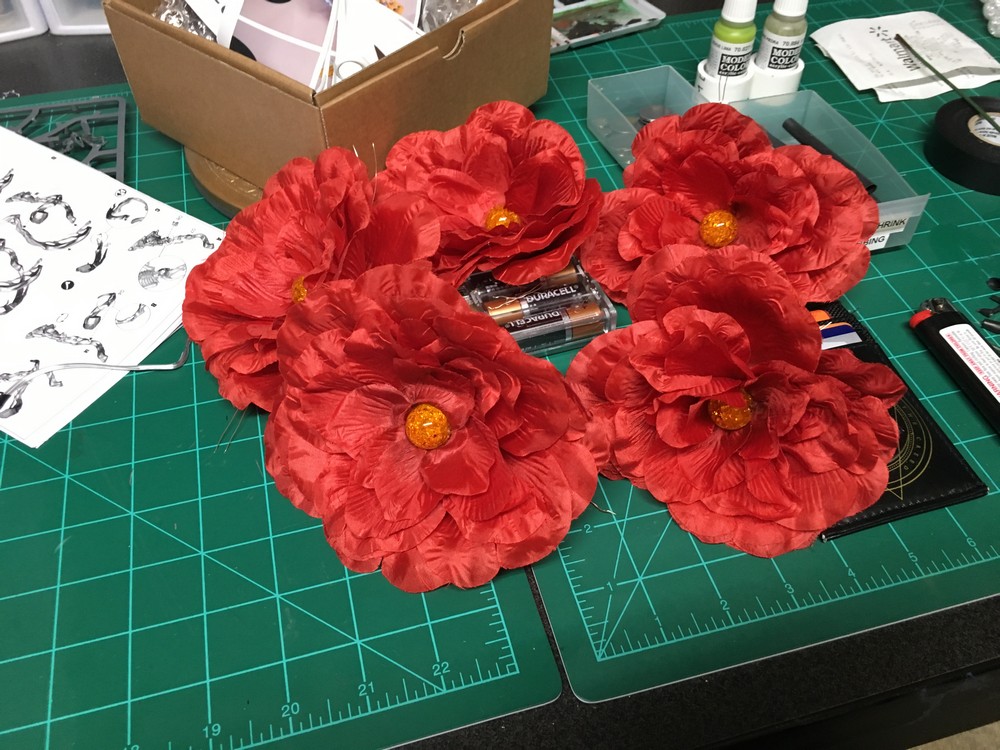
As for the base where the flowers will go on. The original sculptor used light up flowers that had a strong tea light (I think) to them with a flower attached. I looked for ages for these exact ones from china and no avail. Their are a few on the market but the brightness of the bulbs are not good at all. Your better off making your own. But given, this is 6 flowers and would require 6 switches, it was inconvenient...this I used tha tbattery pack LED line so you had one switch. Only downside is you couldnt arrange the flowers neatly without seeing wires everywhere. Anyway, moving on, The circular things that are attached to a cut form board piece are actually napkin holders for dinner tables. Found them for a buck at a dollar store. Painted them in either gold or silver (I forgot) and adhered them with hotglue on the base. Attempted a few times on the hotglue to where you couldn't see the hotglue poking through xD I designed this section this way so my client had the option to add or remove the flower base at anytime.
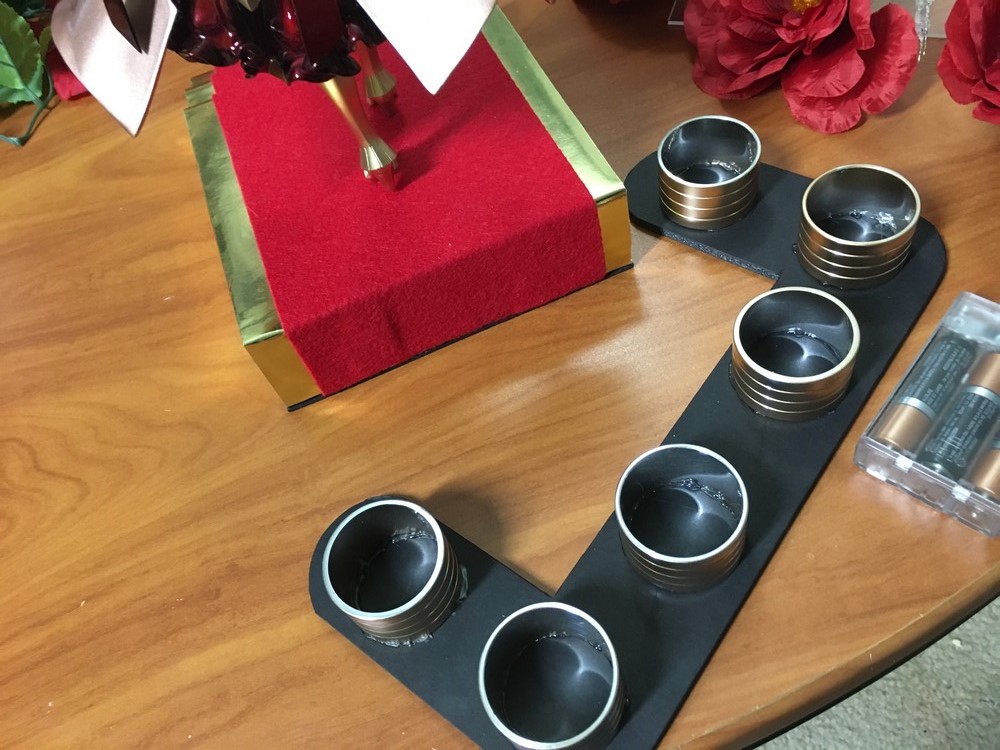
What the flower base looks like removes from the main stair case. After the LEDs were finished, I simply hotglued each one inside the napkin holder cylinders and tucked as much wire as I could to be hidden. Since these flowers are wide spread and filling, it hid a majority of the wires. The battery pack is hidden in the pedal nest in the center of the two main napkin holders. The battery pack needed to have extra cord length so my client could easily switch out batteries or turn off the base whenever.