


Hiya! I’m Samantha, Garage Kit Builder & Illustrator in the USA.
For Work Schedule Updates - Click Here
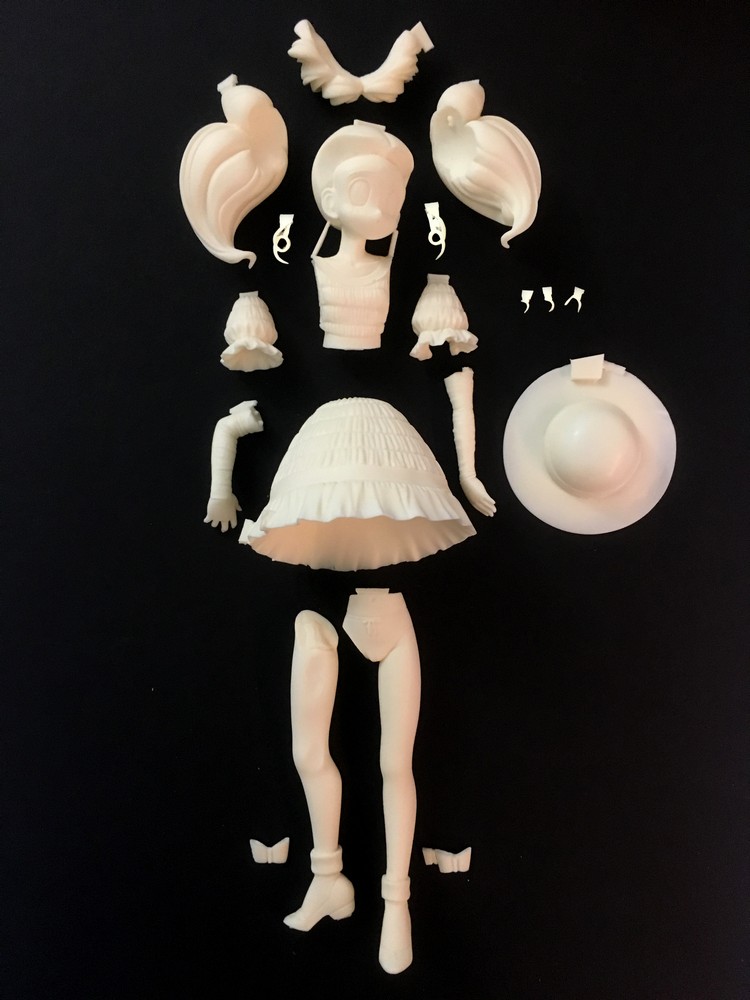
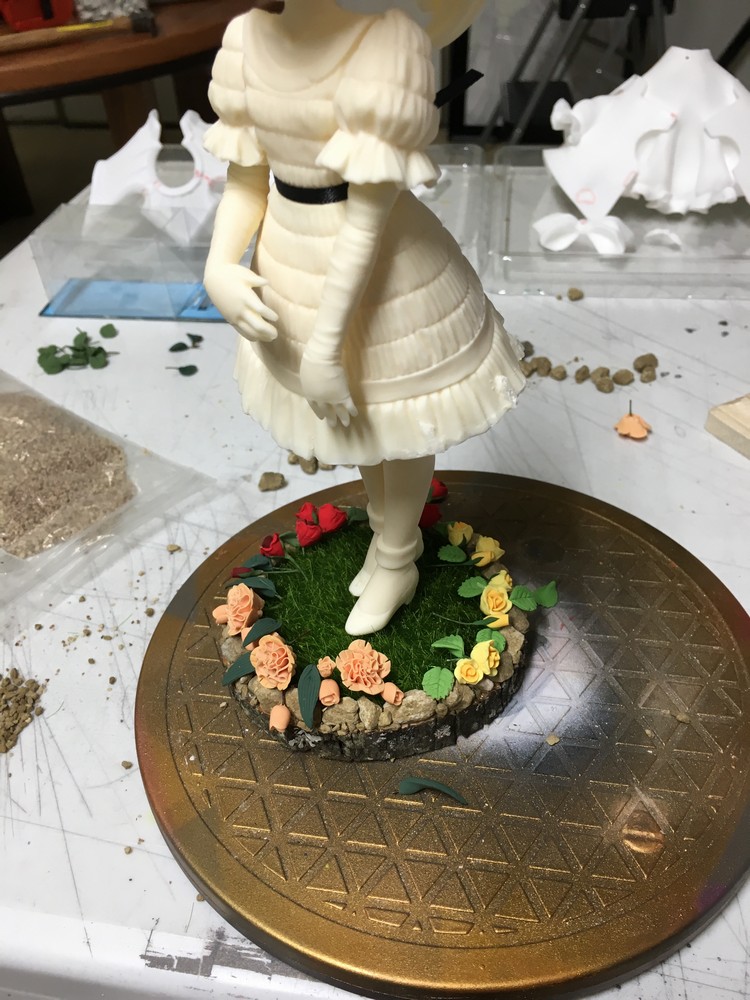
1/5 Chibiusa
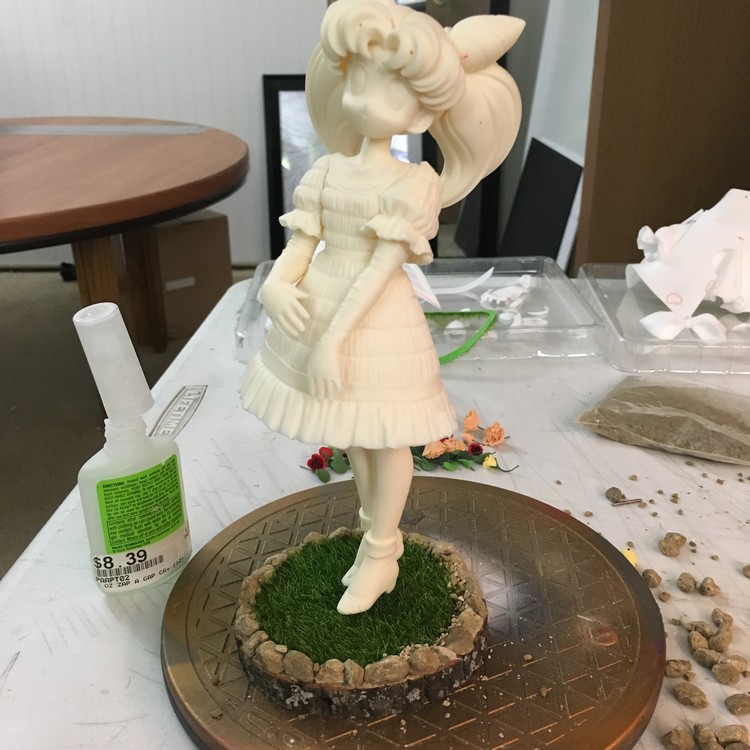
Commission in progress for an international client of mine. Requested to have a very exotic color scheme to her design overall. Some pin points minus explaining the color scheme right now is having her eyes reflect off of Sailor Moon Crystal Season 3, add eyelashes in black, eyelids will be black as well, ribbons in her hair, flower accessories, jewelry, earrings, shoe studs, back ribbon bow and a custom mini bark base with grass on top with stones and flowers.
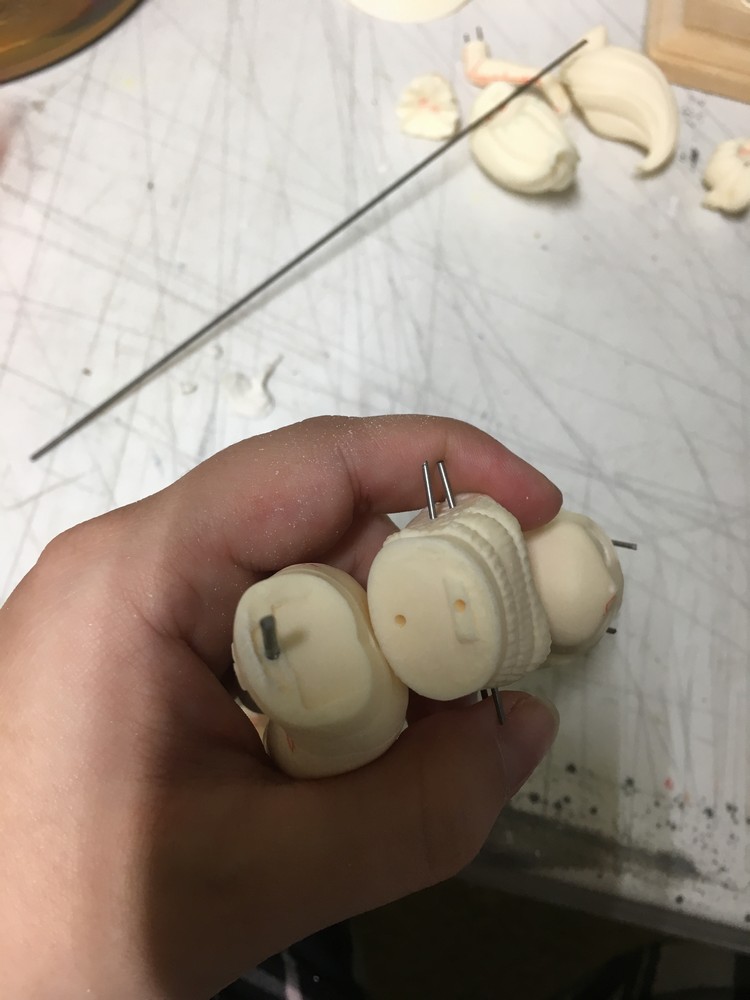
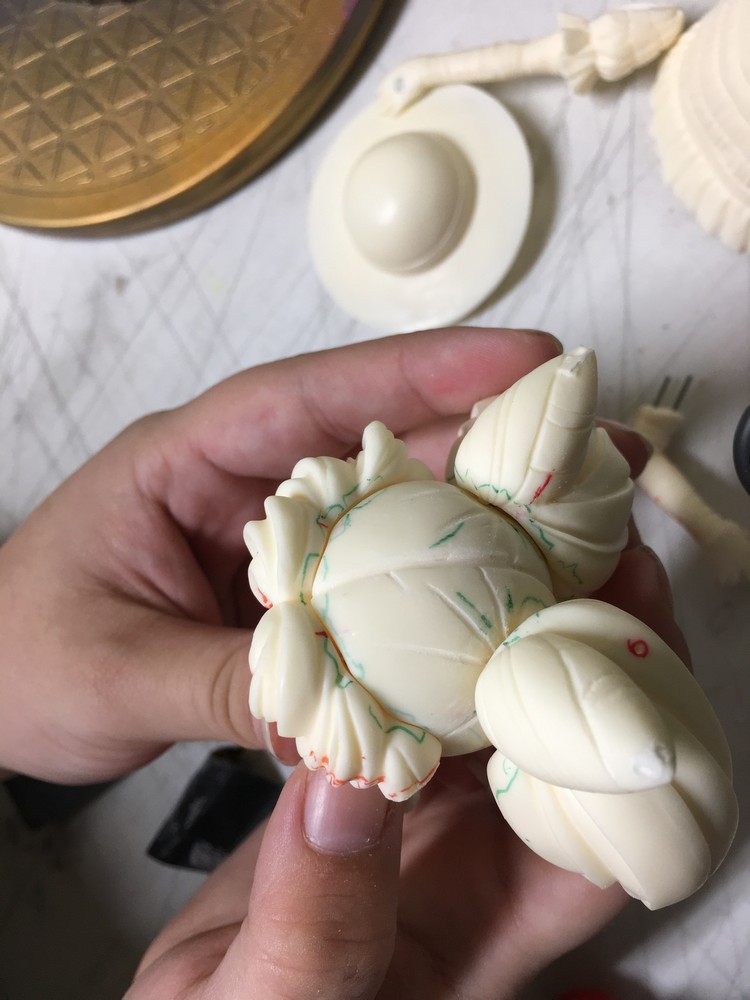
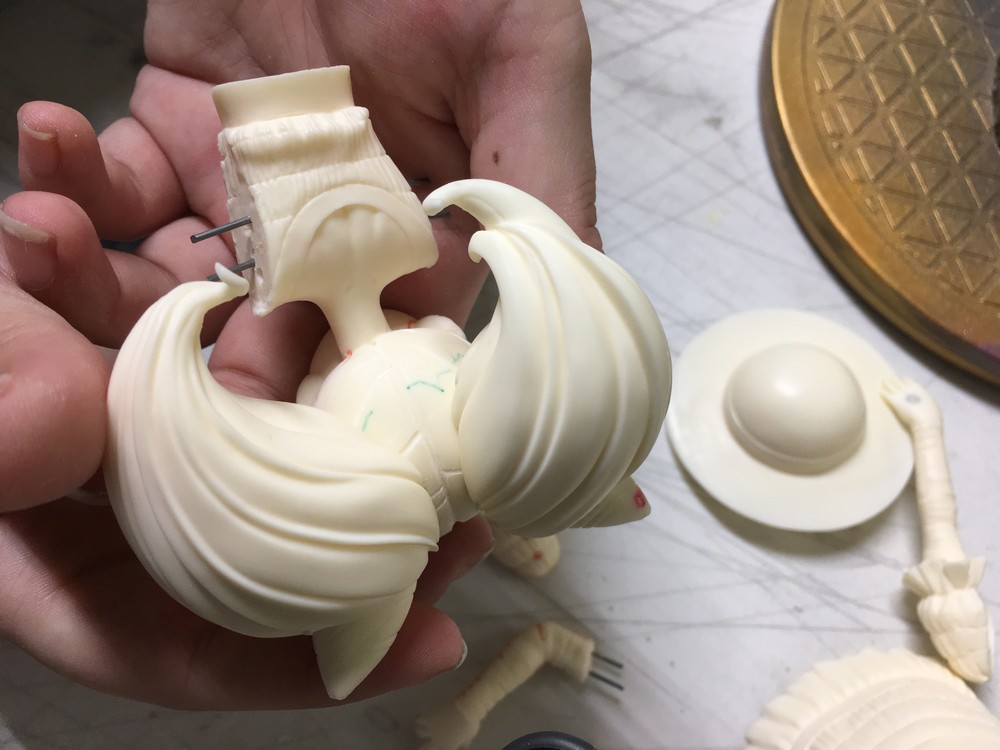
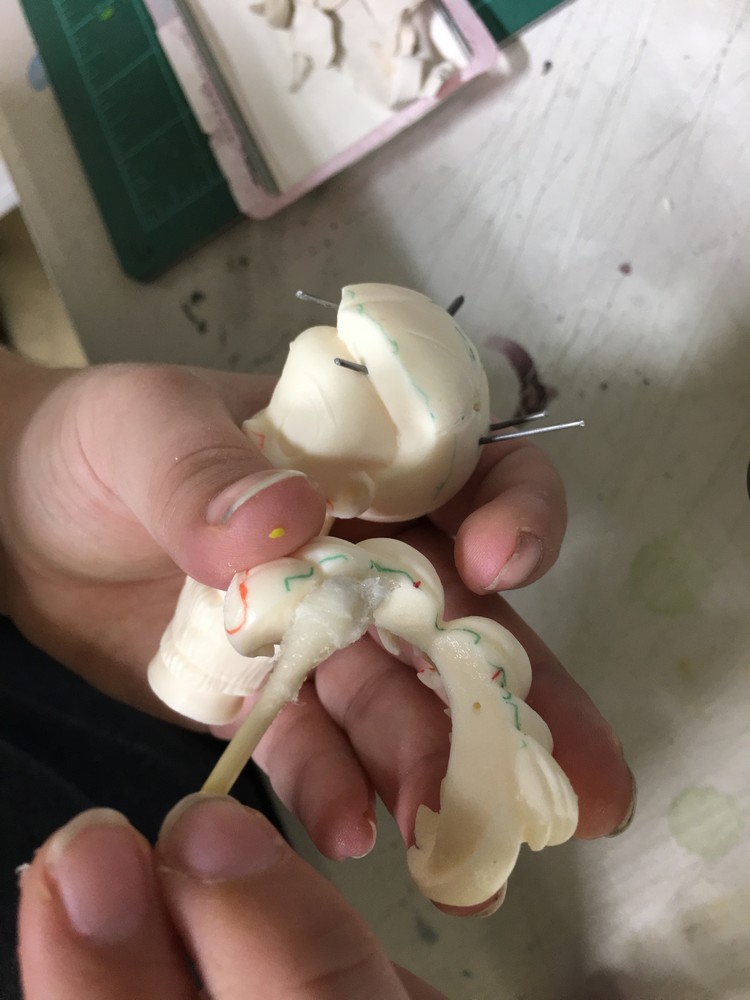
Client sent me their copy of the Chibiusa kit for me to inspect. As my previous time in working with this kit, at least I have a better grasp for doing certain things now that will be easy in the long run, but regardless still needed decent prep work.

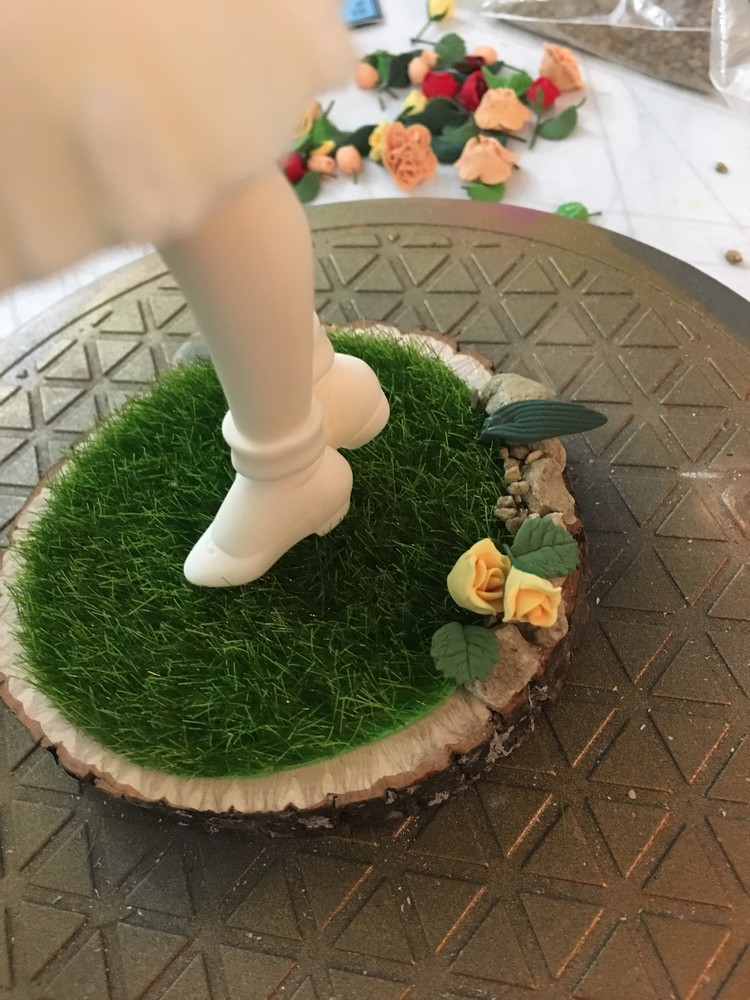
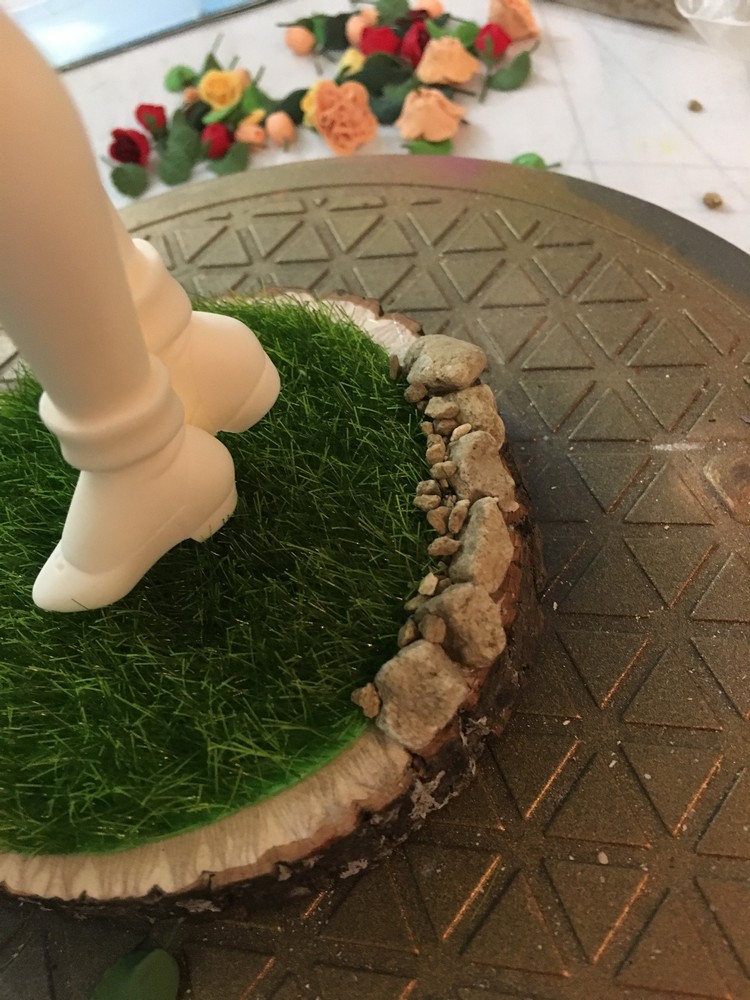
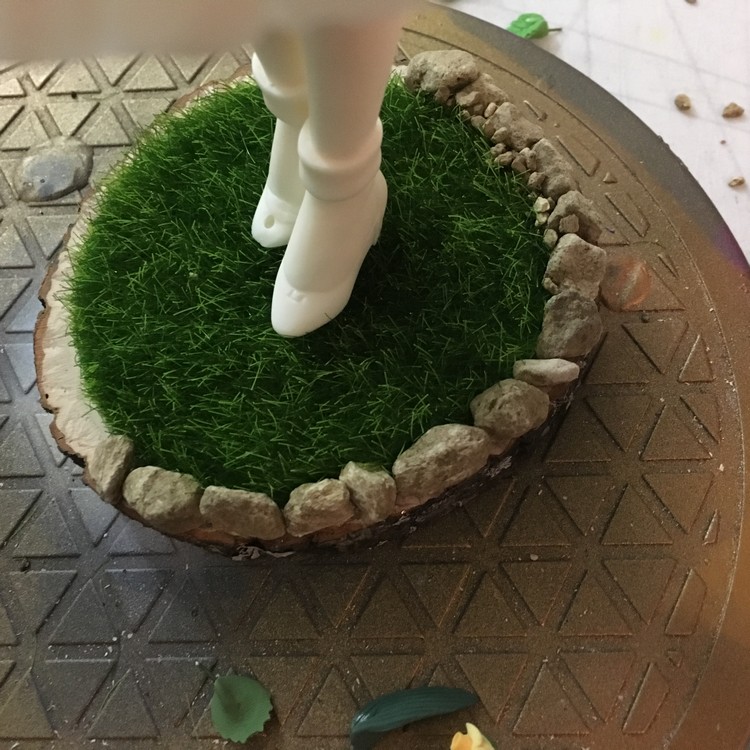
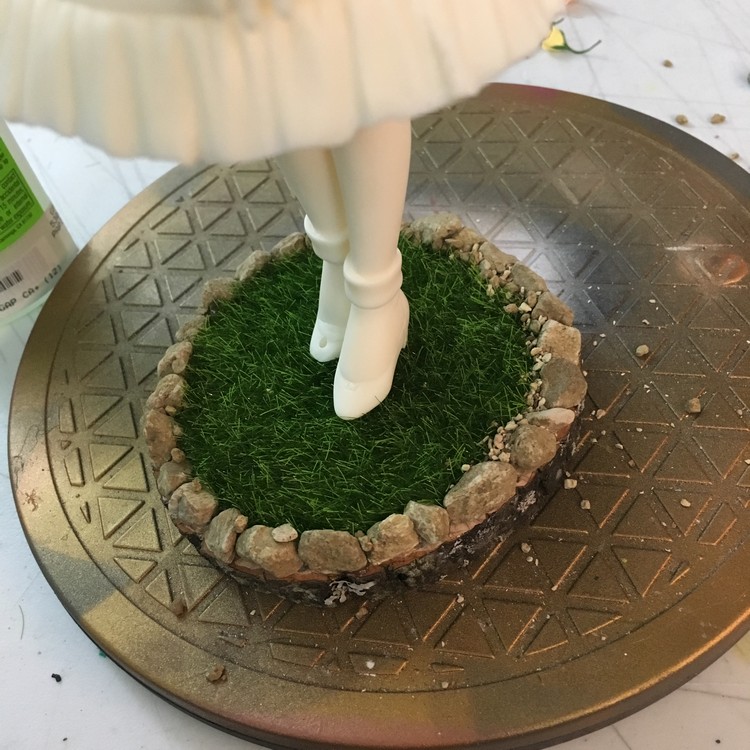
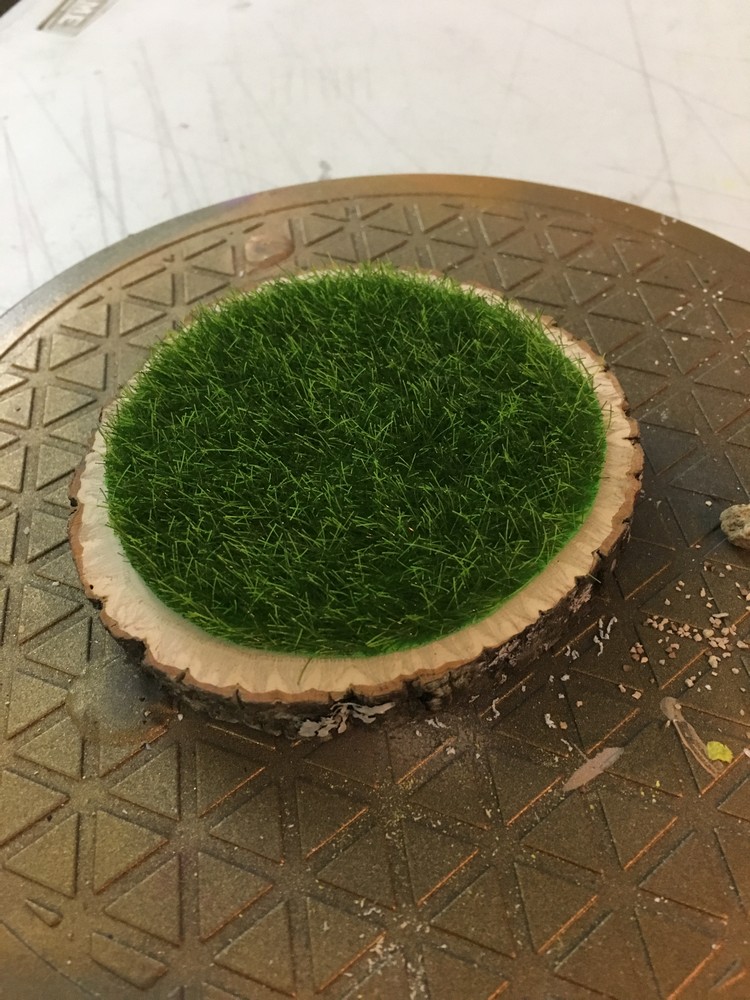
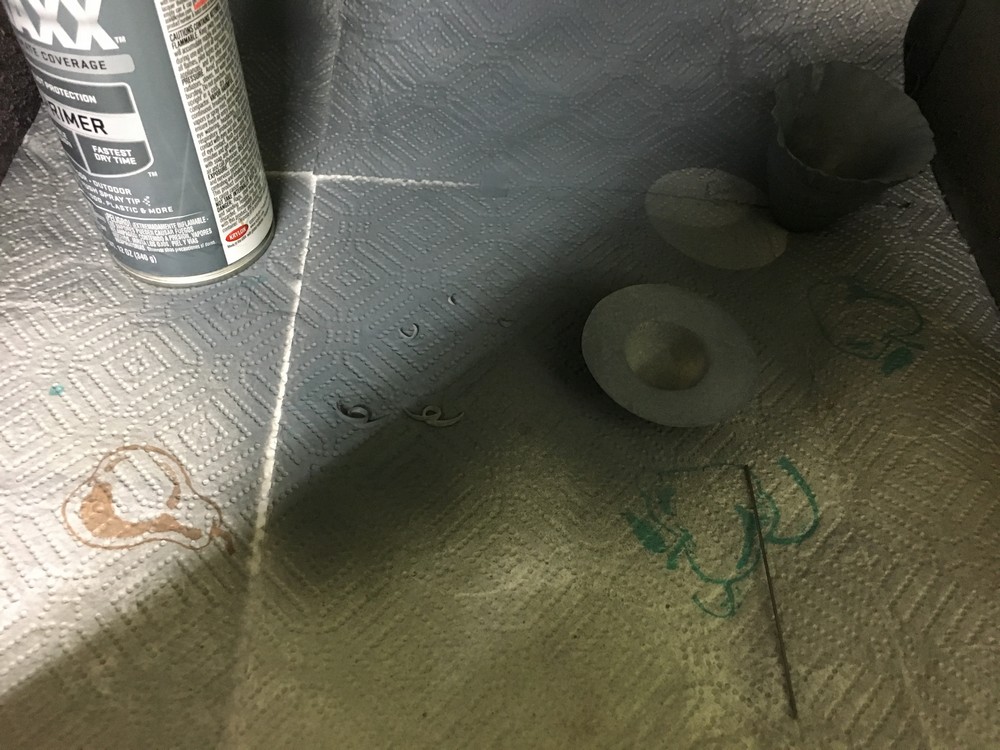
Since my client likes small base designs, we decided on a piece of wood bark which was intentionally a coaster as the support. Then purchased some faux grass online for the texture. Different grades or rocks I had in my possession from a previous project, but hot glued larger ones to the base by hand selection, smaller rocks using adhesive glue.
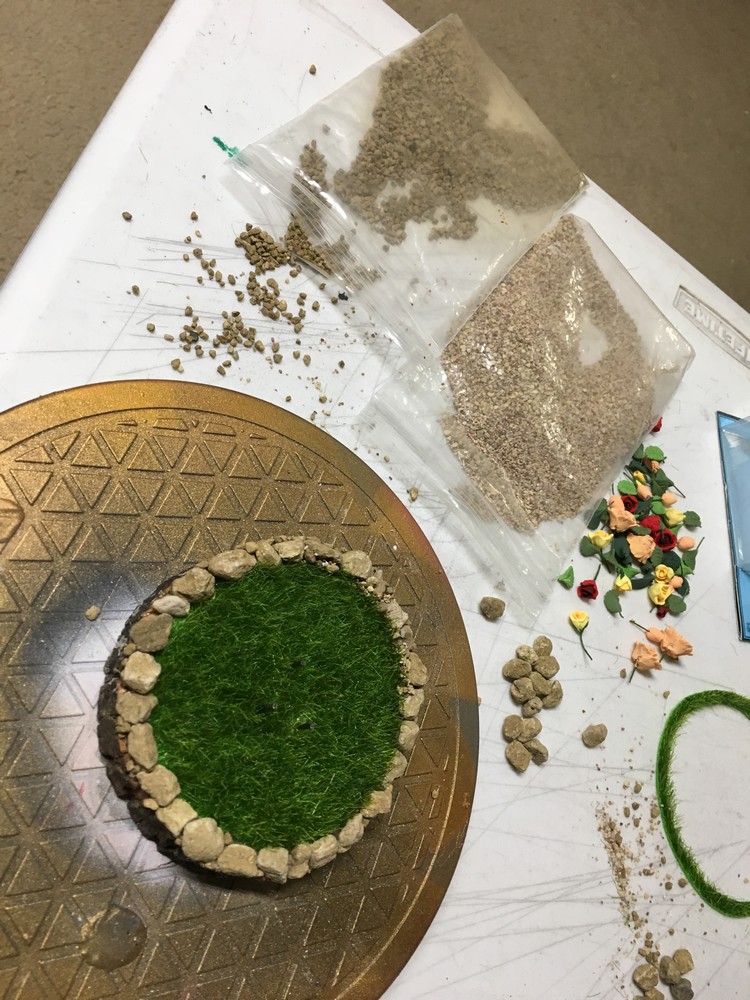
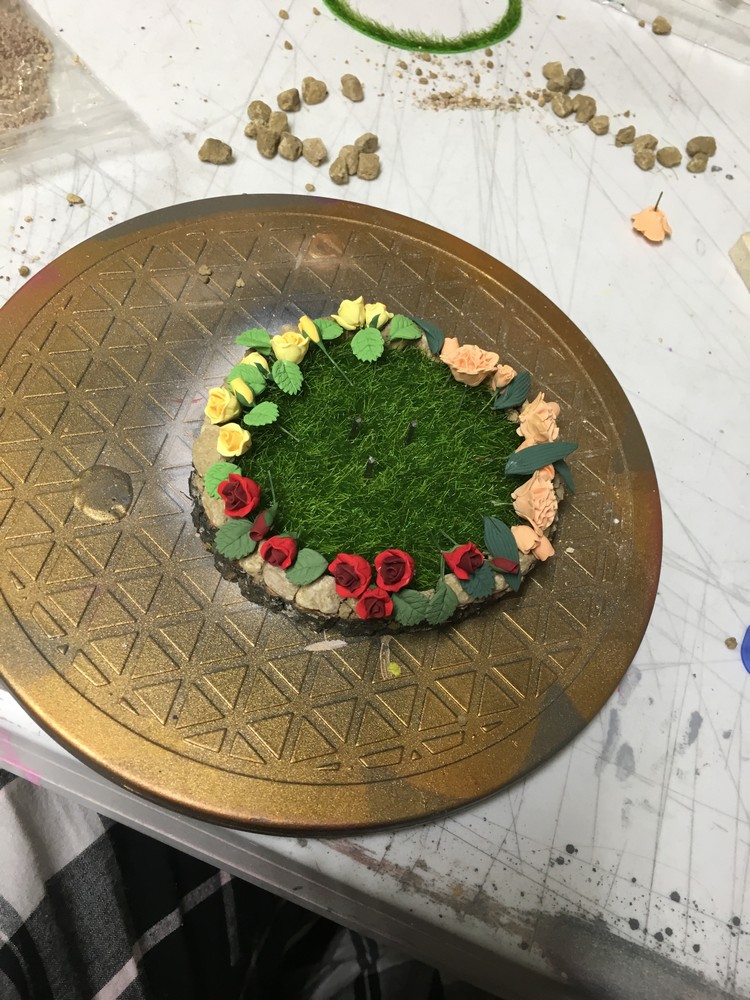
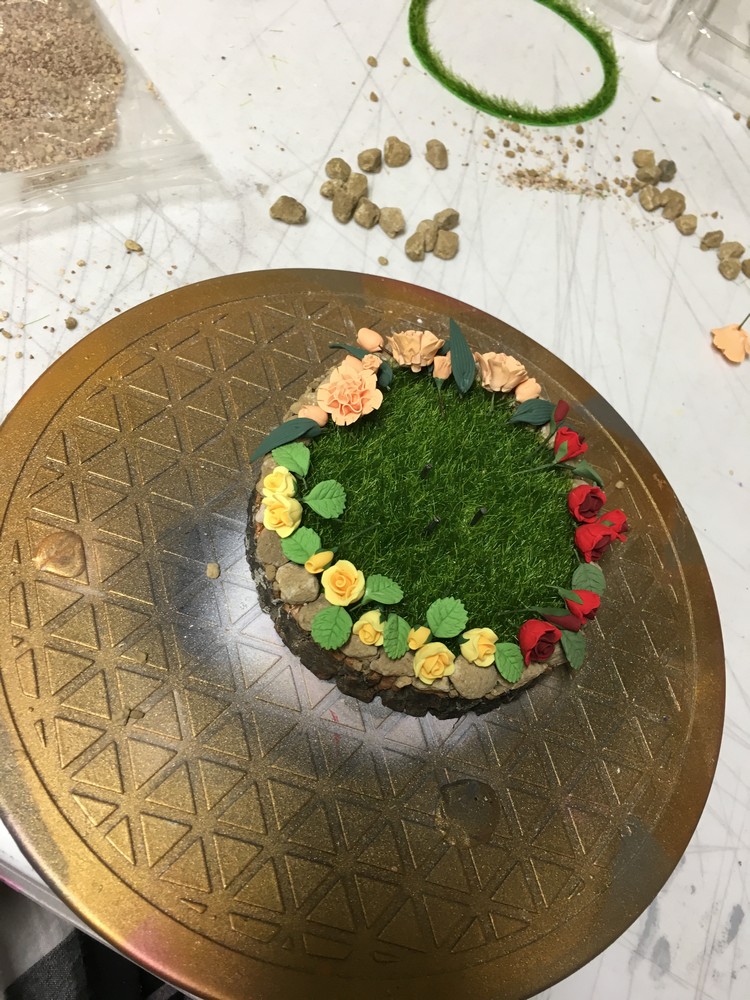
At this point it was a matter of flower arrangements. Went with a few rough draft idea given she likes a lot of the flowers we chose. In the end we will work on a final layout of mixed flowers instead of them sectioned off by type. Given these flowers were not held down, made it harder to show an idea without them falling over, lol!
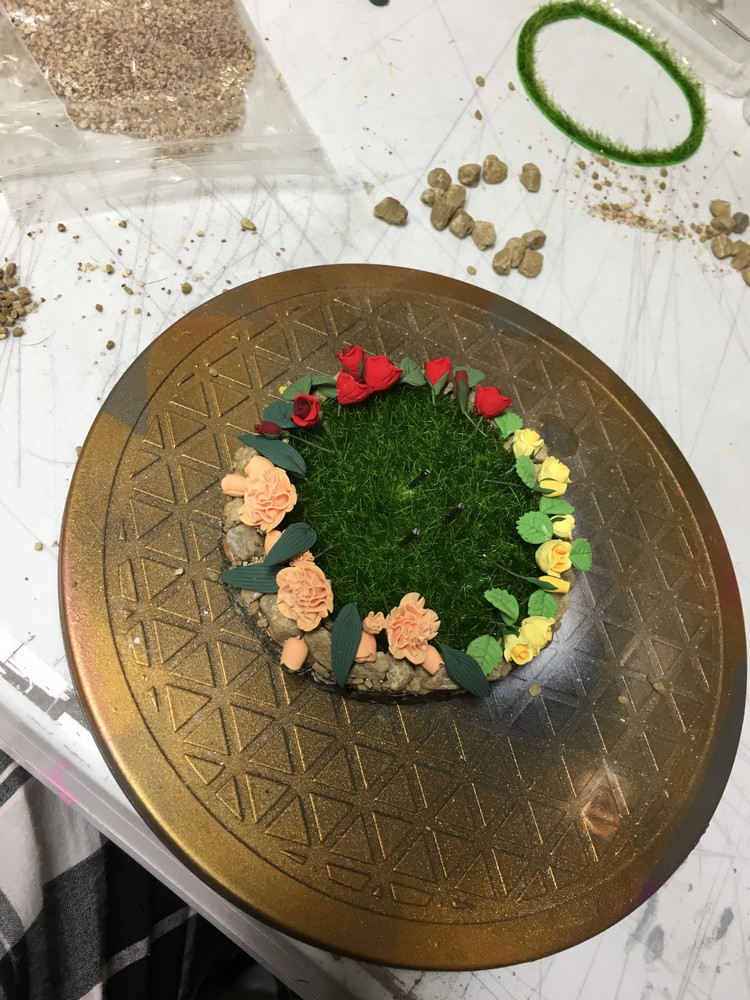
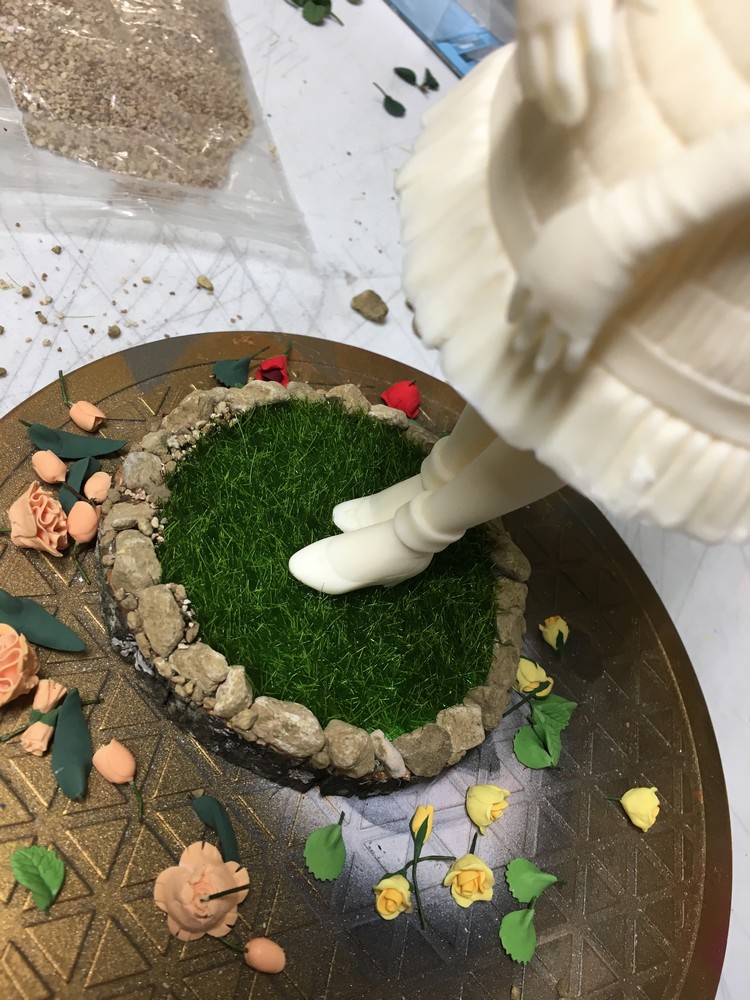
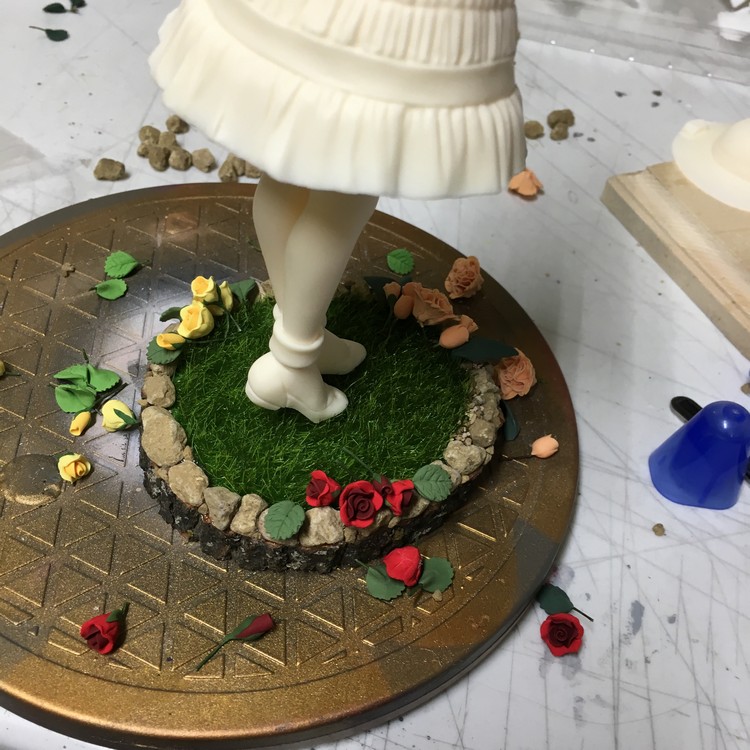
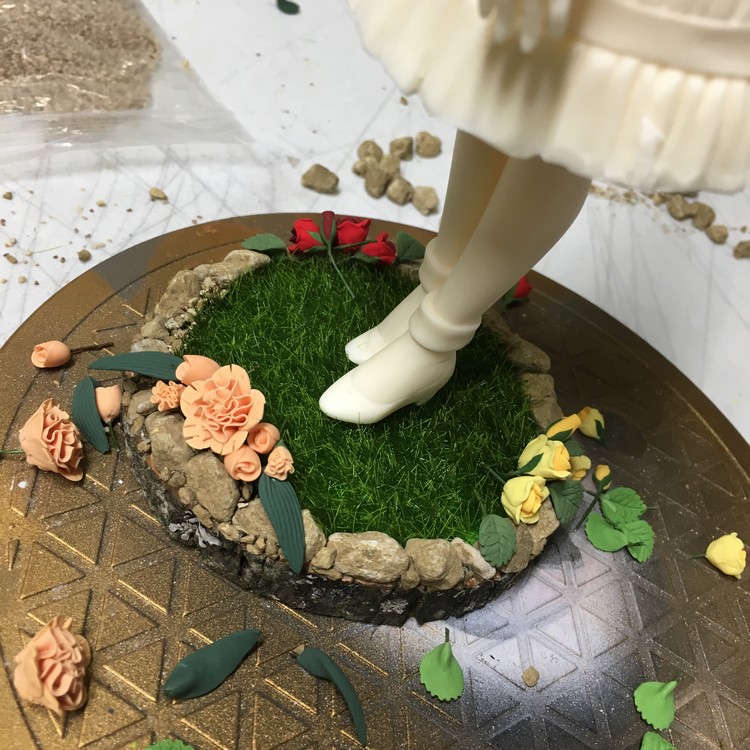
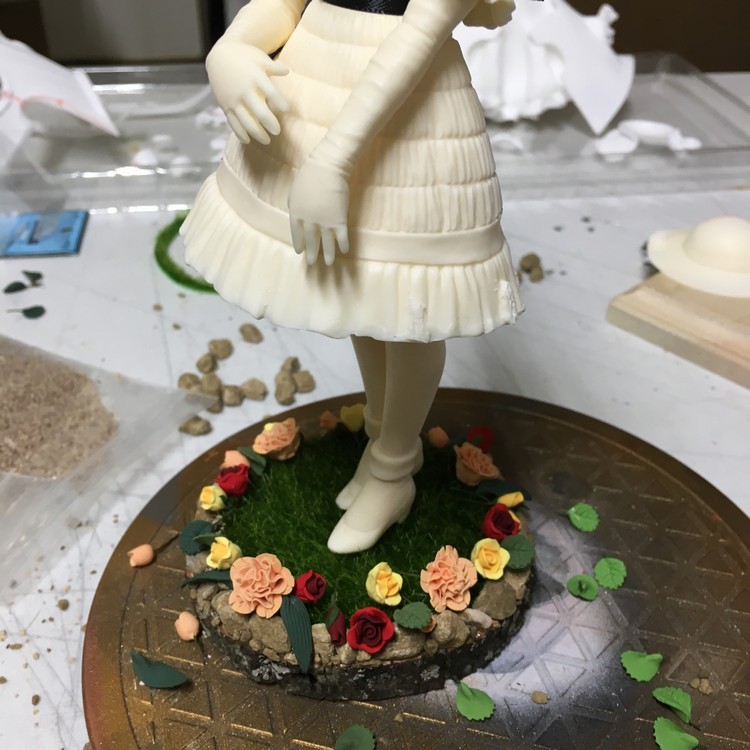
This last photo is something she was eyeballing for, though final layout will come into play over time once I get them arranged better.


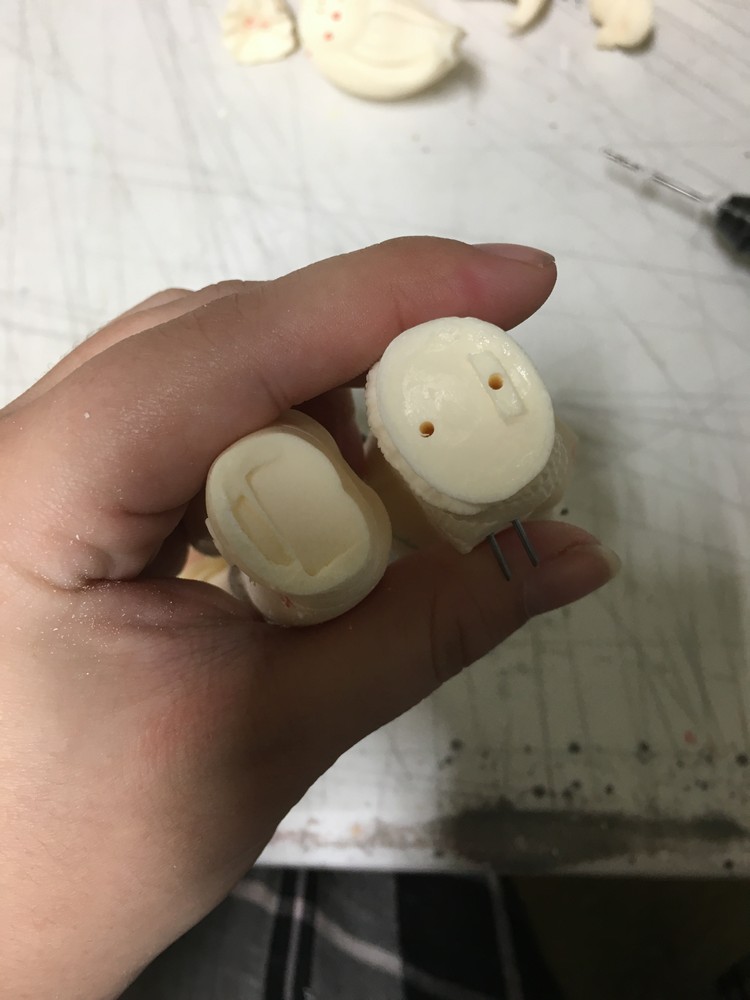
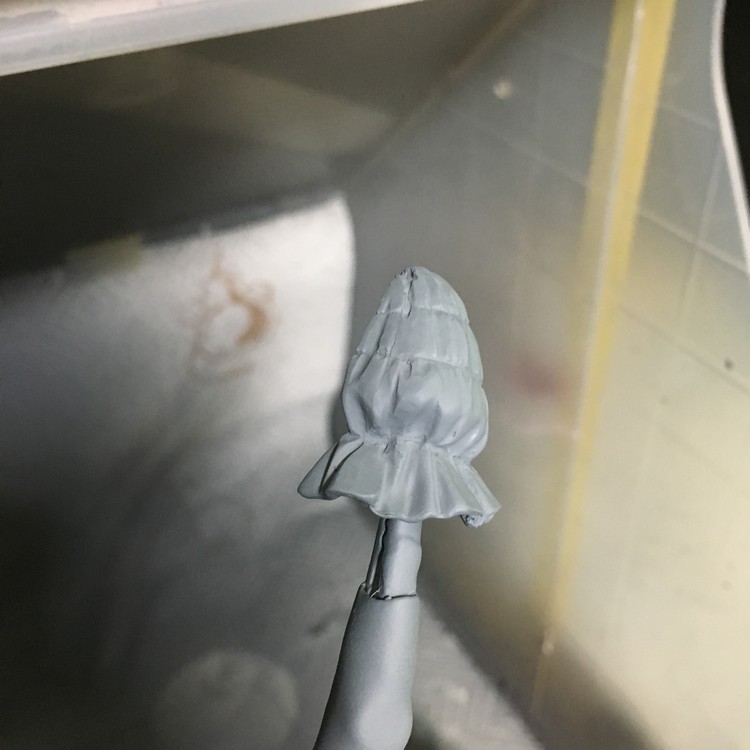
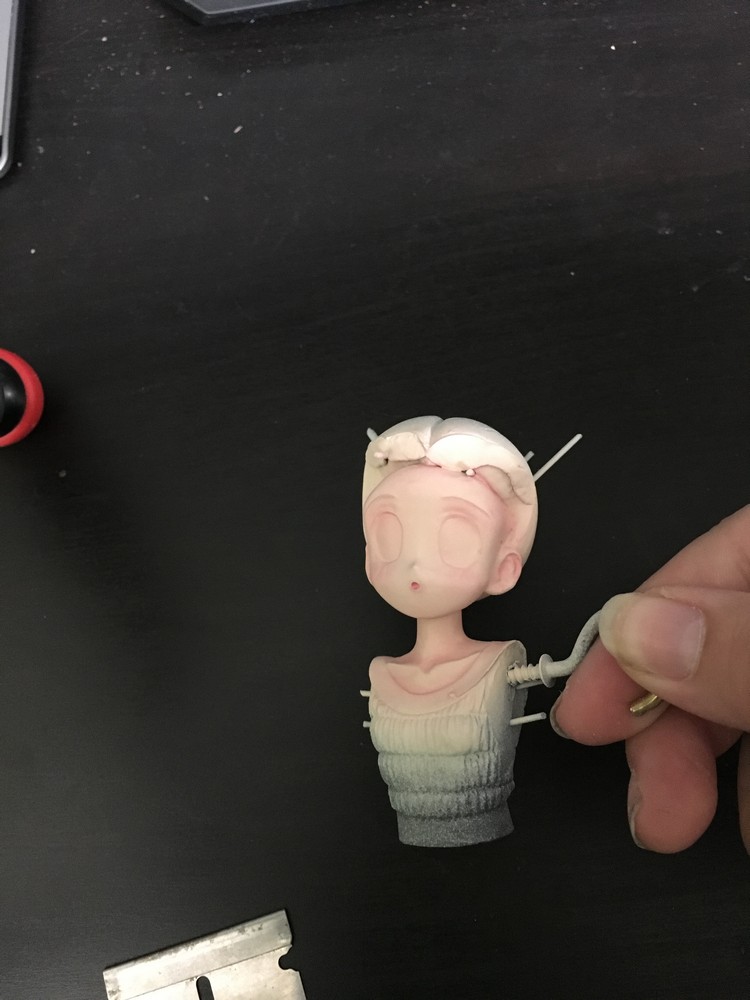
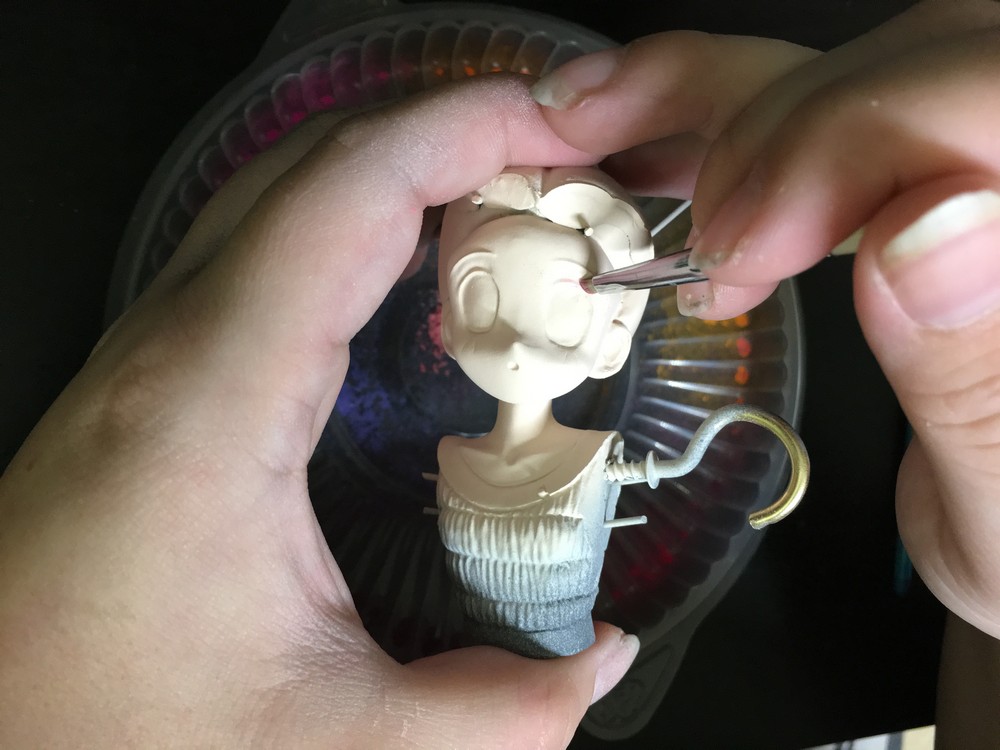
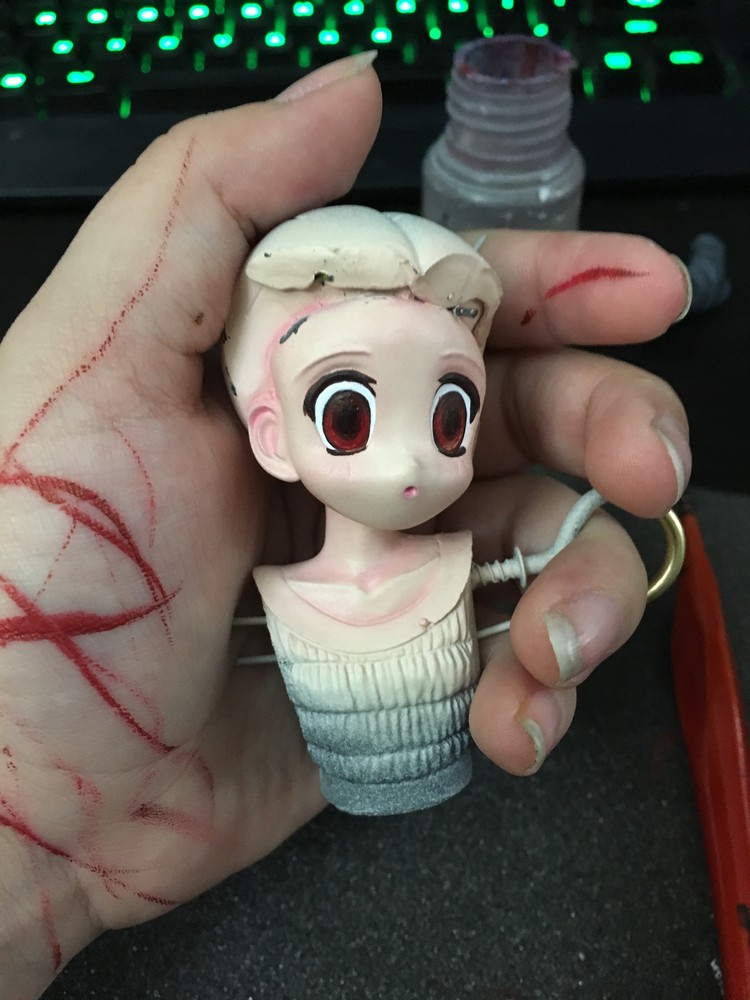
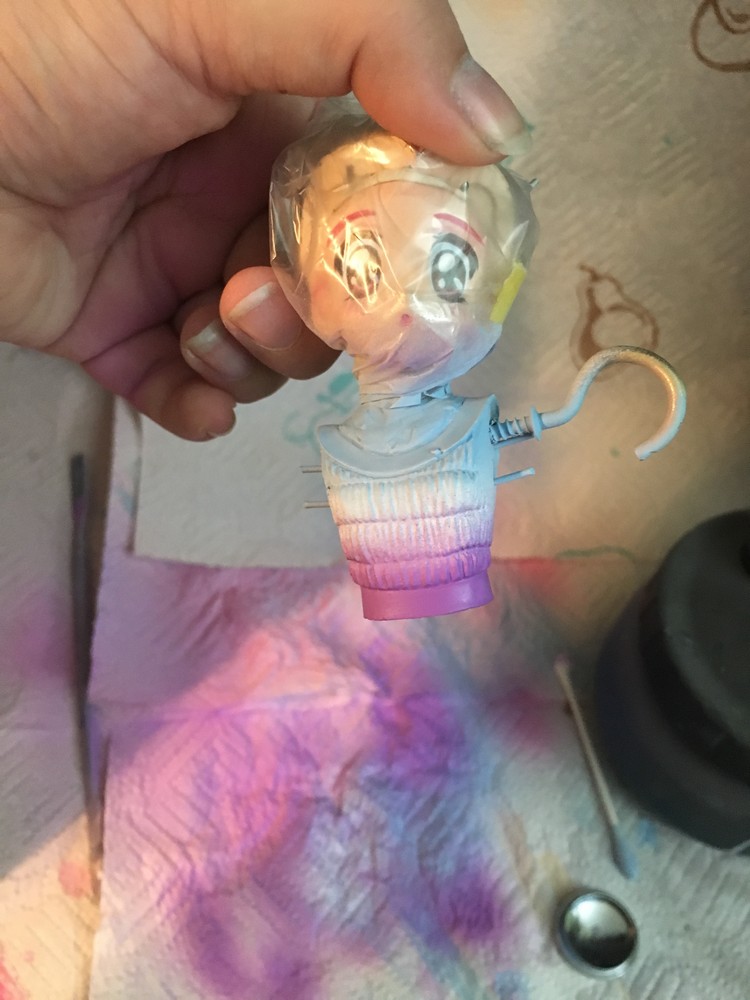
Next, I started working on the resin, mainly the eyes. The eye style she was going for is the new look of Sailor Moon Crystal Season 3. The sculpt already carved the details in for the anime look, but we agreed to dill and drill them smooth to make way for the new look. I used light curing putty to fill in the small gaps then used a router tool to smooth out the areas and deepen the sockets.
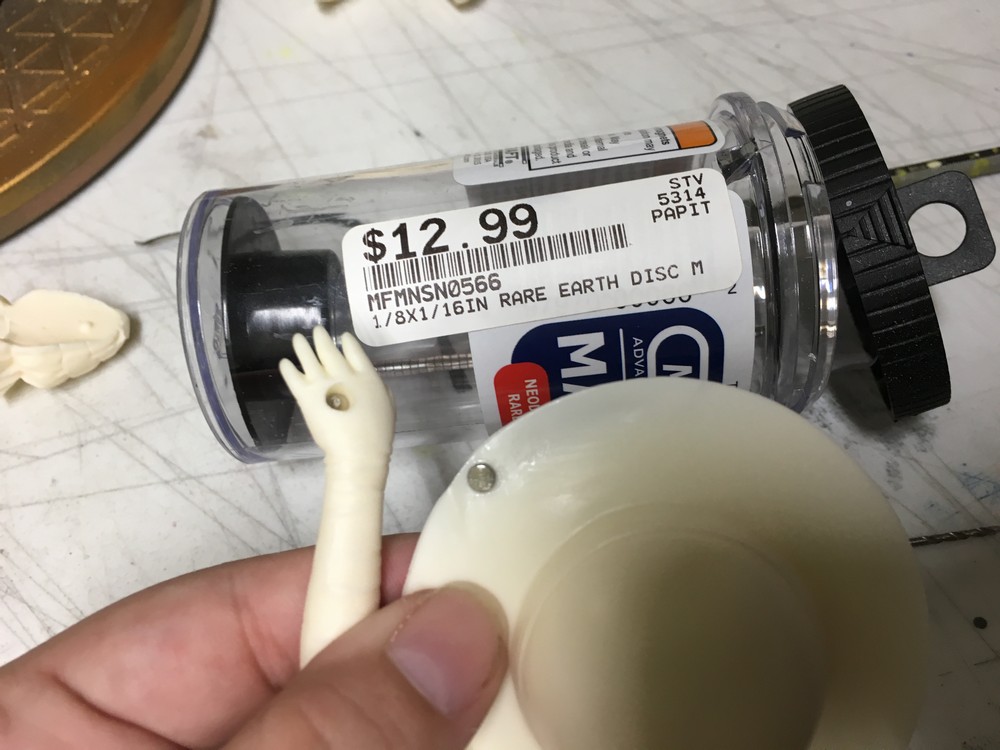
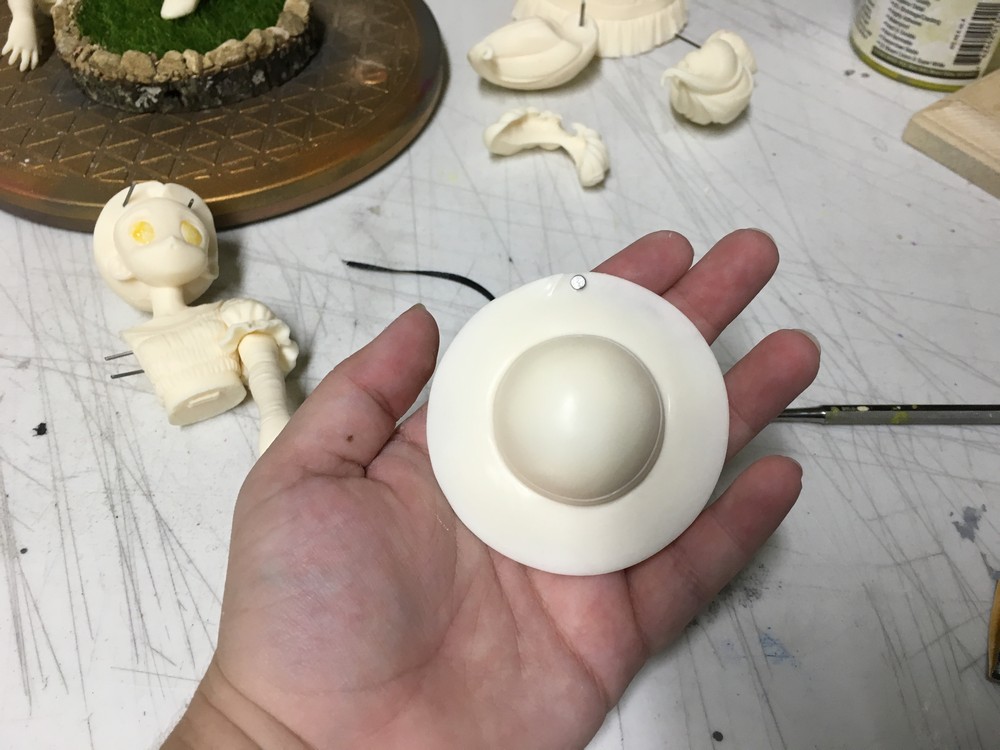
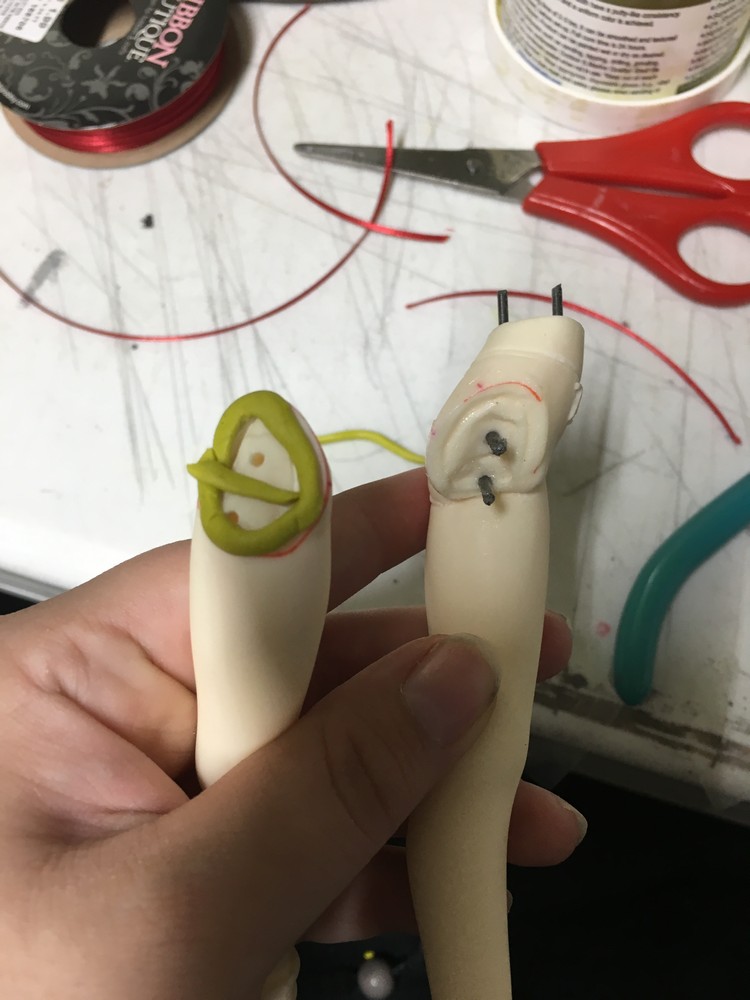
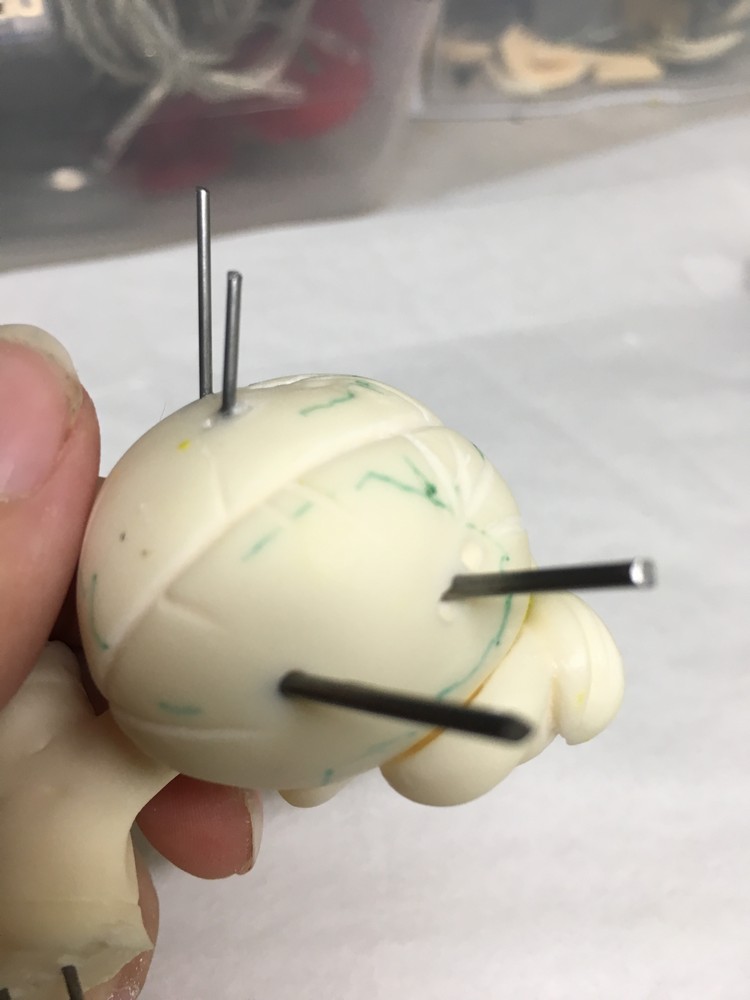
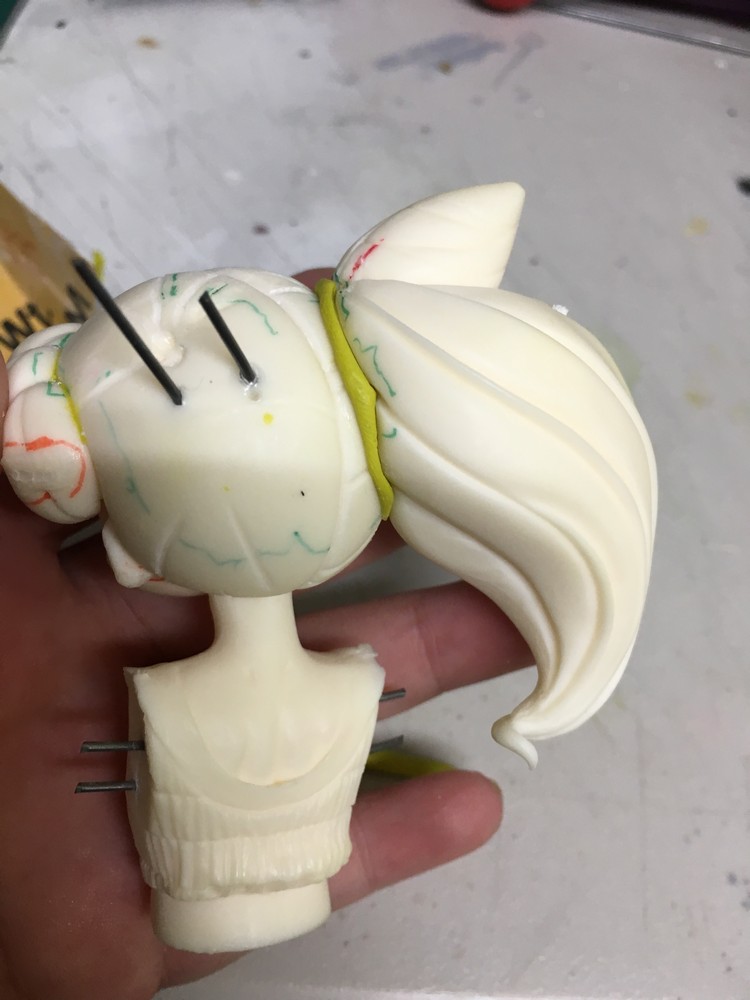
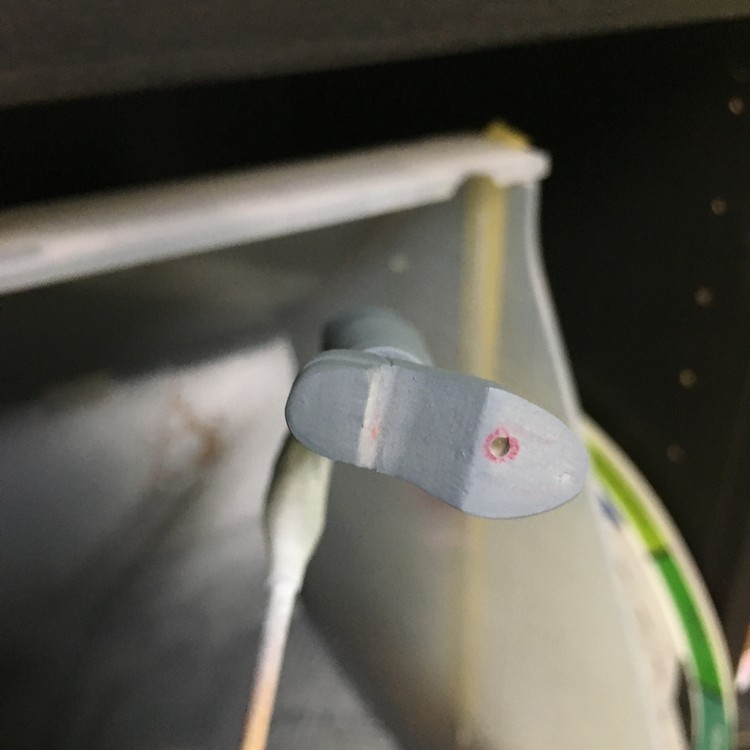
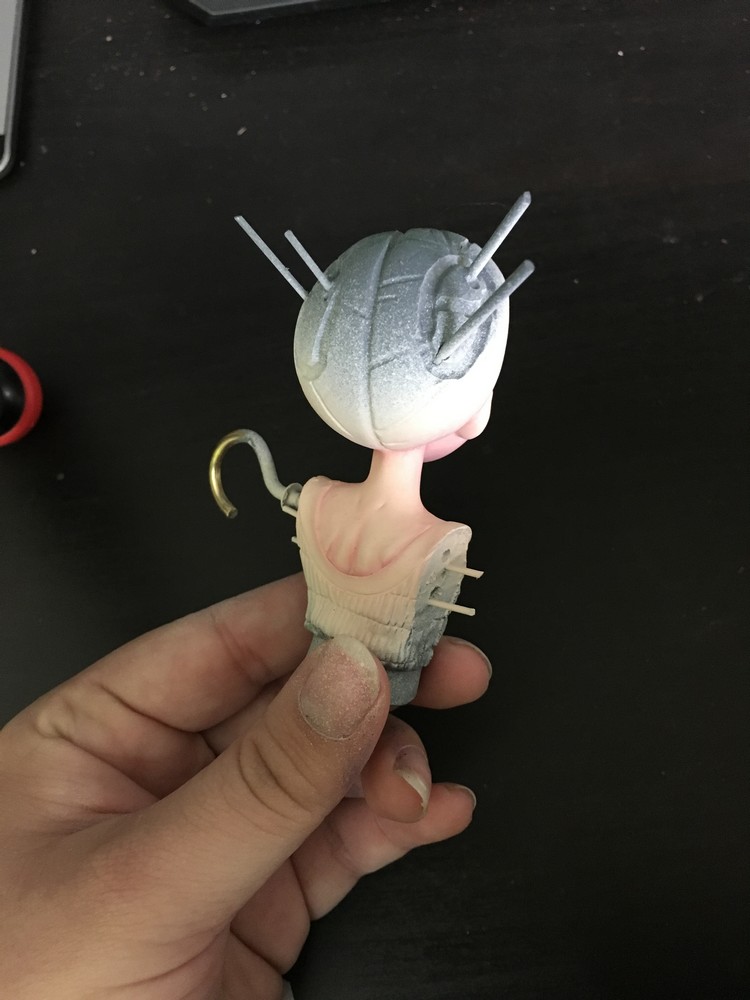
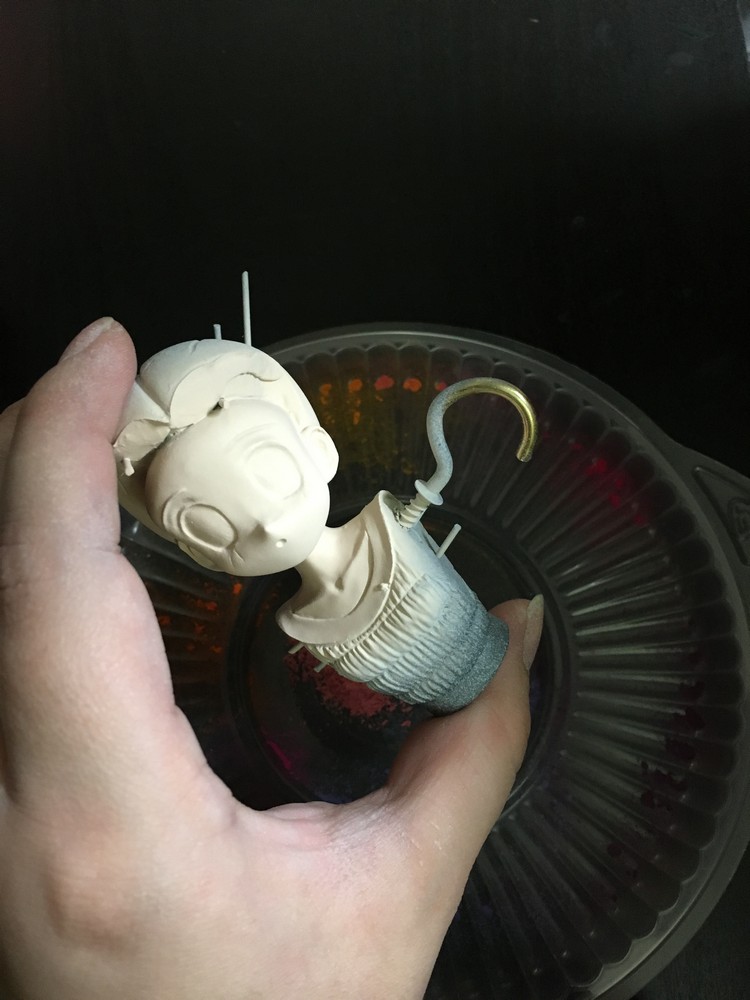
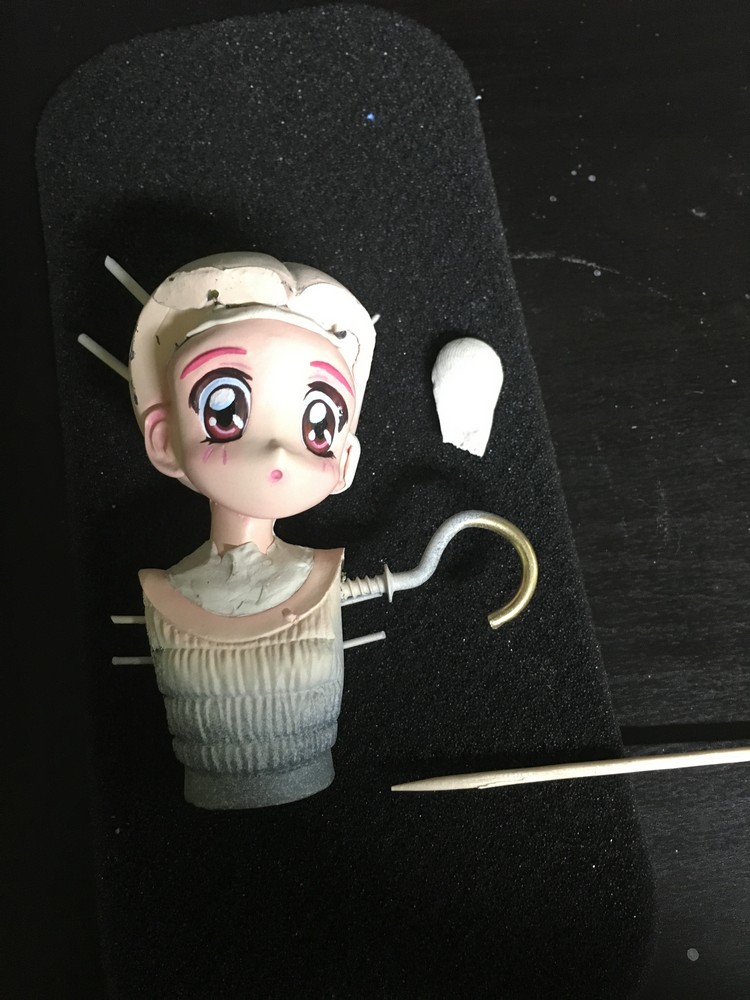
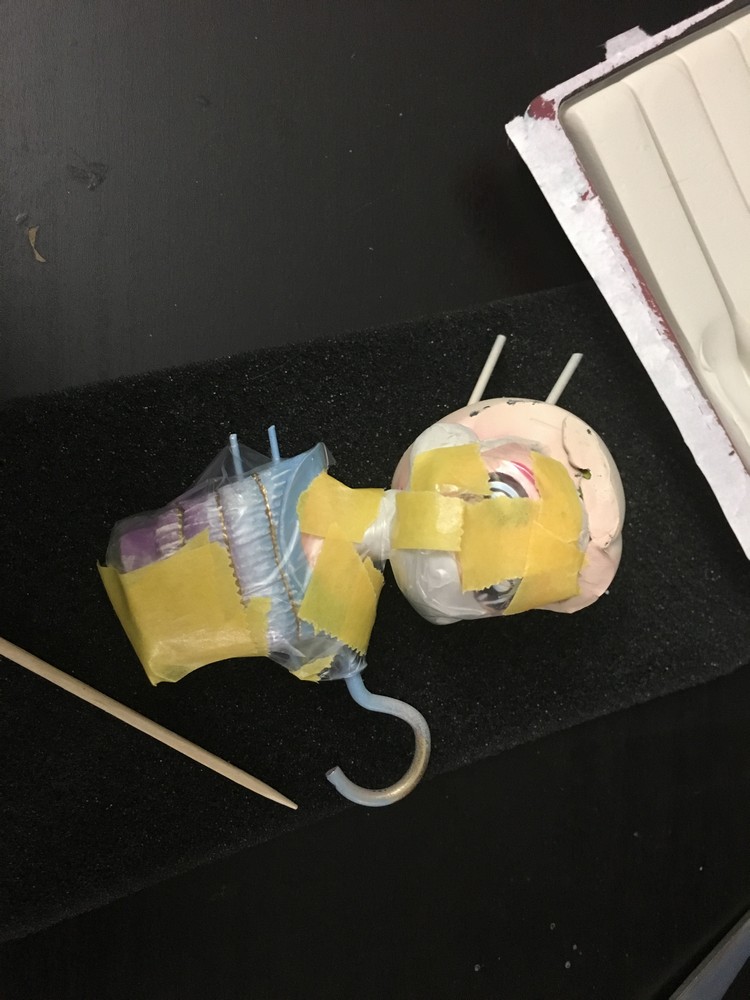
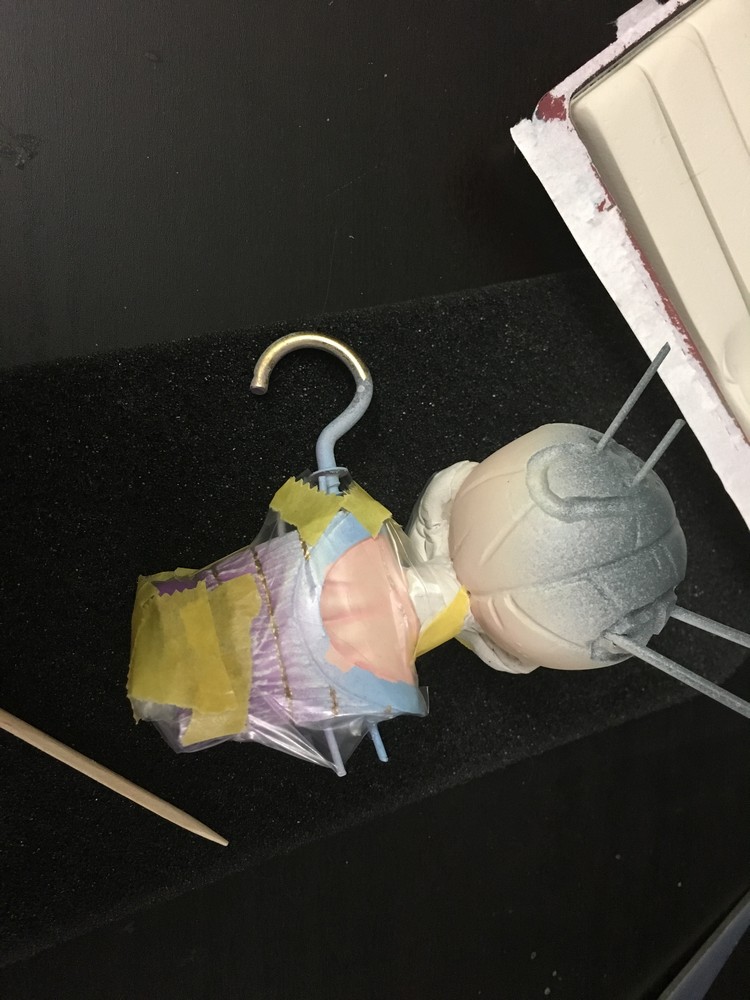
Yep, these lil devils are expensive but it is just convenient to drive 5mins down the road to get them >3>;;; Anyway, these are the measurement magnets I used for reference. I picked up even smaller ones so I could pin 2 small holes in her hand but they just weren't strong enough. In the end, used a larger magnet. The last kit I worked on which was the same Chibiusa figure I just put a pin in the back of her hand and just had a hole / hook bent to hold the hat. Live and learn I guess, LOL!
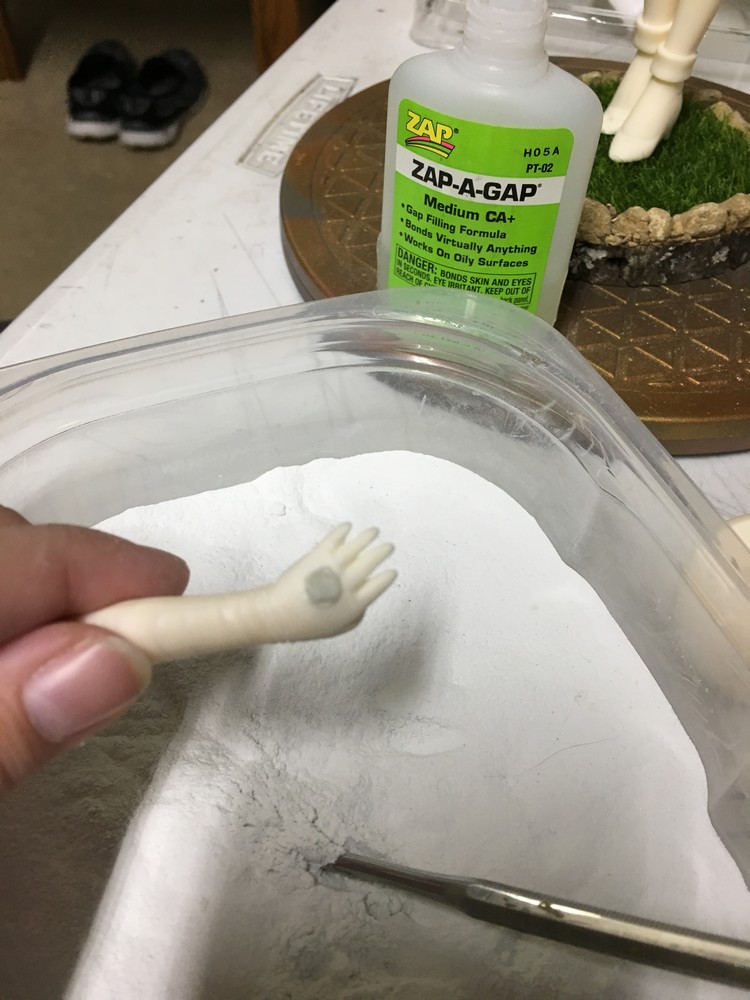

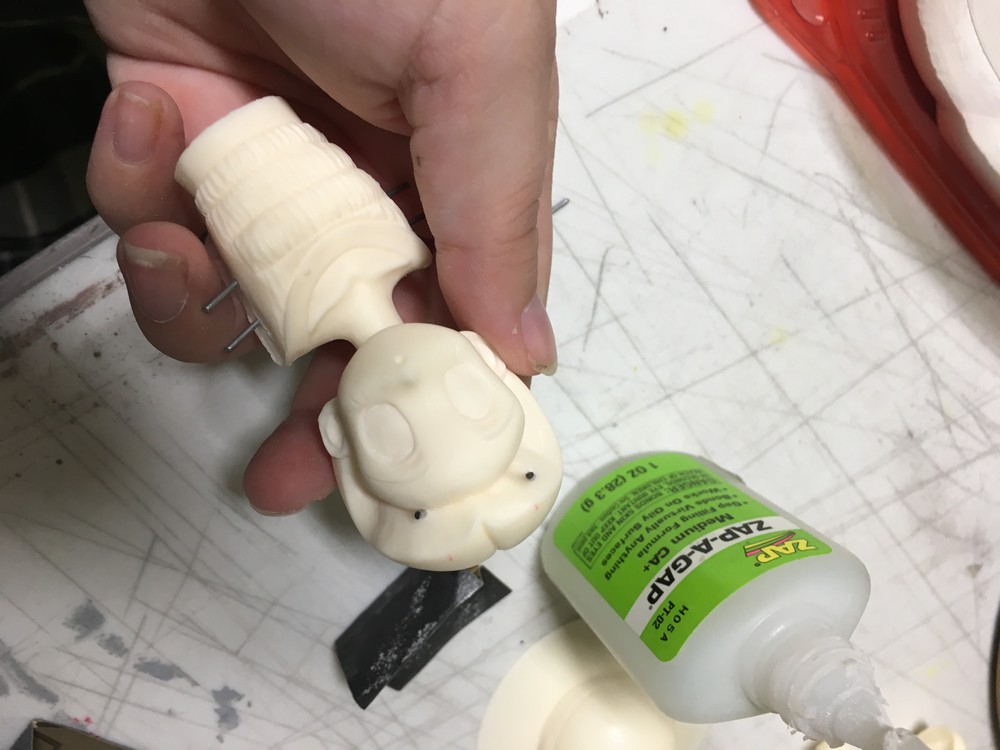
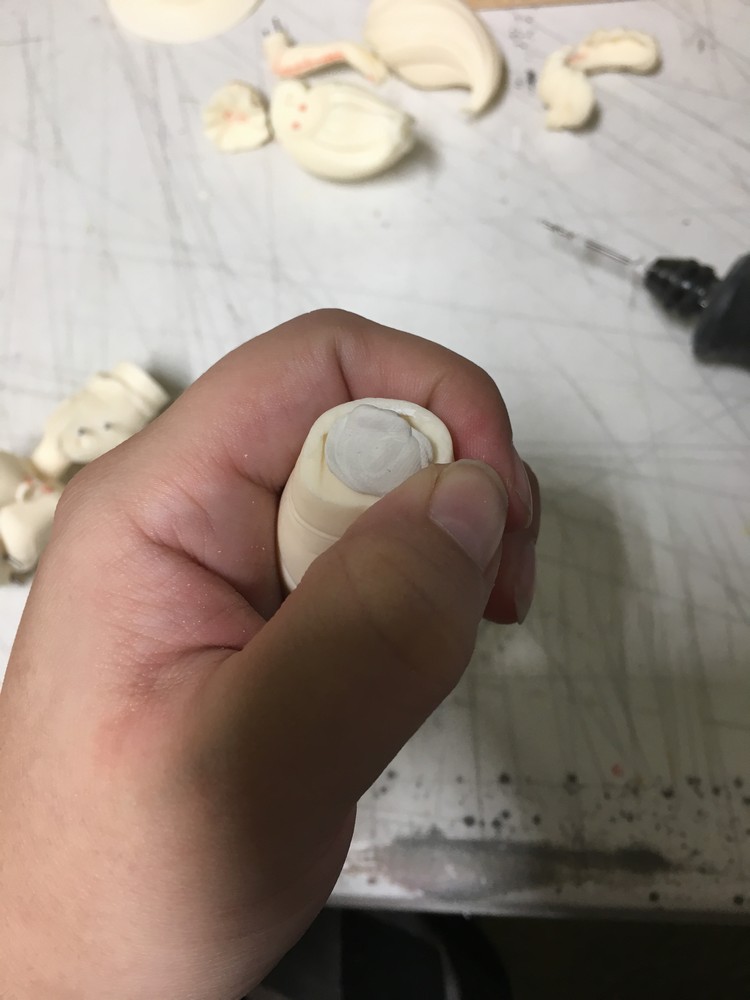
Thanks to my colleagues, I have gained a lot of knowledge throughout the years on a lot of methods. Thanks to Leona for this tip in using Baby powder and Zap a gap to make a quick setting putty to quickly sand off without having to wait hours for Apoxy Sculpt to dry =)
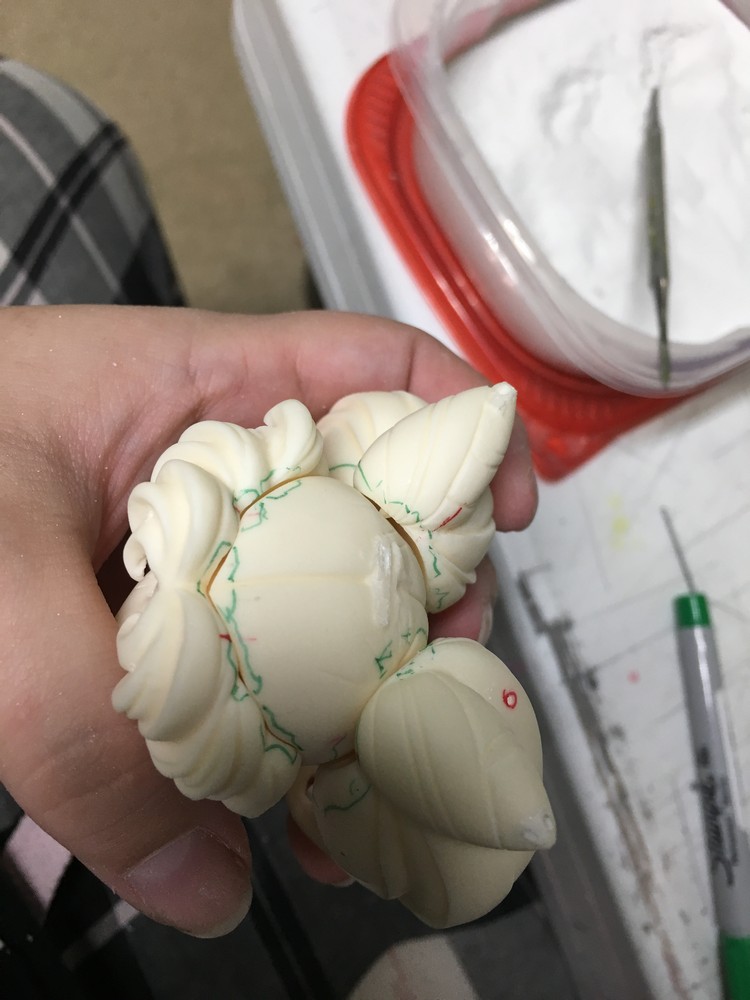
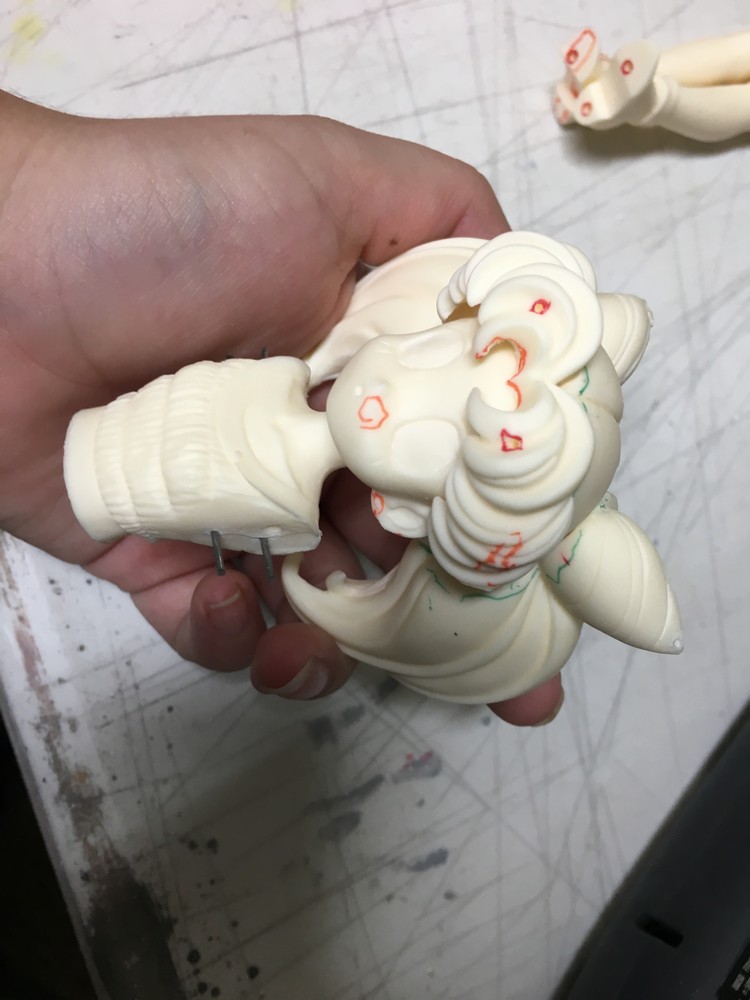
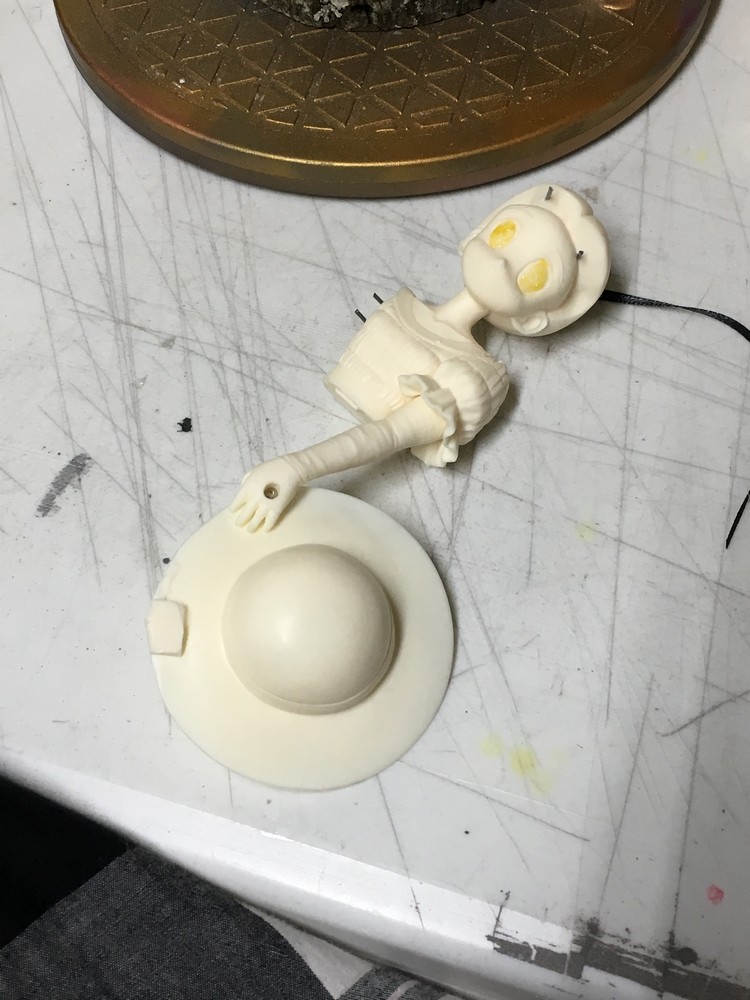
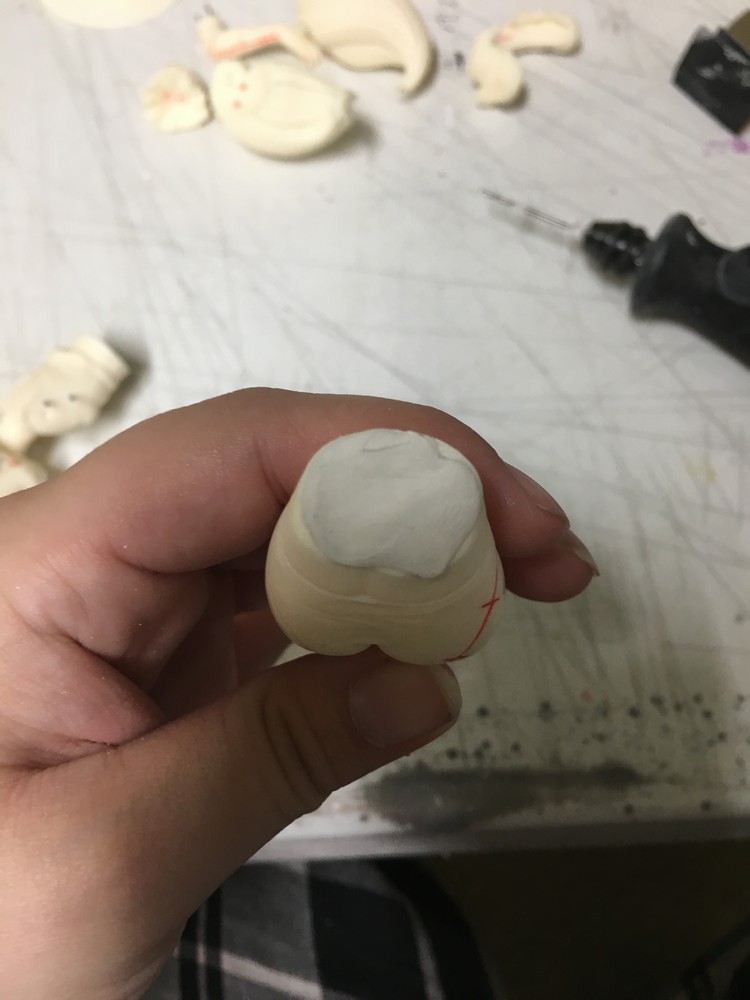
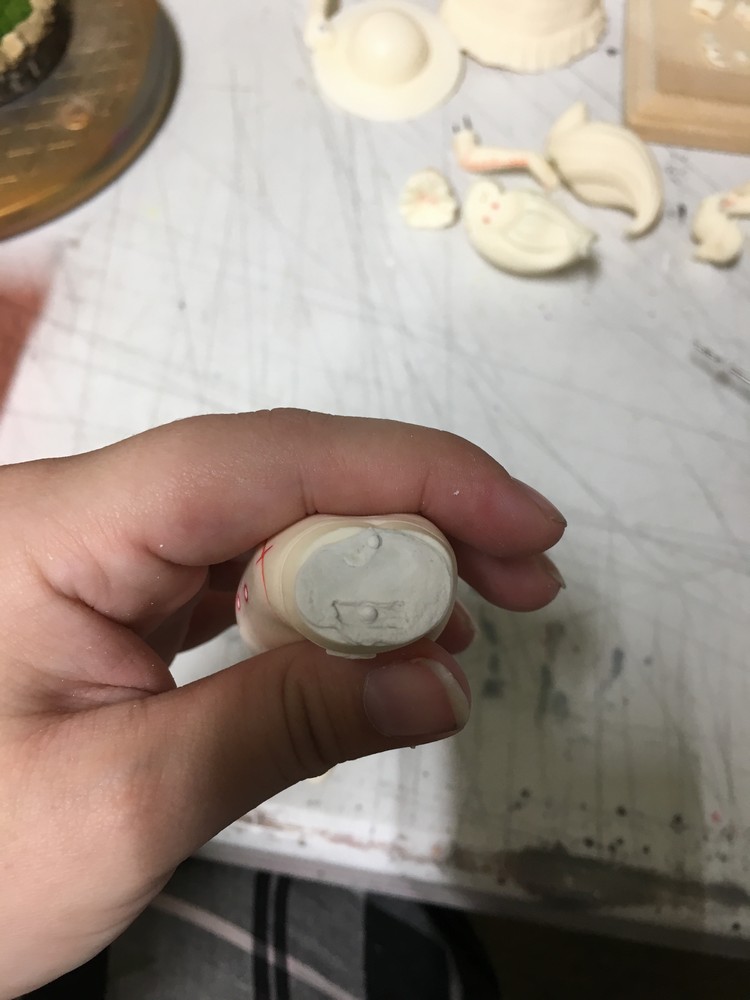
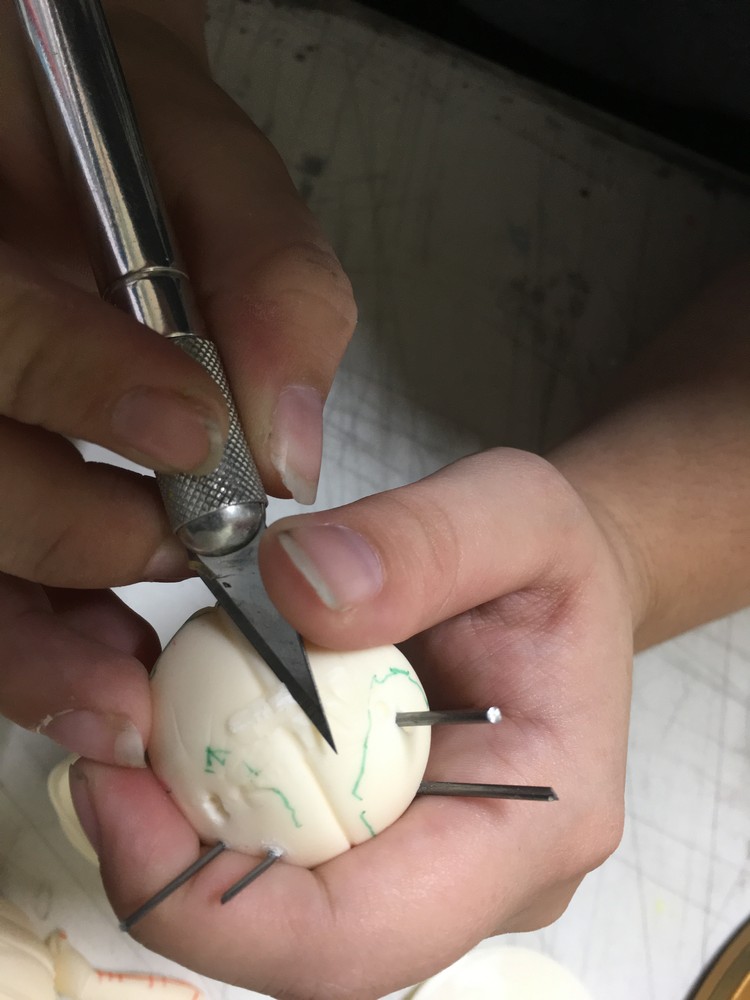
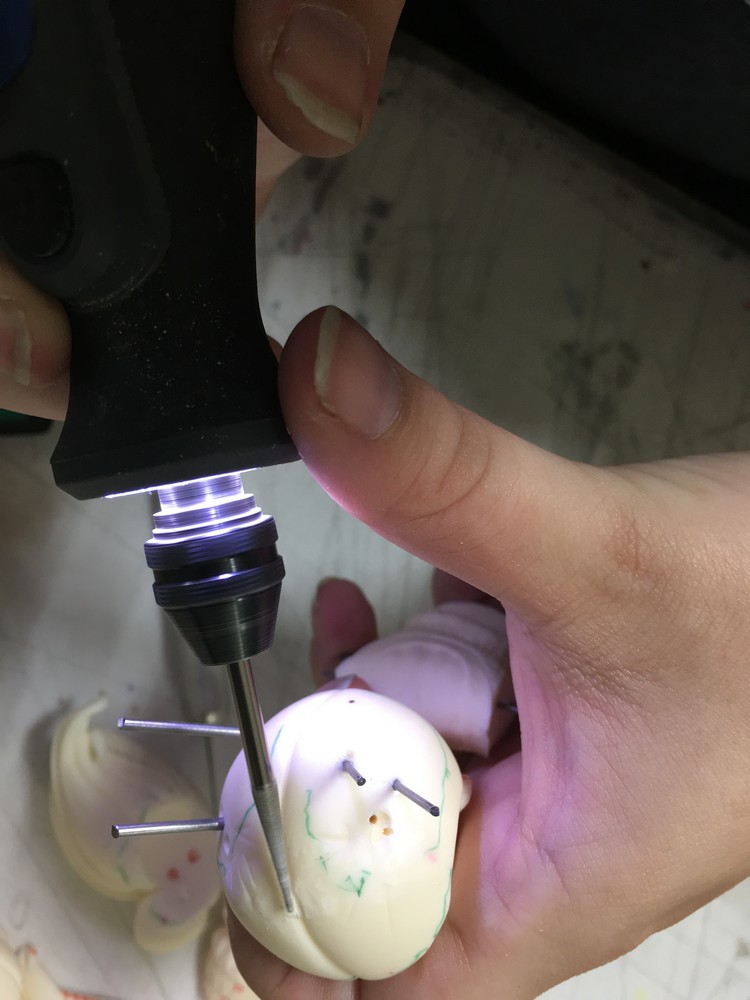
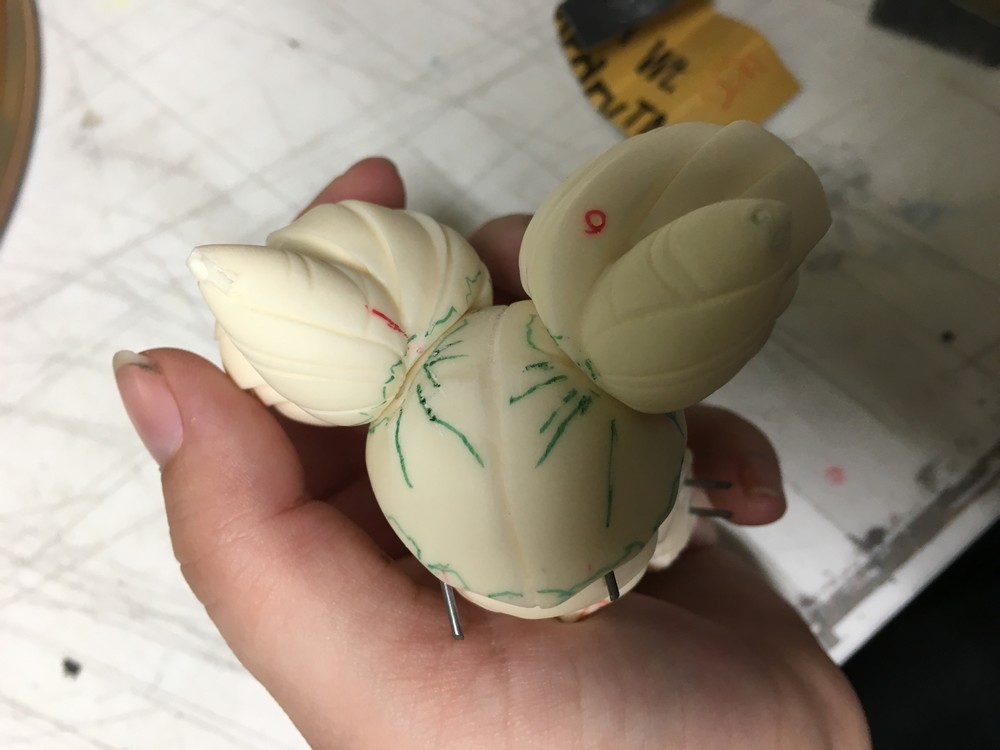
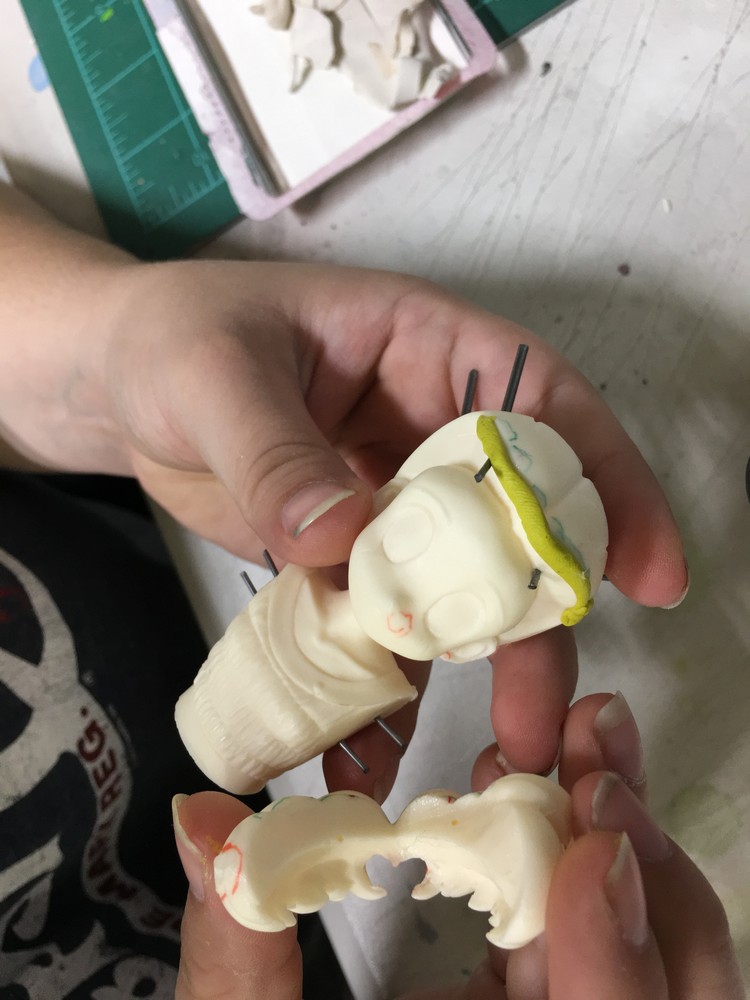
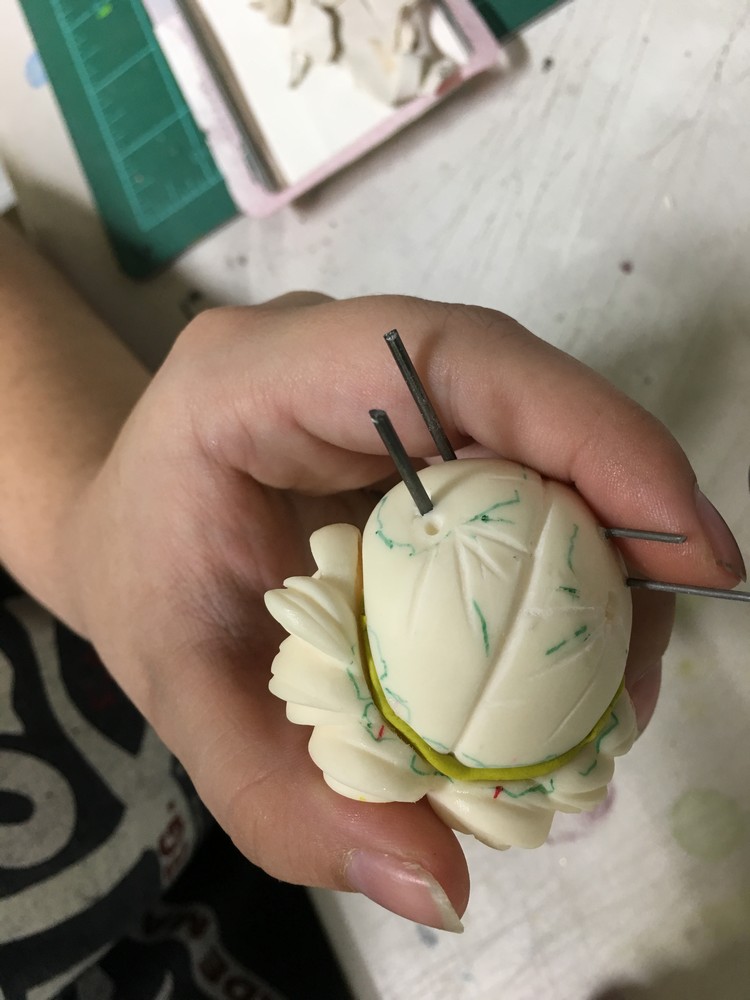
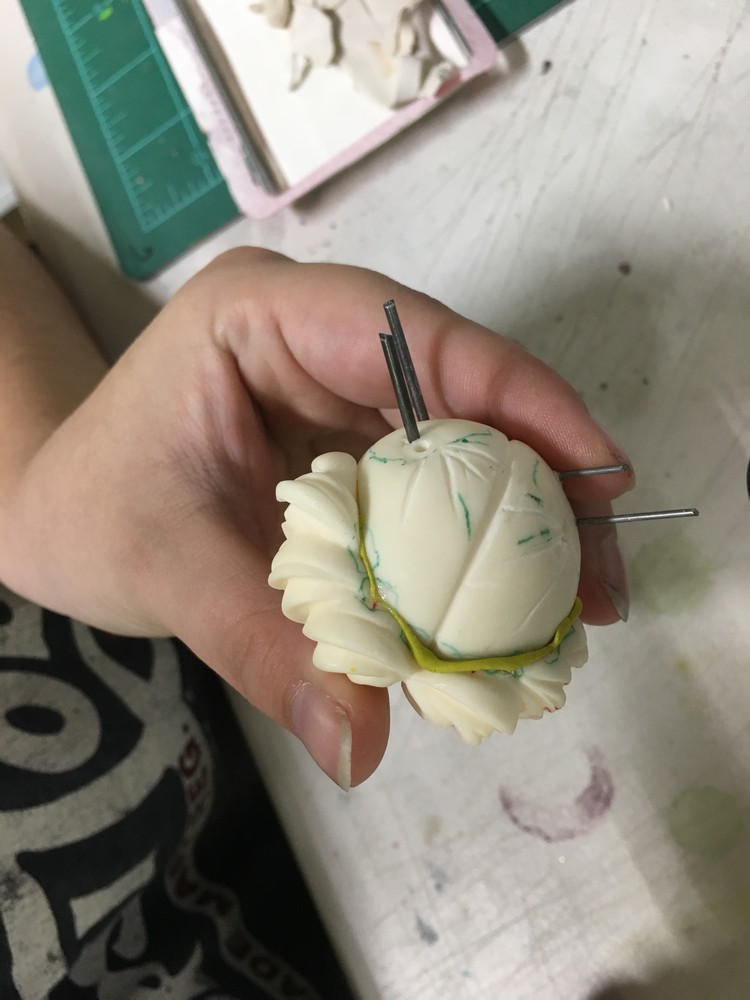
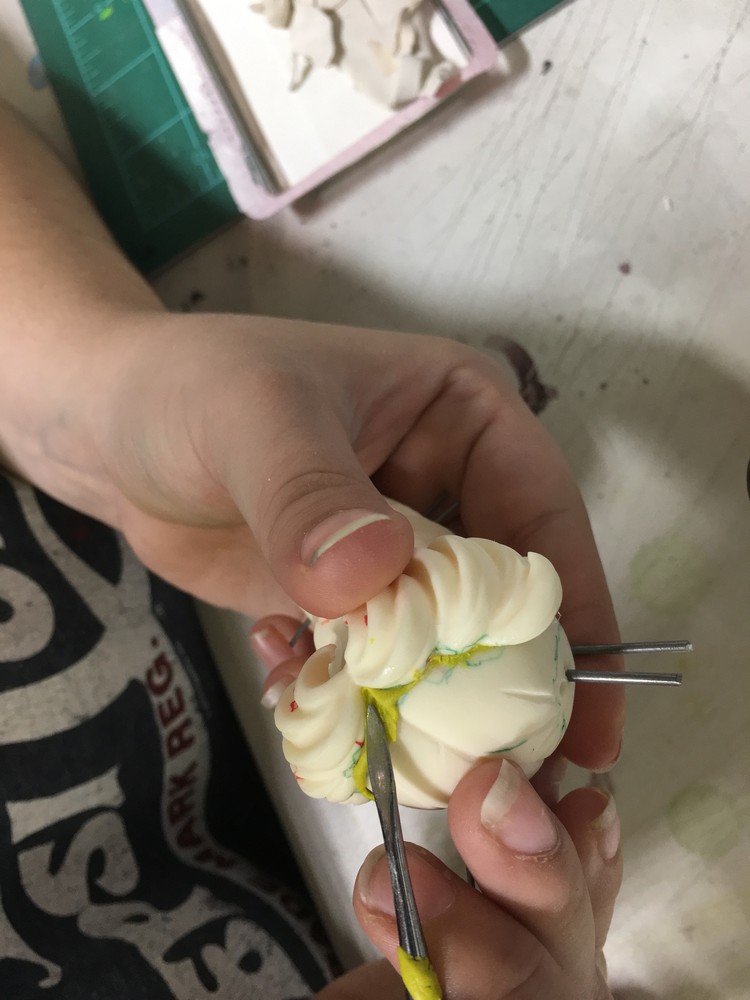
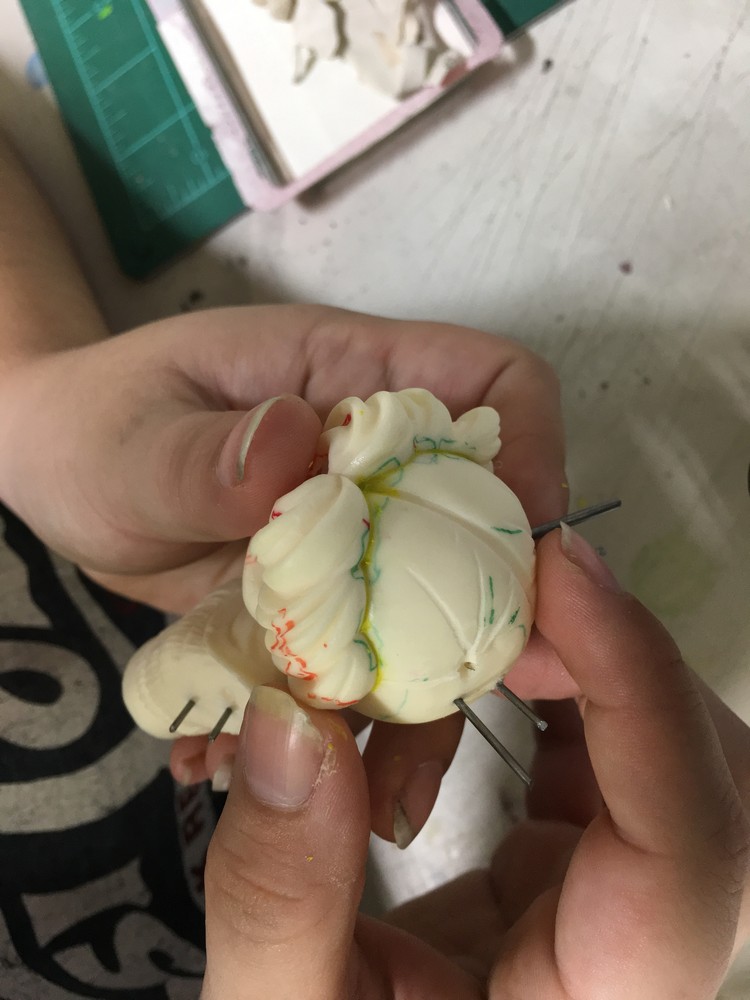
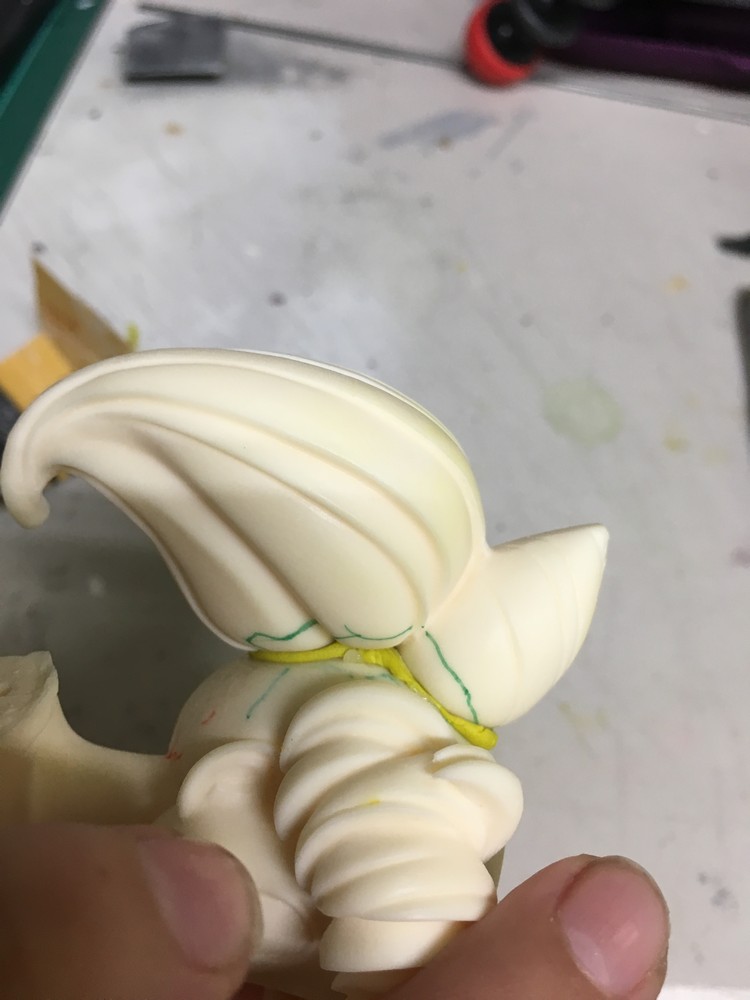
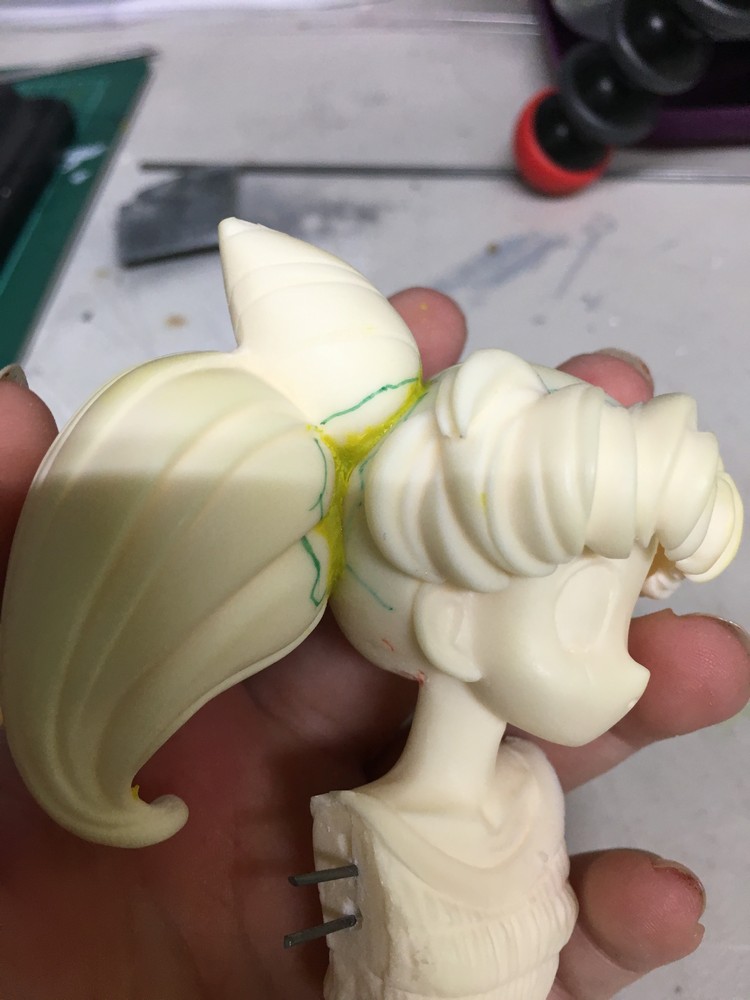
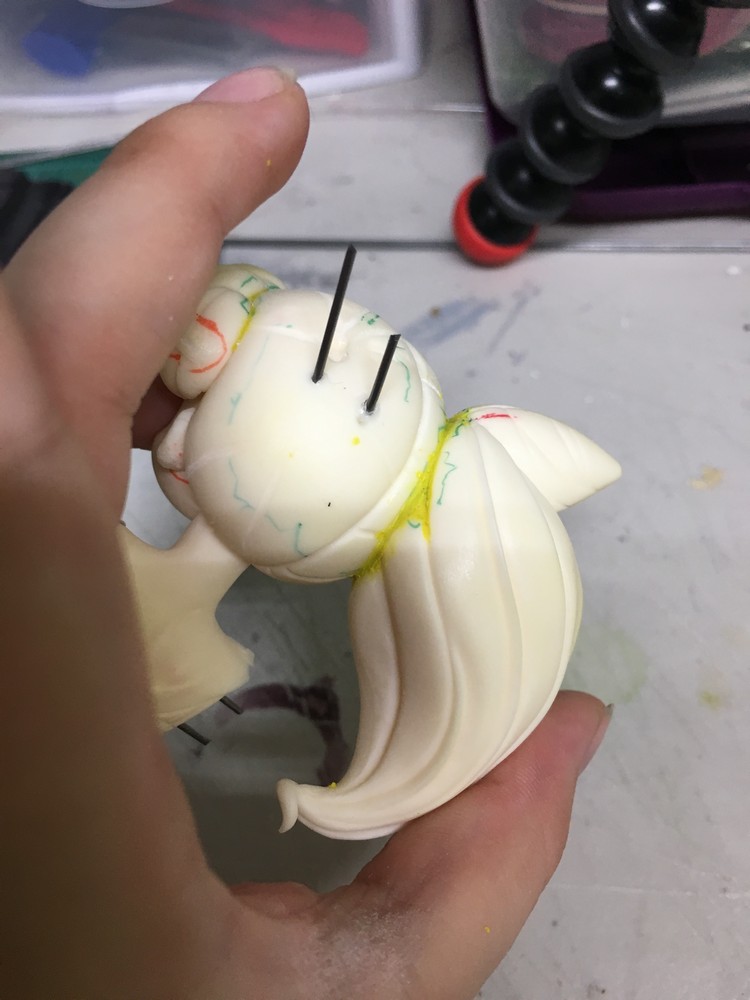
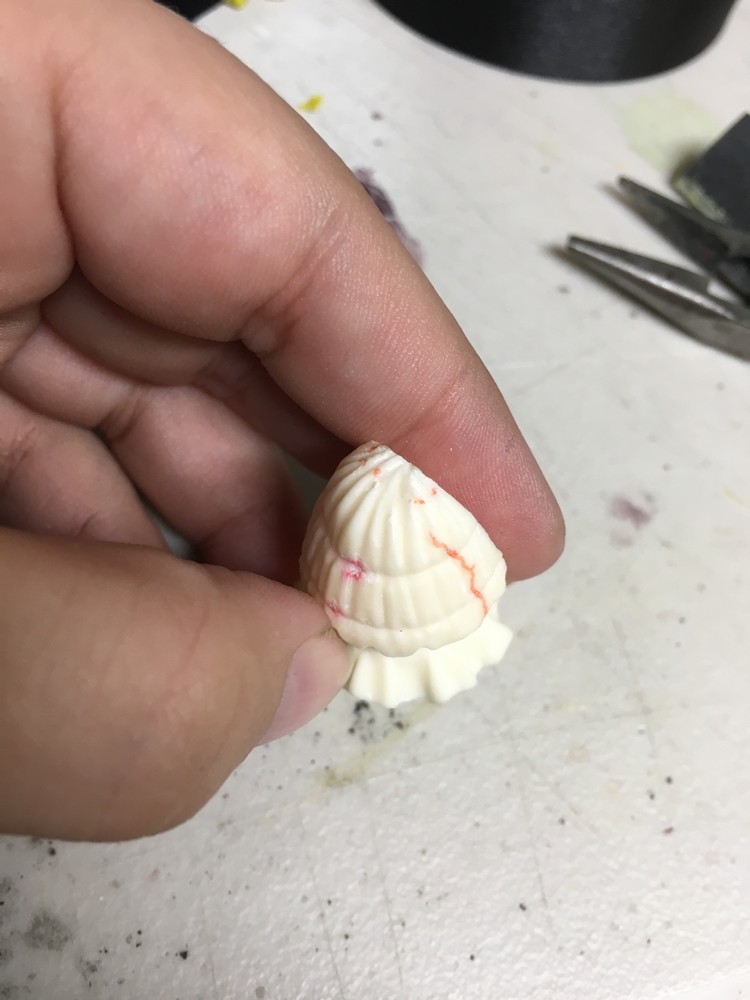
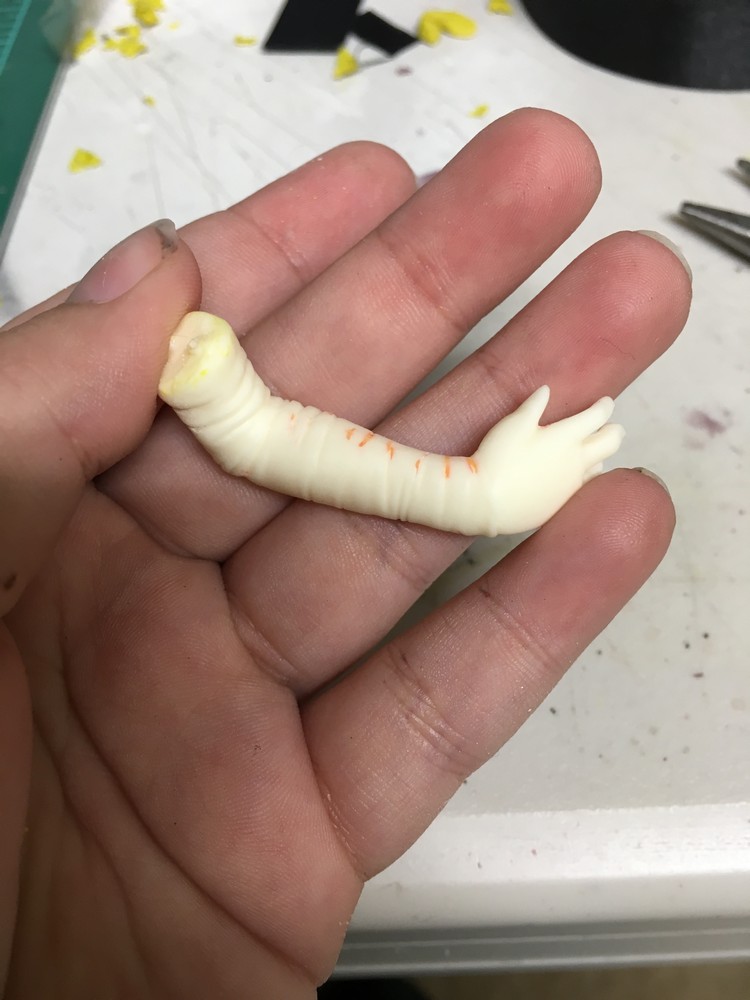
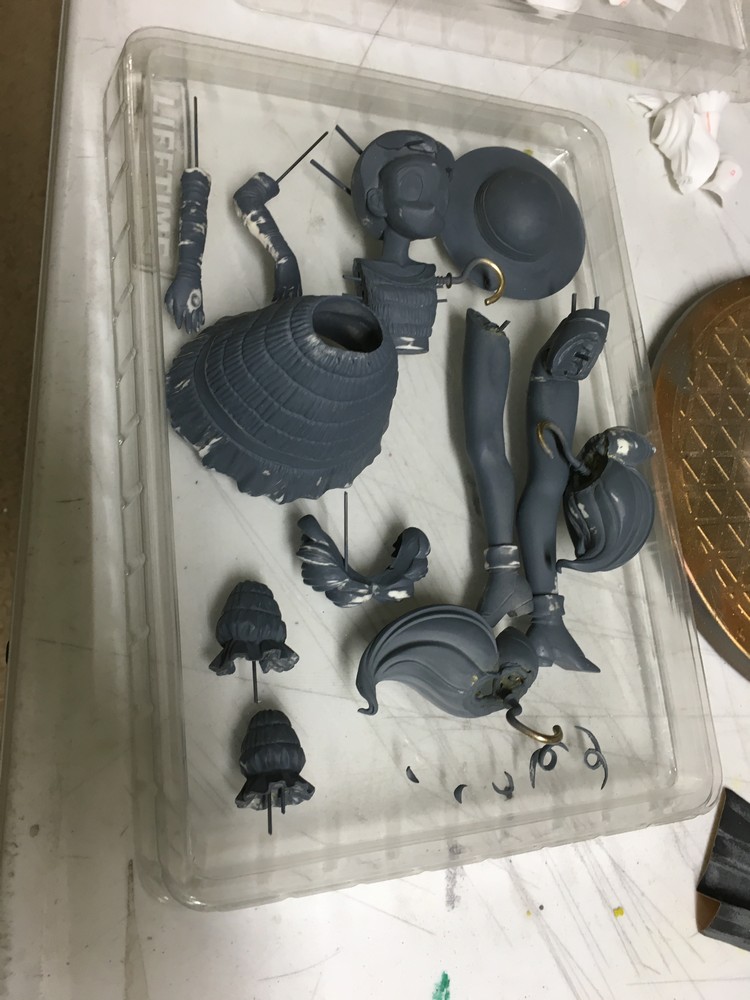
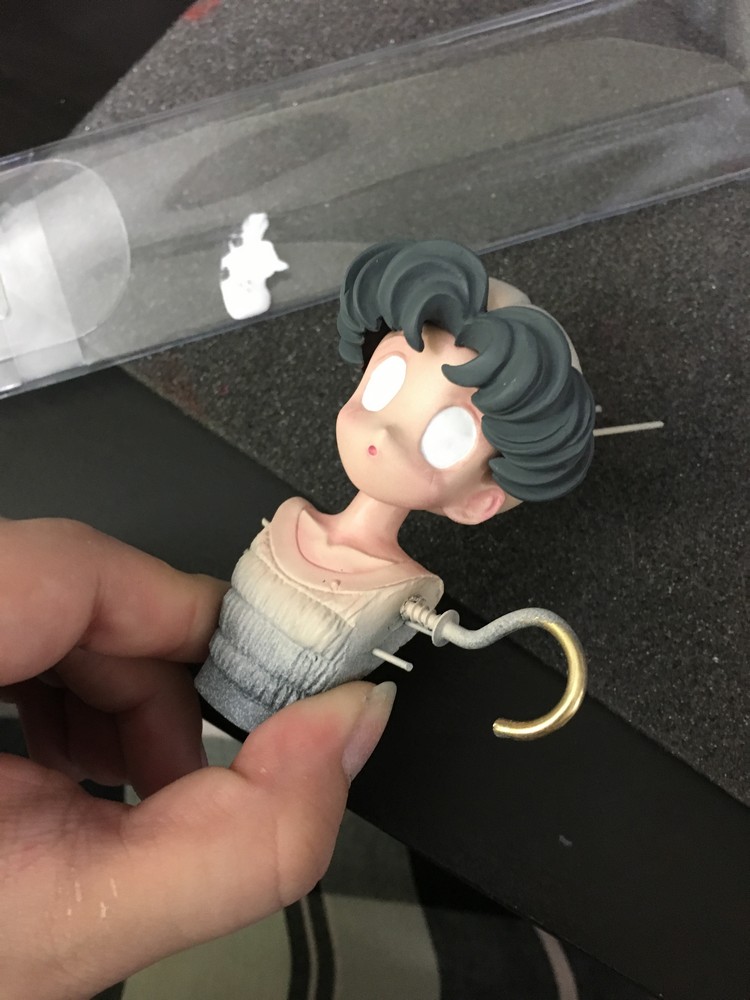
Above is just me marking things in various colors to know what I need to fix. Red is for pin holes I drilled through two parts that need to be filled, green is for gaps that need filled, and orange is imperfections that need sanded of or filled. Larger areas that are noticeable that need fixing I left unmarked given they stick out so much xD
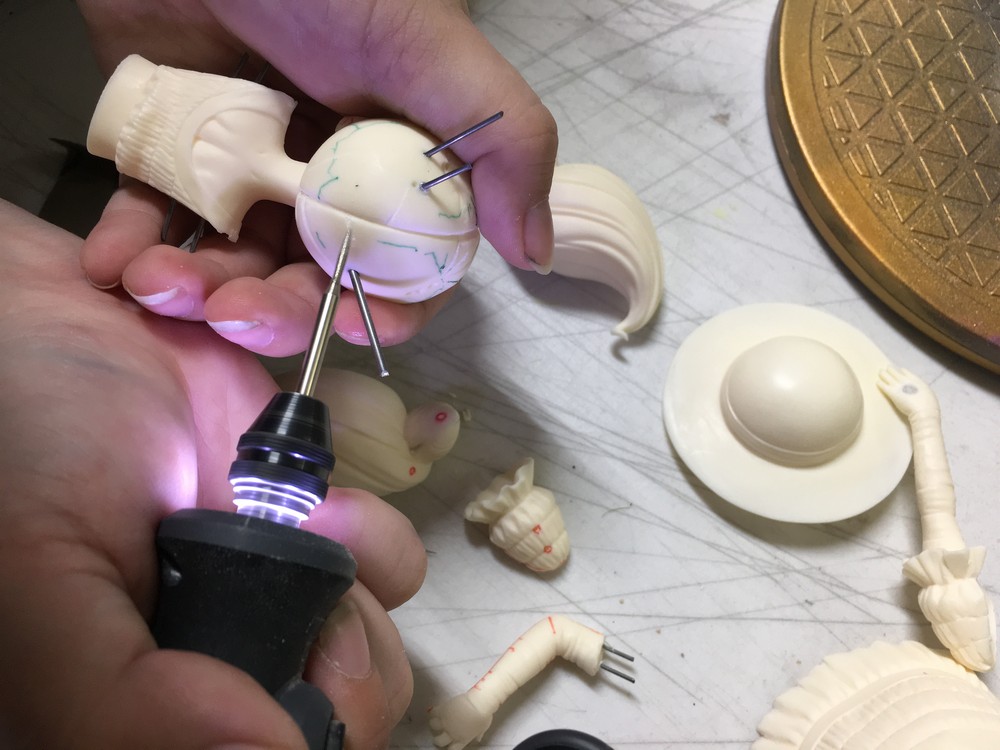
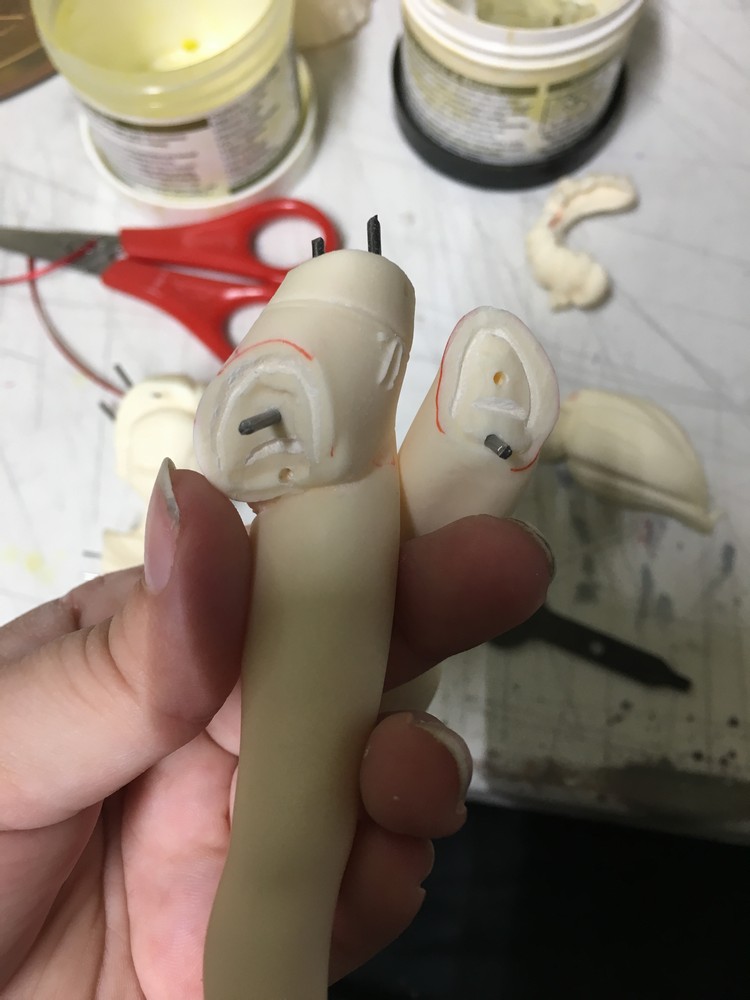
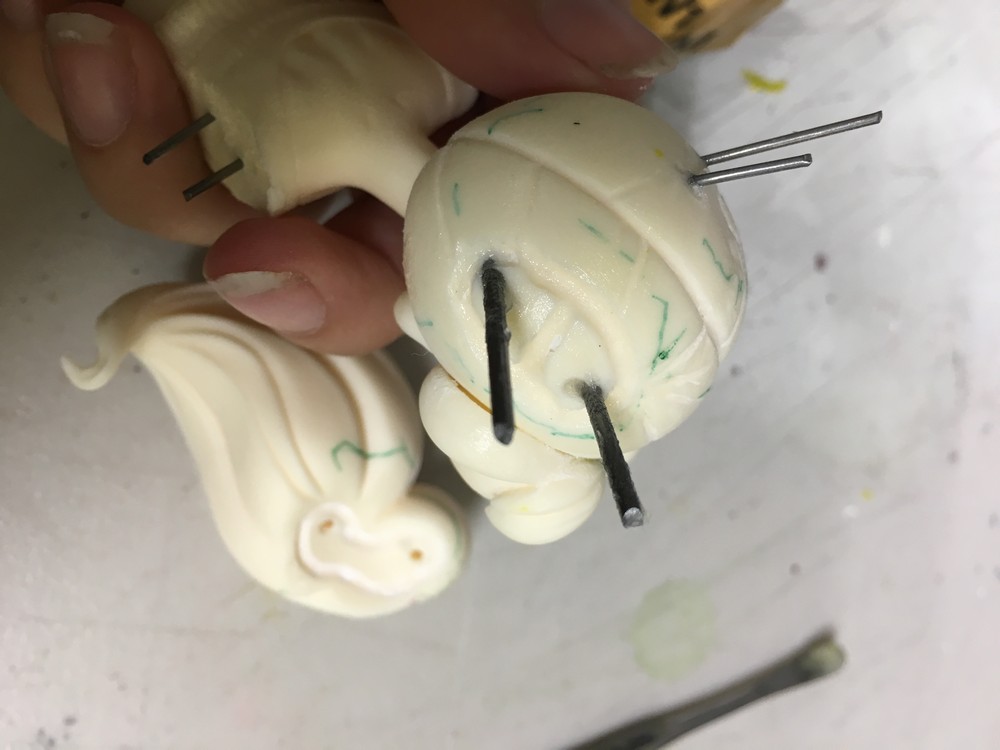
Had a lot of people ask how I manage to pin so quickly, of course another thanks to Leonas videos it helps tremendously, but this method below is just another way I like to pin and to get close to accurate pinning when you can't drill through two pieces at once. First what I did was I drilled two straight holes in part a. Then on part b, I covered the area I want to drill holes on with poster tak, I also use this stuff for masking and it's amazing.
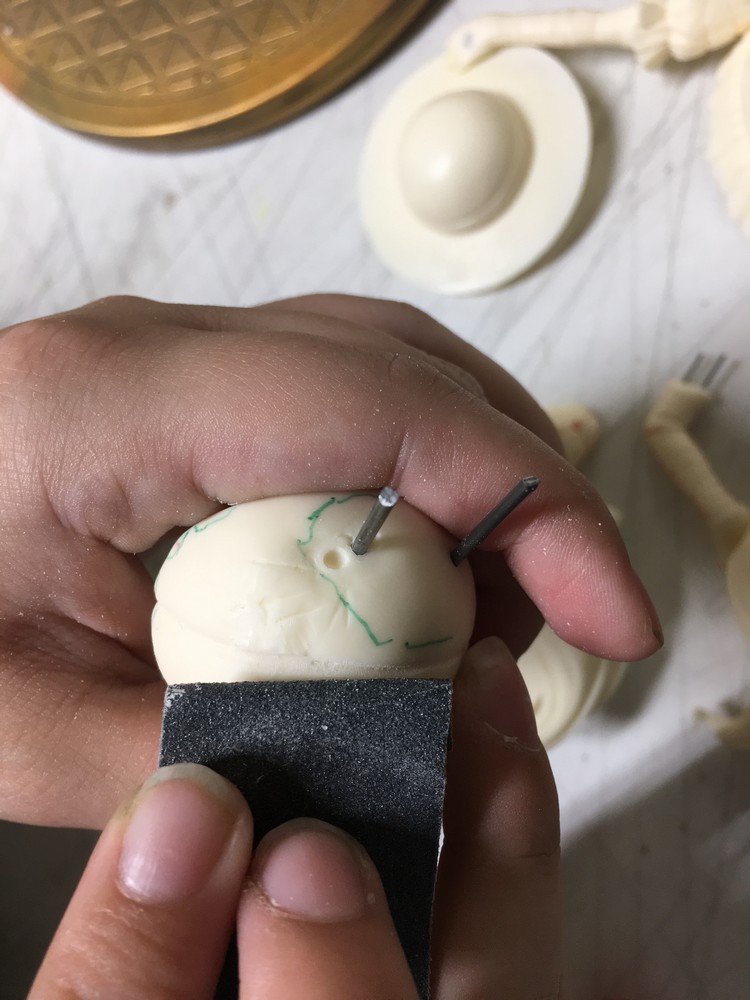
After I applied the poster tak, I carefully aligned the pieces and pushed them together lightly, to at least get part a's holes to show up on part b. After that I carefully have drilled a small hole to give my dremel leverage while drilling straight though, removed the poster tak and continued drilling. Given you need to know the precise angle you drilled to get this to work right. Reason I hand cranked a hole first is because if you use a dremel while poster tak is adhered to the part, it'll fling everywhere and you will get hurt, it's like a darn hot rubber band hitting your face >_>;
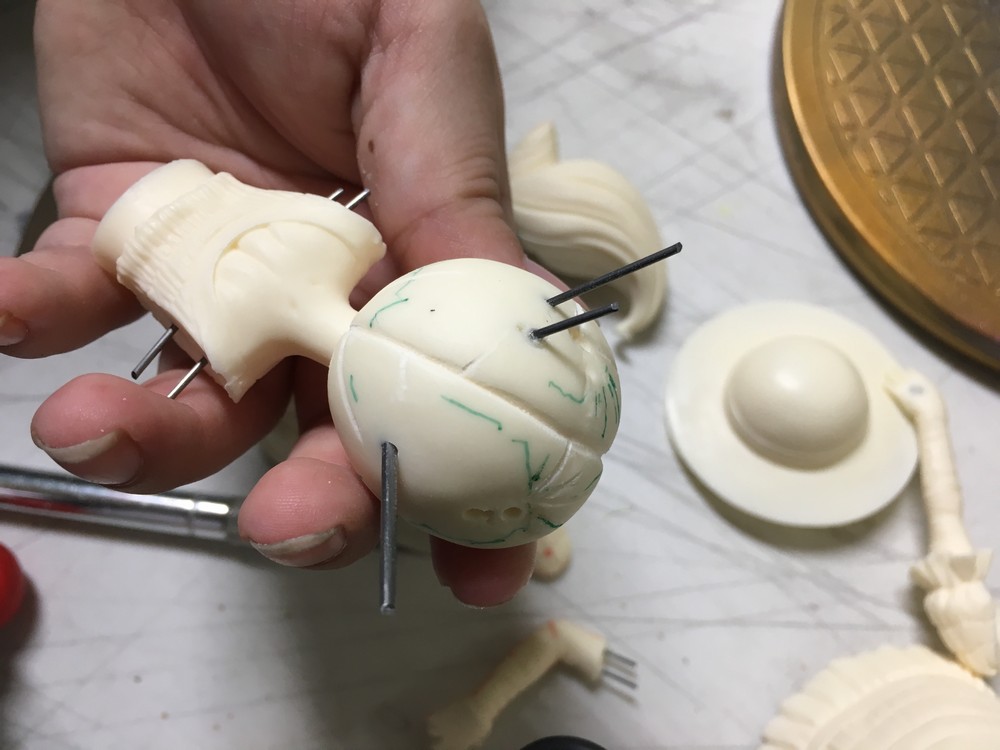
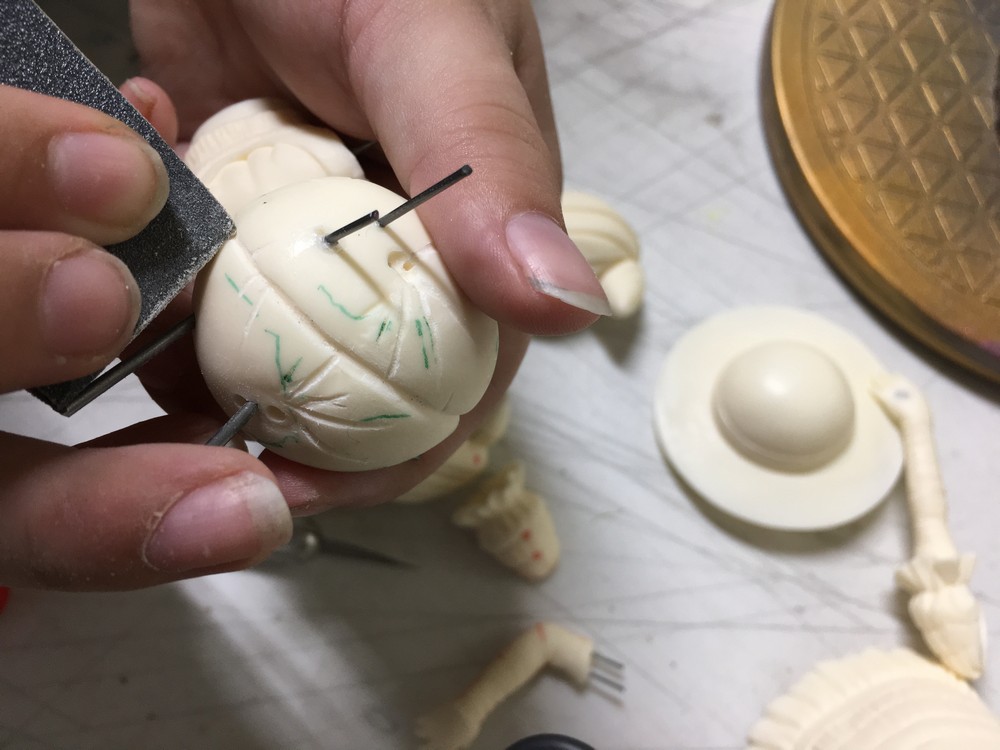
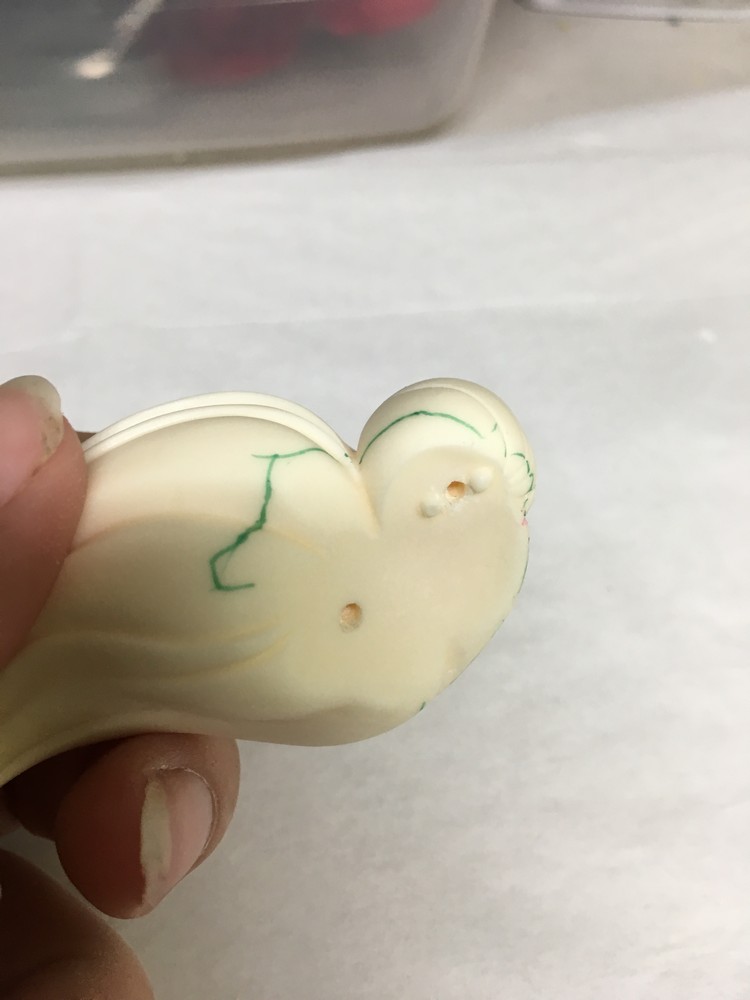
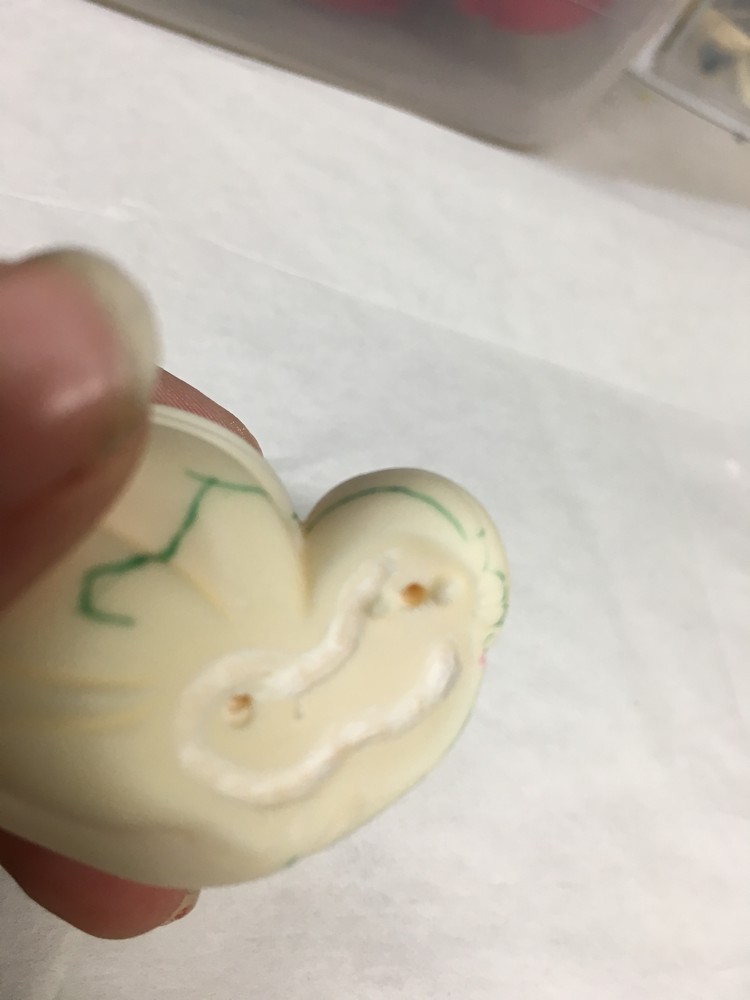
As you can see from the left picture, is the result of one hole finished. Given my angle was a teeny off, I bent the wire with pliers until the fit was nice. The right picture is me using a knife to cut away remnants of a tab, I will eventually use rotary tools to sand down the area as well as sand paper.
The left photo is me using one of my rotary bits to carve until her head, sadly this sculpt was so smoothed out, there were no hair folds, so I made some new ones, just like my first Chibiusa I did of this same exact kit. Right picture just using sand paper to soften the blend of the rotary guides.
Here I just roughly marked areas I wanted to put new hair lines, looks like crap but hey, that is why it's called 'rough guides' lol.
As mentioned before, using rotary cutter to sculpt lines into her head.
Slow process but getting there!
Using sand paper to soften the new lines.
Example of rough guides made that need smoothing out with sand paper.
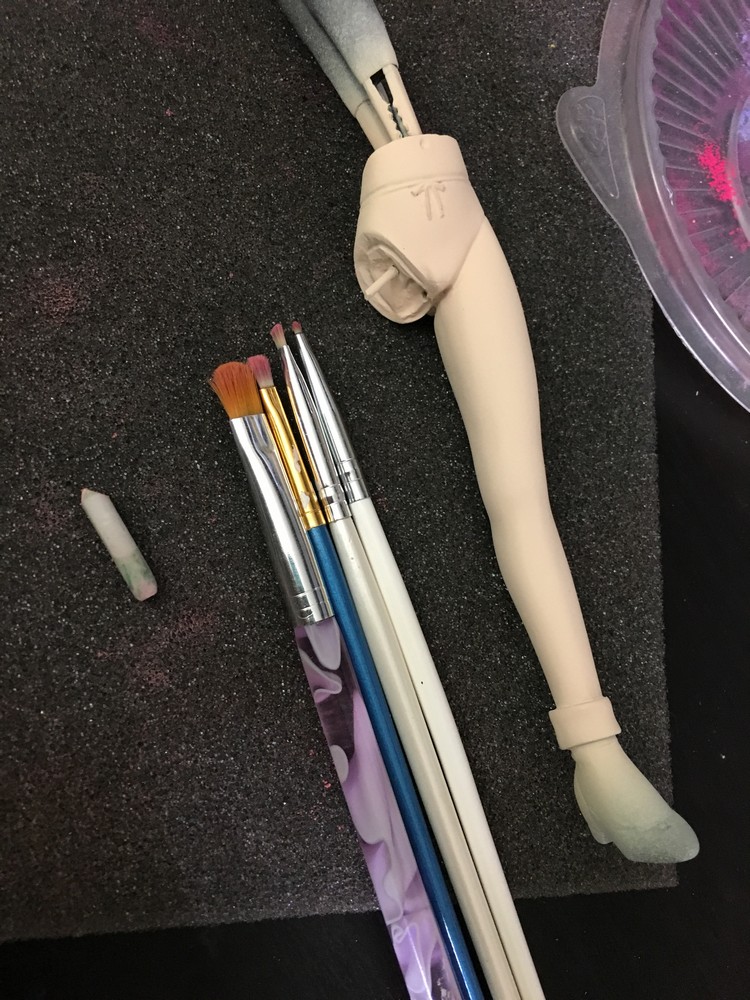
Here I am just filling gaps at this point. Made some quick drill guides in her leg and side so putty will adhere well. Left photo I eventually covered with Vaseline. Right photo is where I placed the putty.
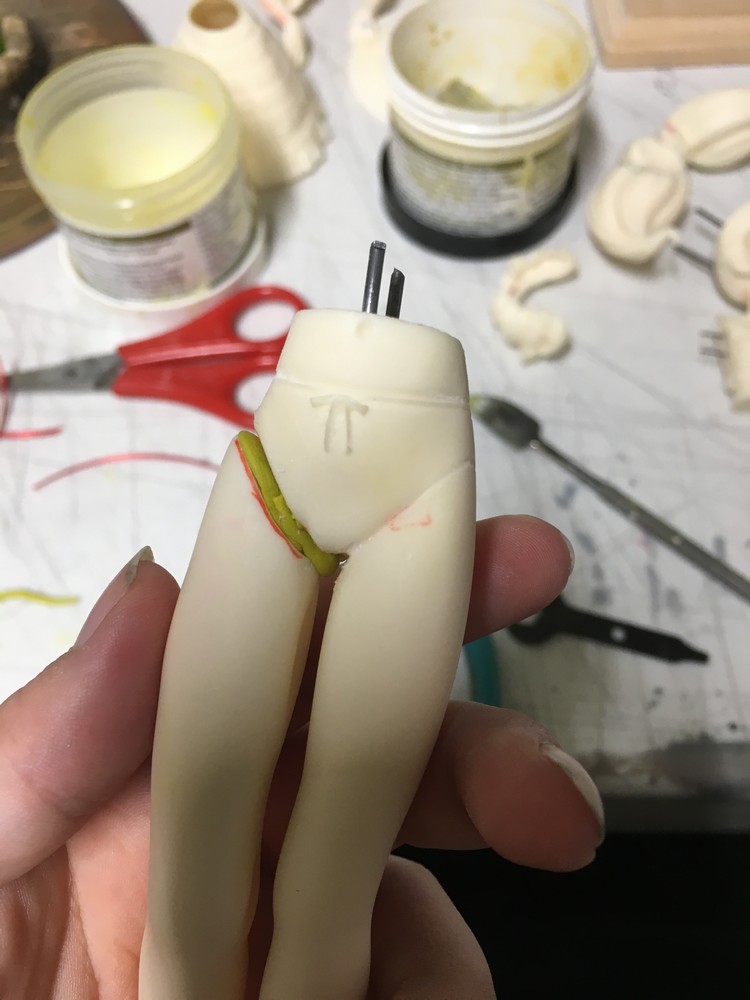
Slowly pushing the pieces together, making sure putty leaks out at all angles so I can gix the gap better..
Right photo I used sculpting tools to push putty back into the gap, cut away excess putty and smooth out the seam, but just leaving enough so I can sand the rest off.
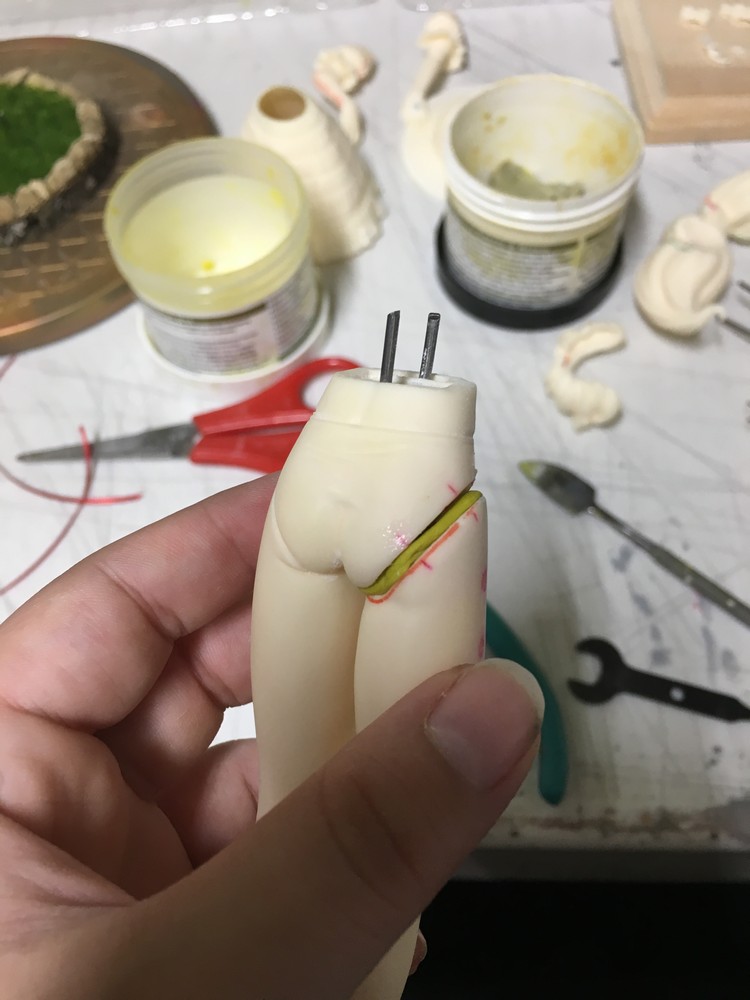
Same methods as the leg parts, one side covered with Vaseline, the other part with putty.
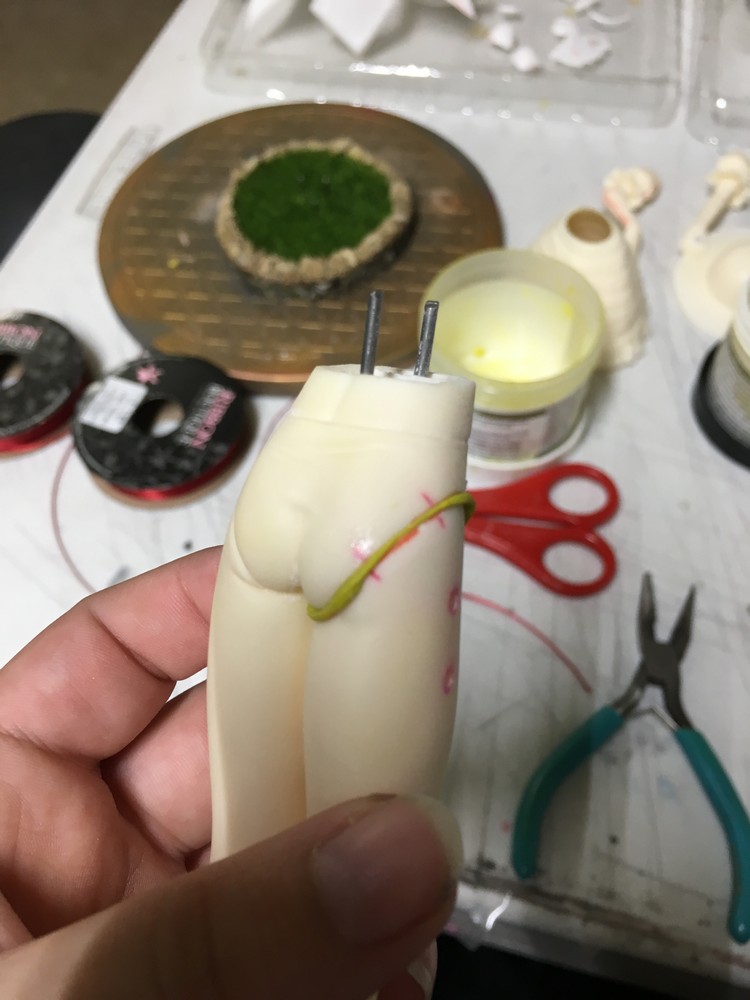
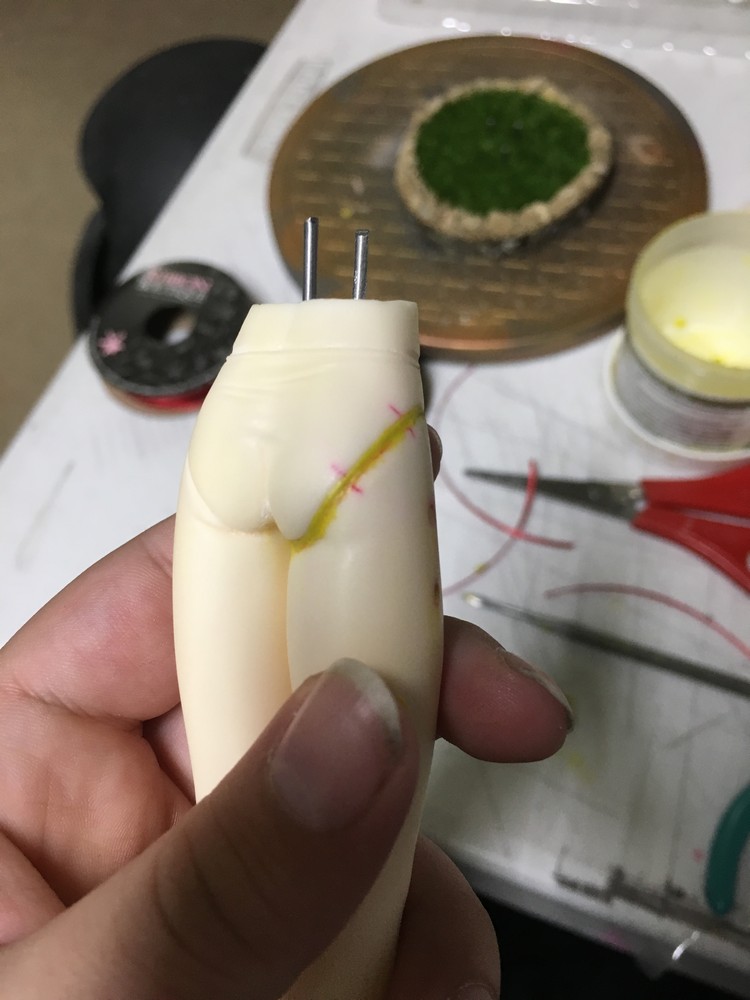
Left photo, pushing putty into gap, forming / molding around the gap and cutting unwanted excess putty away. Right photo, after smoothing and blending the edges and letting the putty dry overnight to be safe.

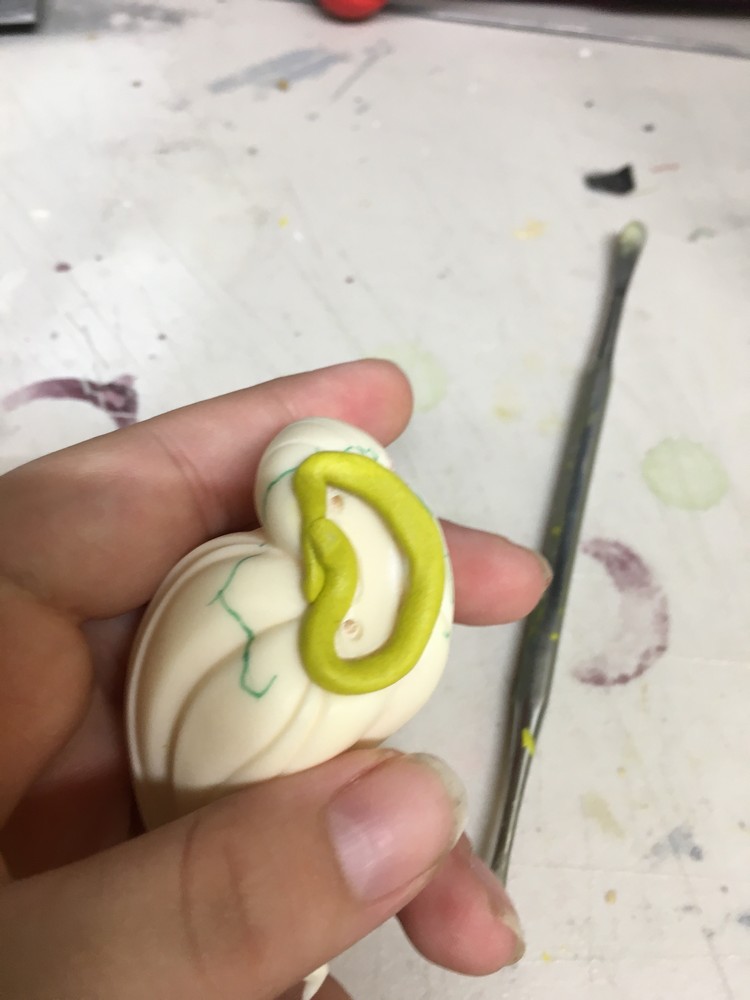
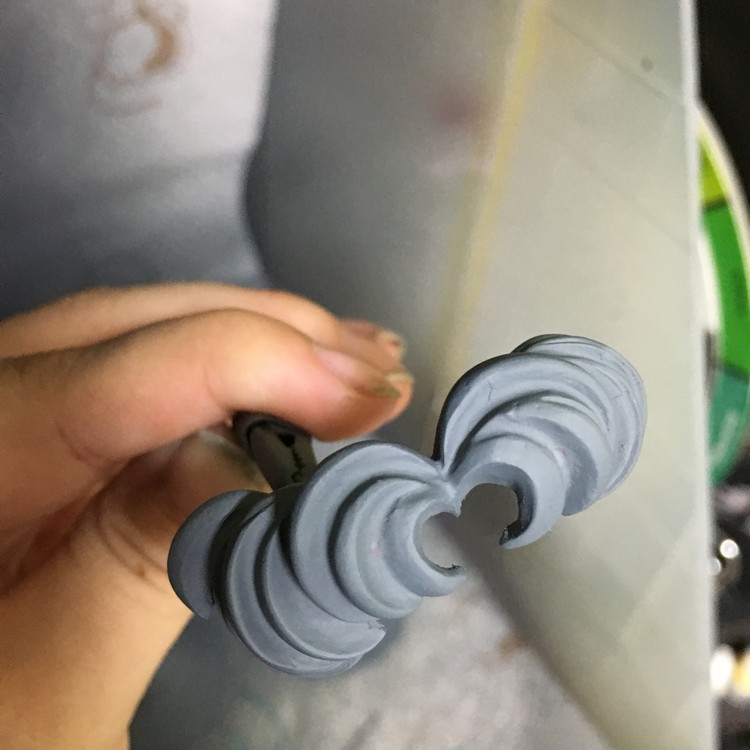
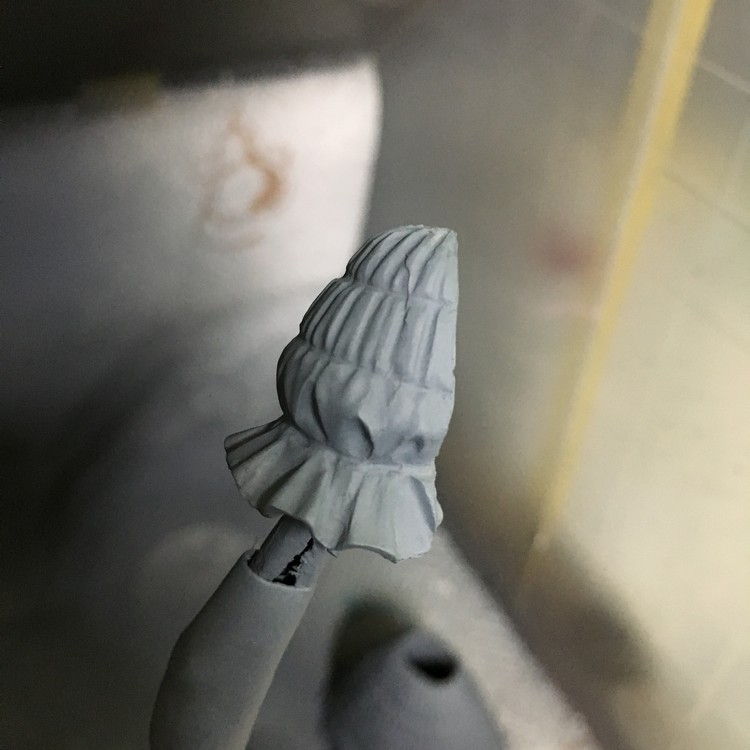
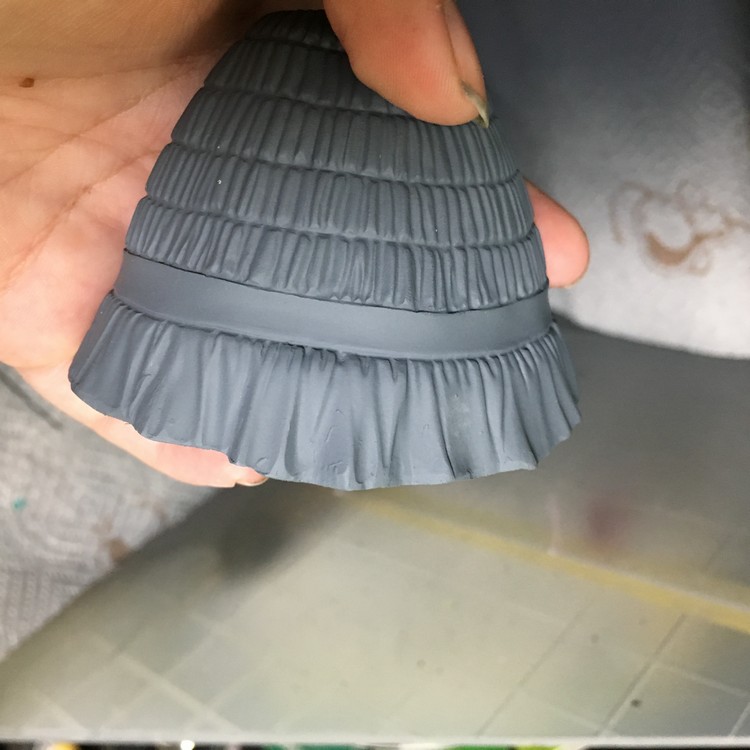
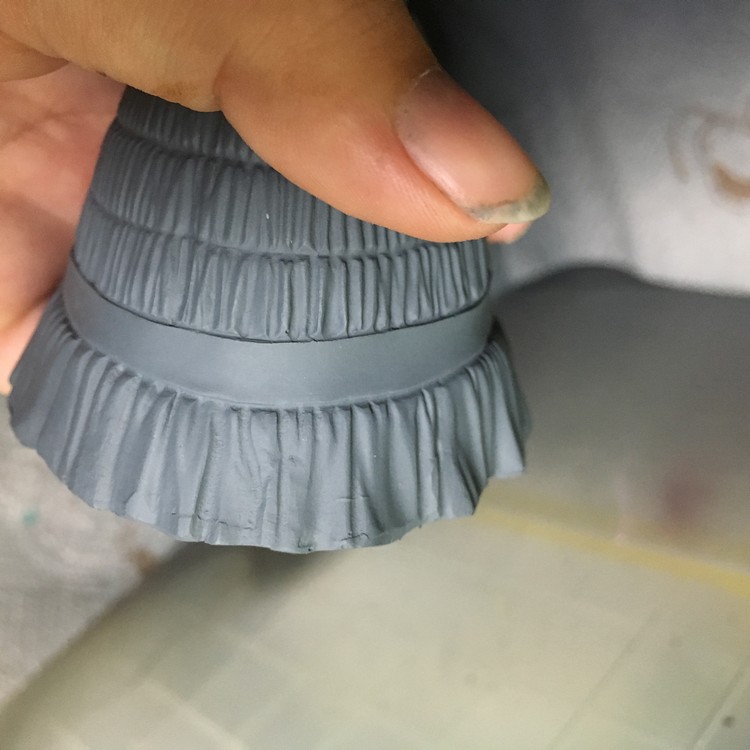
Here was the more irritating part with casting, huge tab was on top of her detailed ruffle sleeves, so after I chopped off the tab I went in with a special rotary tool to create continuous ruffle folds. Also used the zap-a-gap glue with baby powder to fill in drill holes on top of that.
Just adding new folds to her arm, due to workshops over sanding the parts...
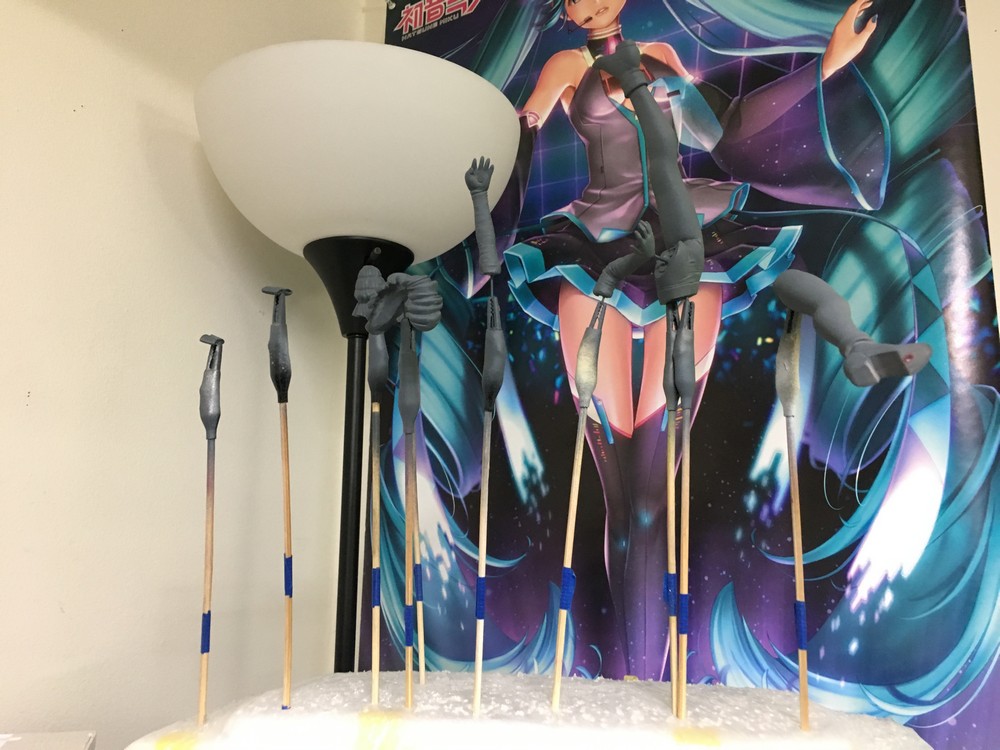
Test priming parts to check for more errors I couldn't see before.
As you can see here due to my blind eyes, LOL, some areas still need sand and fill treatments.

After I fixed the areas that needed treating, I need to final prime everything and she is ready to be painted!
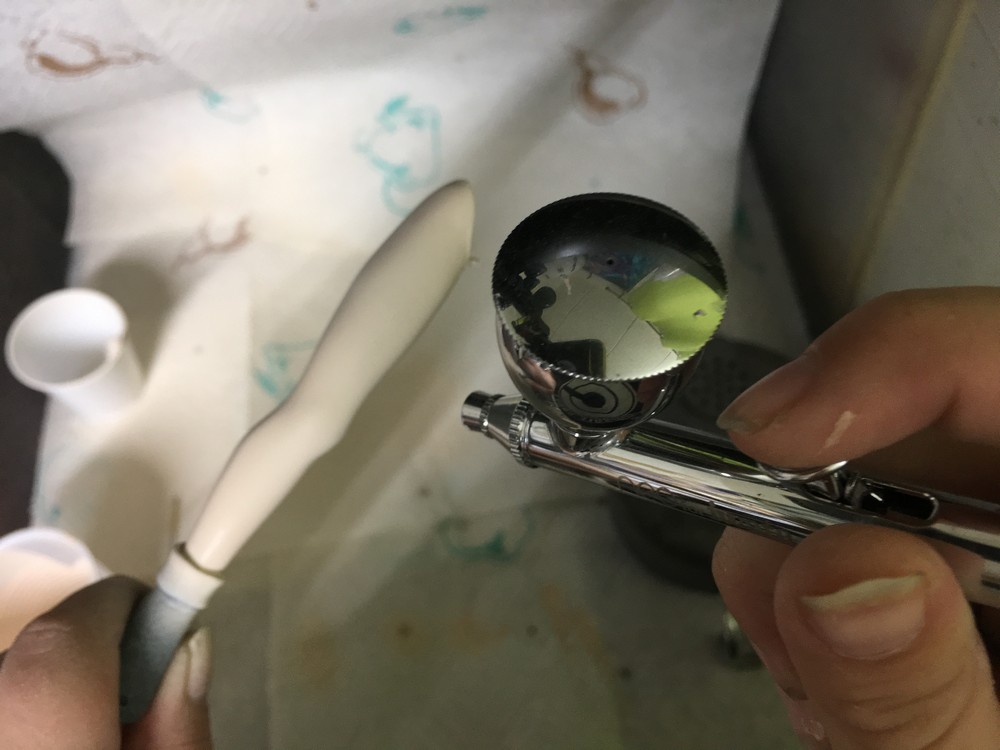
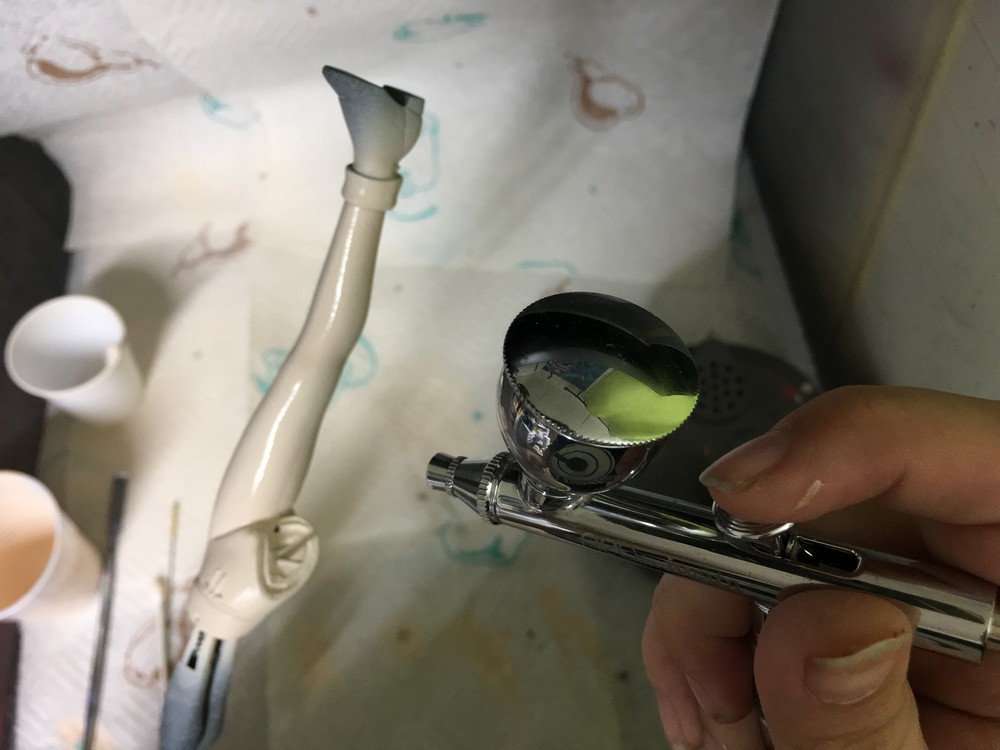
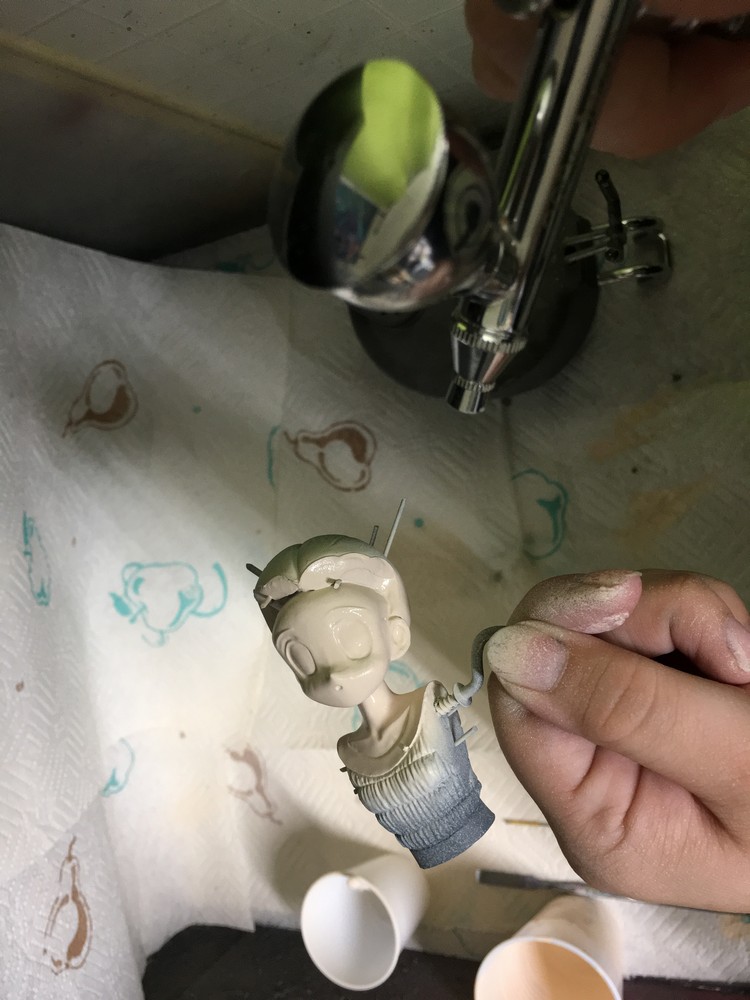
Began to airbrush custom skin base coat in thin layers.
Same with the other leg, didn't both to mask given I will mask off her skin areas to paint her panties, etc.
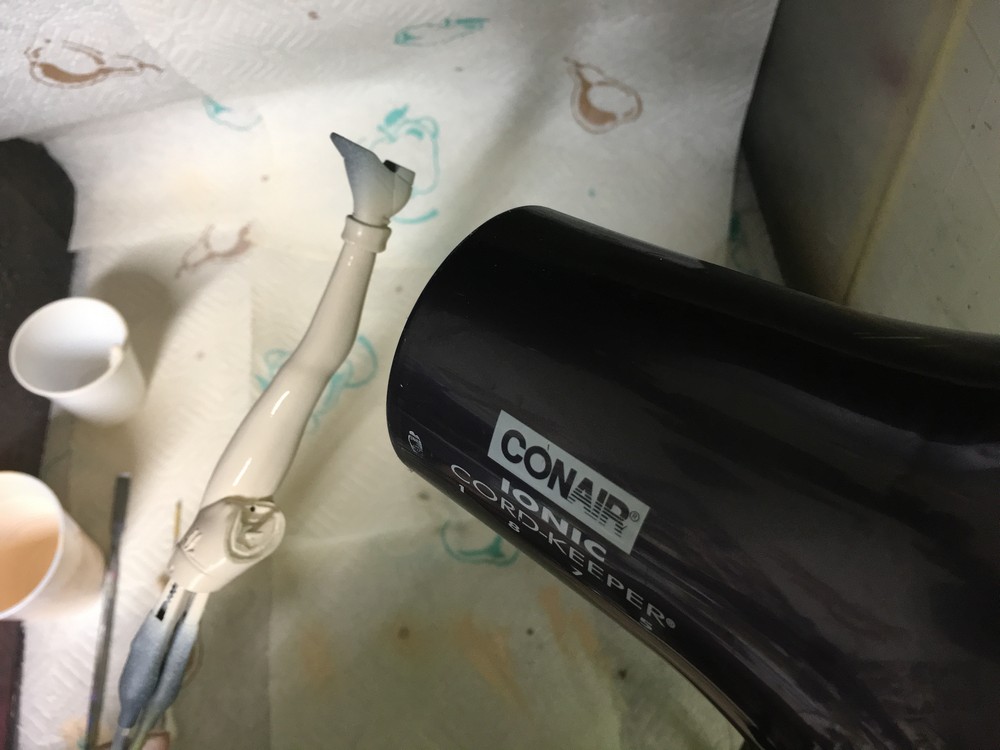
Now, I don't directly blow dry in my mini booth, I blow away given the dust but yeah, my floors a mess as-is, LOL you get the picture though xD Anytime I sprayed the skin layers, I use an old hair dryer, to dry out the misture to an extent.
This was after a few thin coats of skin base coat.
This is after applying custom pastel shading to her skin, wanted to go for the cool pink look like I did with my personal 1/6 Hatsune Miku figure, grow to love the cool pink tone than warm tones now.After I seal the skin, the pastels will pop out more.
Just some scrap brushes I used for pastel application, no specific brand, just whatever was soft bristled and that attached thr pastels easily.
After the skin base coat finished drying fully, started adding pastel shading.
Letting the matt sealant dry on her finished skin.
Once the paint was dried on her face, I applied watered down white to her eye sockets, given I drilled deeper sockets in her eyes, I was fine filling them in a bit with paint instead of masking.
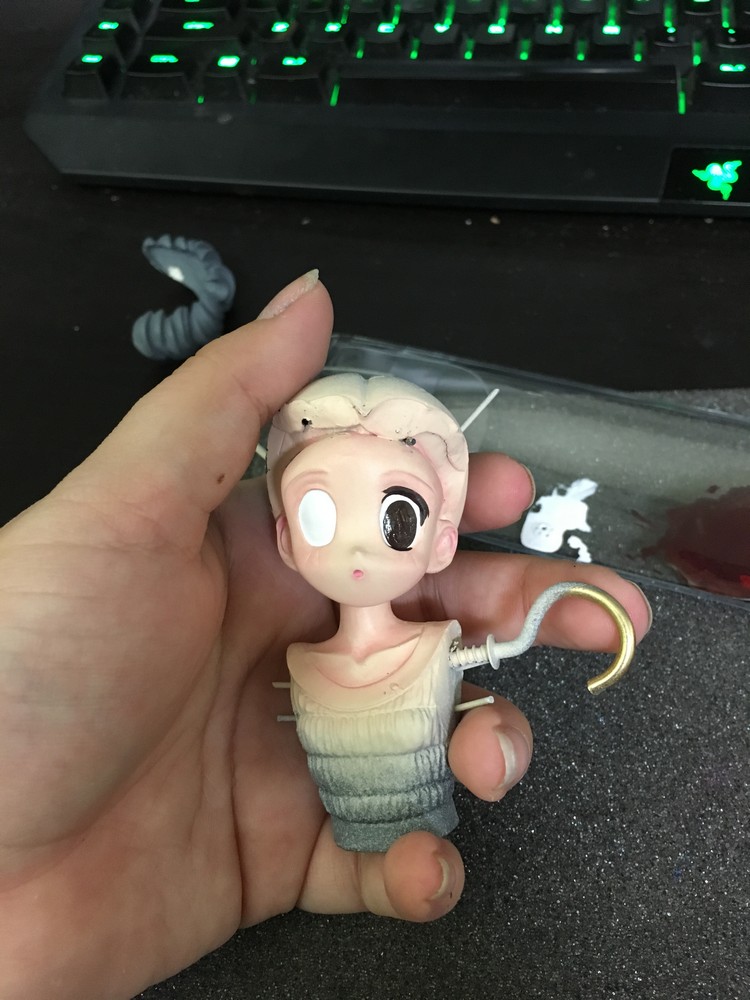
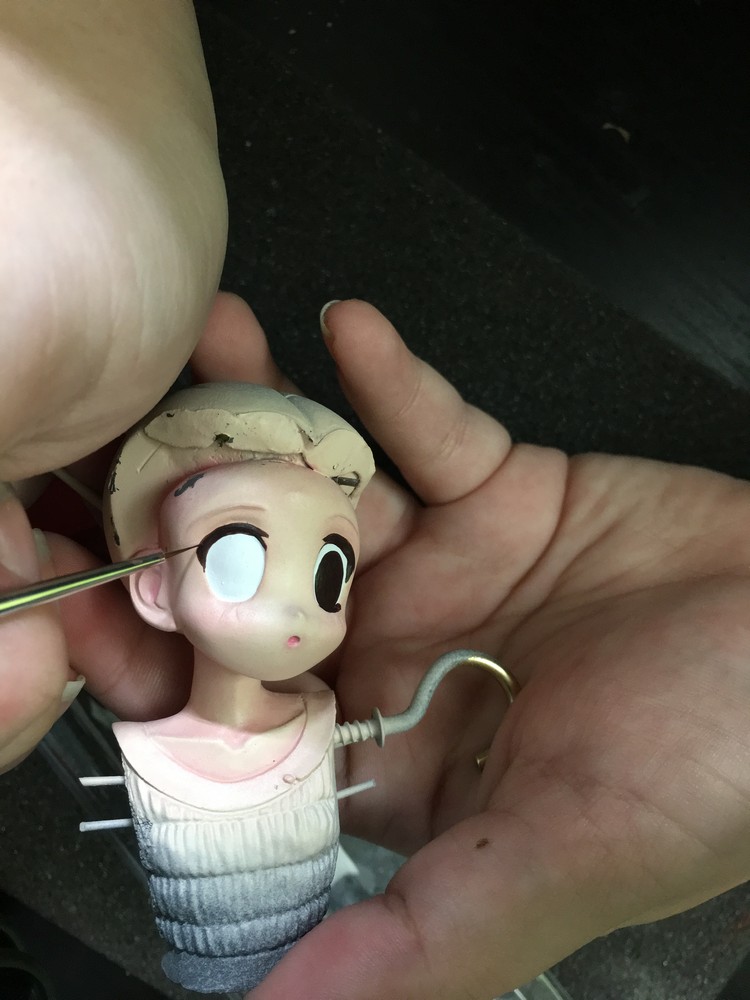
(Left) Added a reddish dark brown custom to her eyes and lashes to start. (Right) Working on her other lashes so I can evenly place her pupils in the center. Client requested I paint her eye like Season 3 of Sailor Moon Crystal.
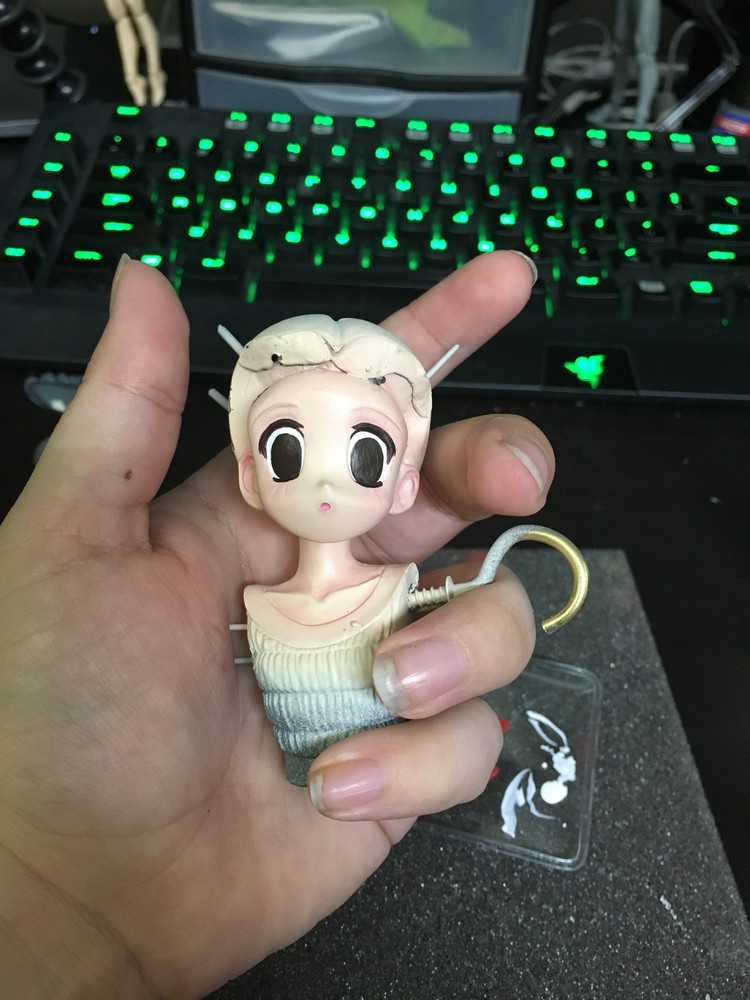
Sorry my pics don't do justice at times. (Left) After finishing the main base dark coat. (Right) Started adding a light layered gradation to her eyes to start the blending process.
(Left) Adding more brighter redish pink to her eye gradient. (Right) Don't worry I am not cutting!!! Lol, I have a habbit wiping paint on my hand xD Started adding back again the darker tone to her eyes to blend out the paint from the gradient.
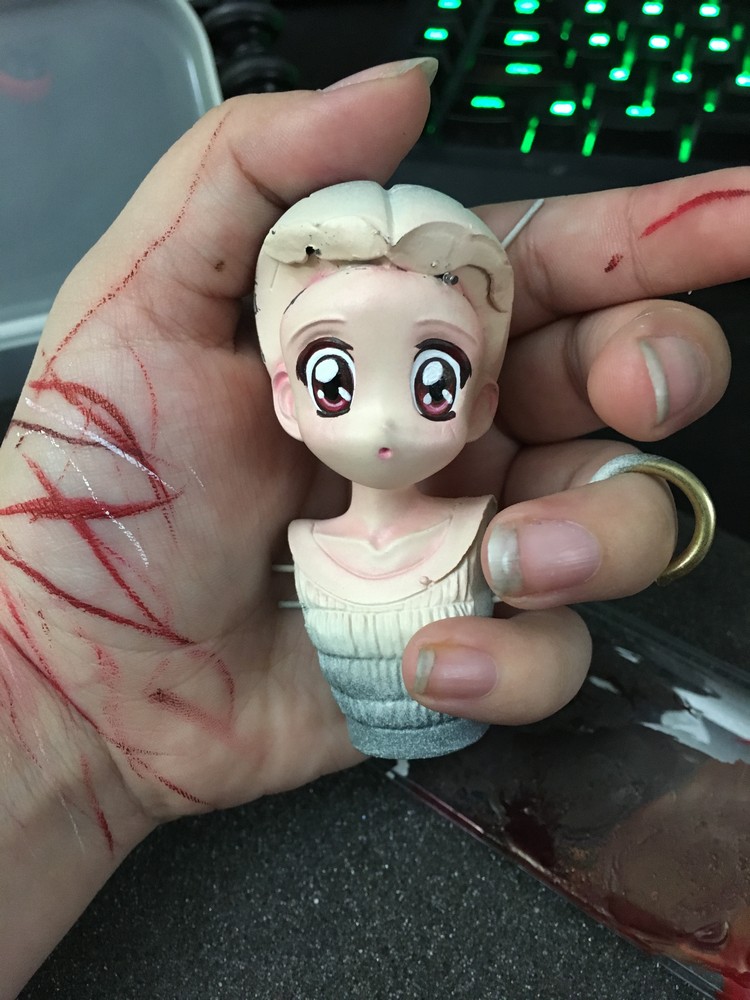
After letting that dry a tad, I added a black pupil in the center like the reference provided, then added white highlights to her eyes. Given I forgot to take a picture of me adding blue to her highlights and white eye parts, I did so after this completely dried. I wil eventually seal the eyes once, her hair is finished, to the glossy finish on her eyes does not fog.
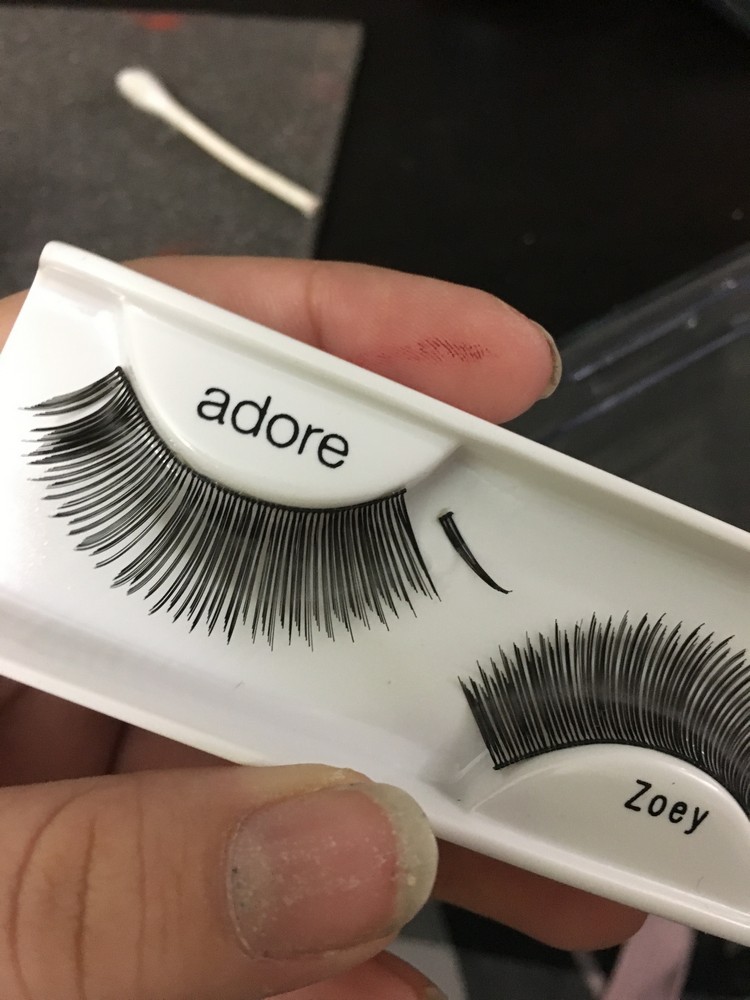
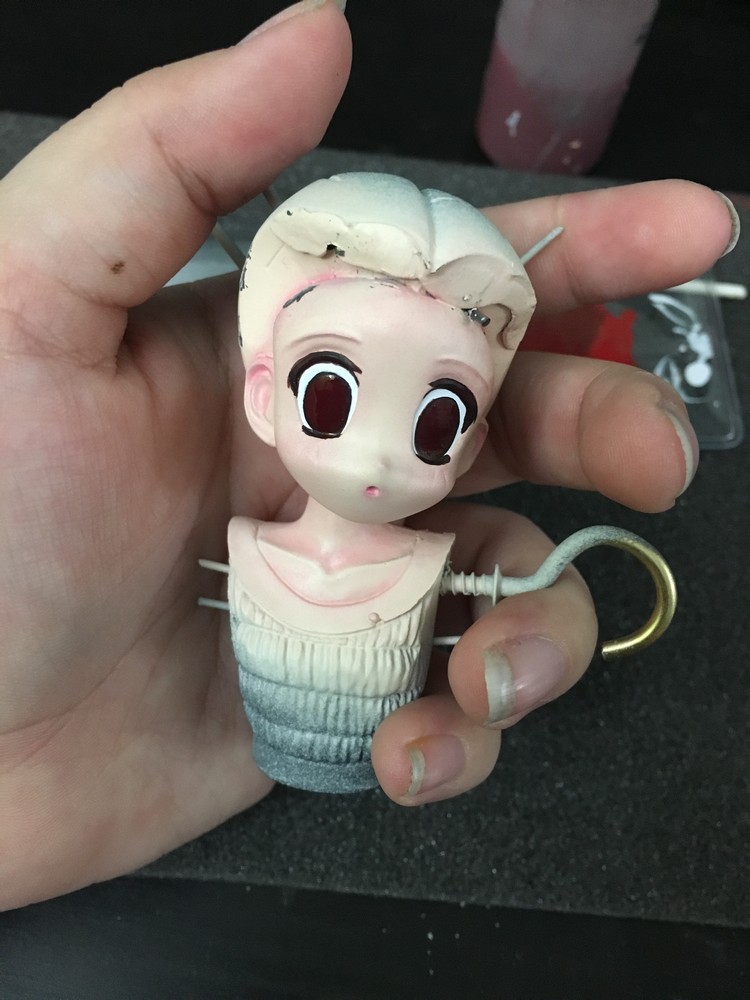
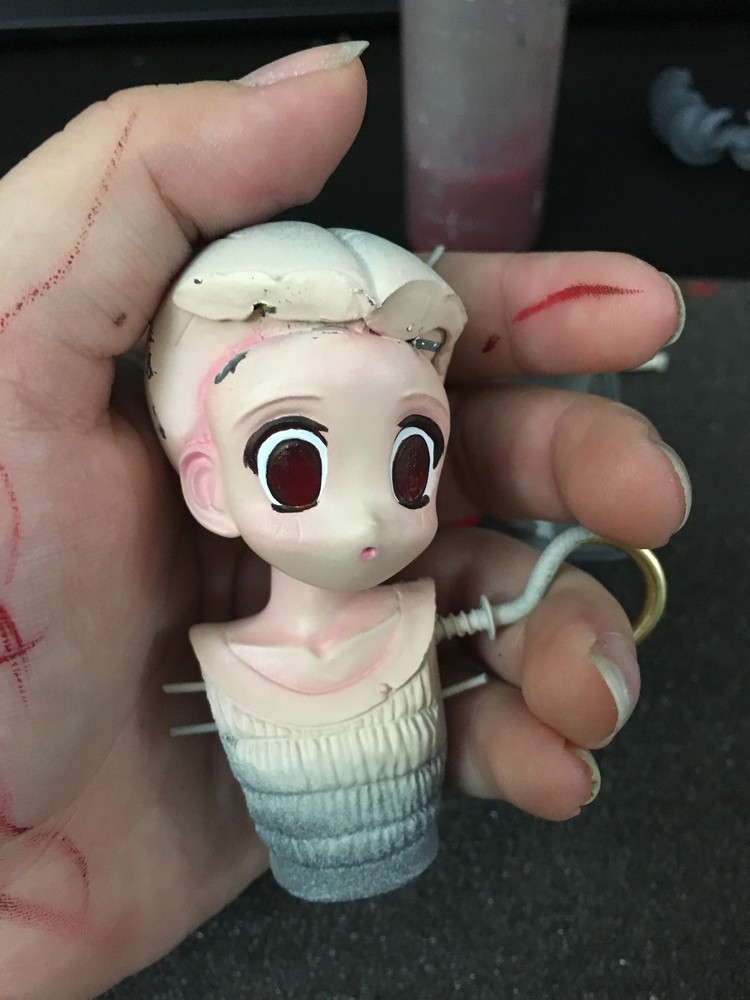
Ugh, so upset my local dollar store didn't carry the lashes I used for my one Senshi Group Commission...it's a hit or miss when it comes to stores like that, but no worries, wound up going next store toa beauty salon to pick up some lashes on sale. What I did with the previous lashes I used, is I punched a few together with superglue with a tooth pick, helf them for a minute to let the glue dry, then cut sections off with an x-acto blade. If the lashes were too long I trimmed them from the back where the glue is suposed to go on the lashes if you actually wore them. Then just used glue to attach to the figure with tweasers. If the lashes werent curved enough, I just applied a tad bit more glue, then bent them at a curve to let the glue dry again with a toothpick.
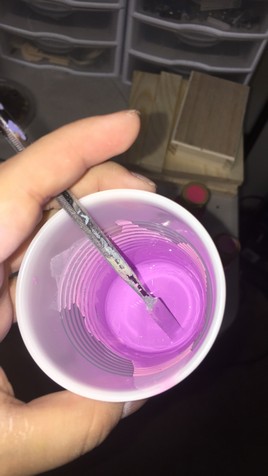
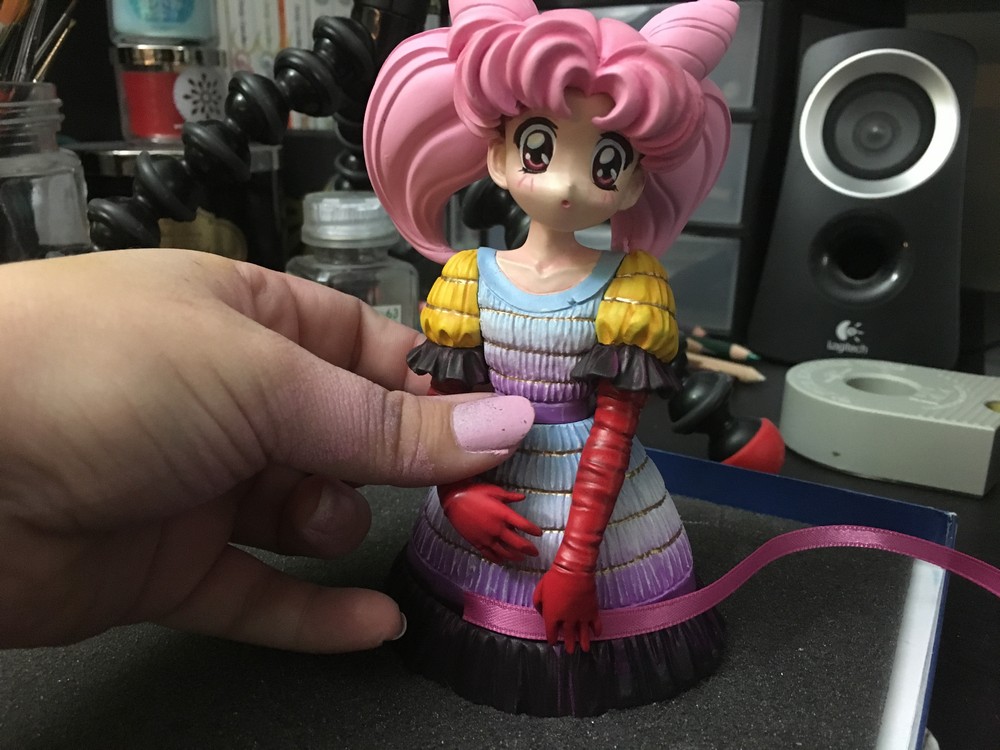
Nomrally in work in progress stages, I select the photos that closely resemble the final gallery, but figured I post up my challenge photos as well for the development process. Here in this skirt, me and my client were determining a tone of pink for her skirt as referenced in her original concept. Sadlt my monitors color settings are adjusted for my career so colors for other freelance work need to be close to accurate to work effectively. Anyway, the color was wrong so we worked together to mix a new purple pink to apply to the dress.

Figured she wanted to see how light pink looked, the idea was scratched off.
Here we finally mixed the right color she was after, don't know why my flash went off on my phone though, lol!
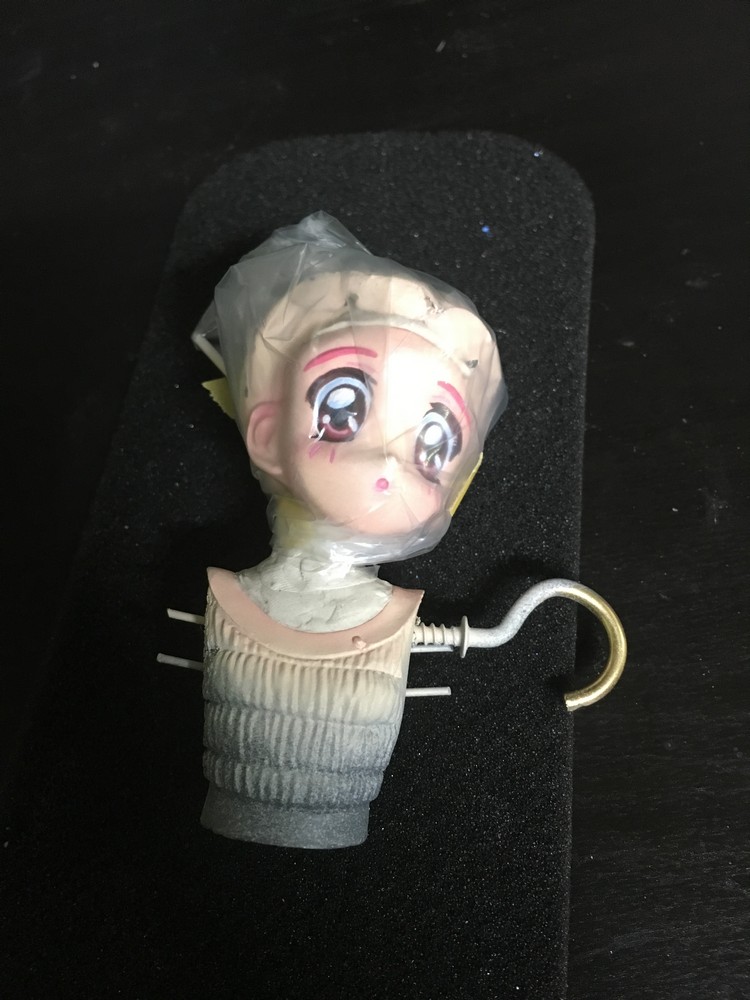
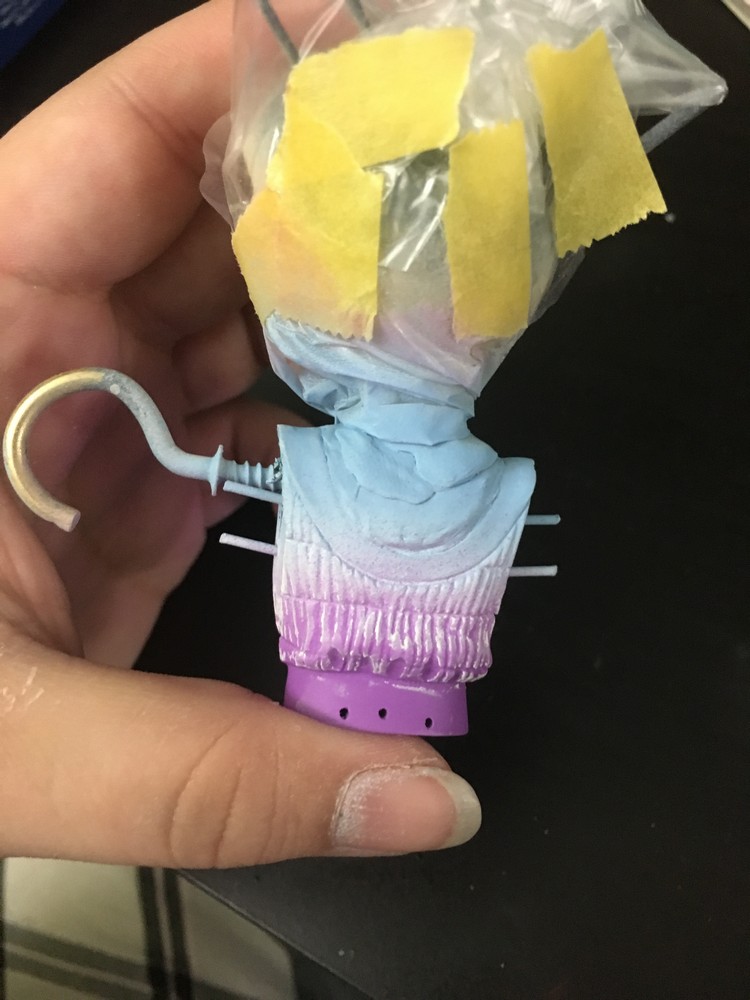
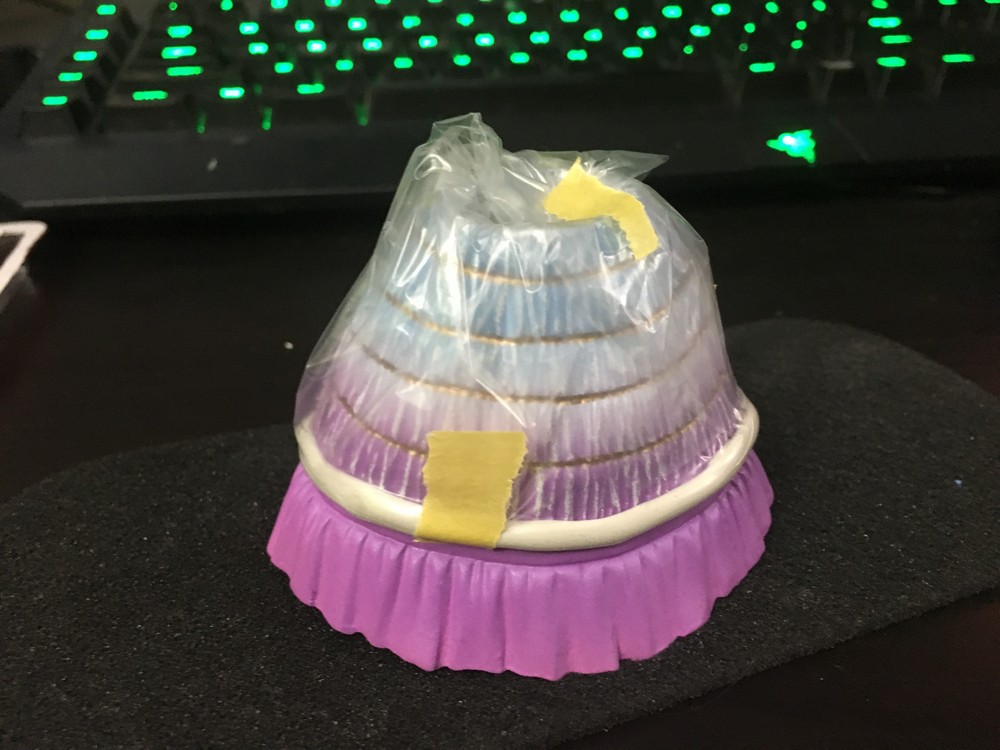
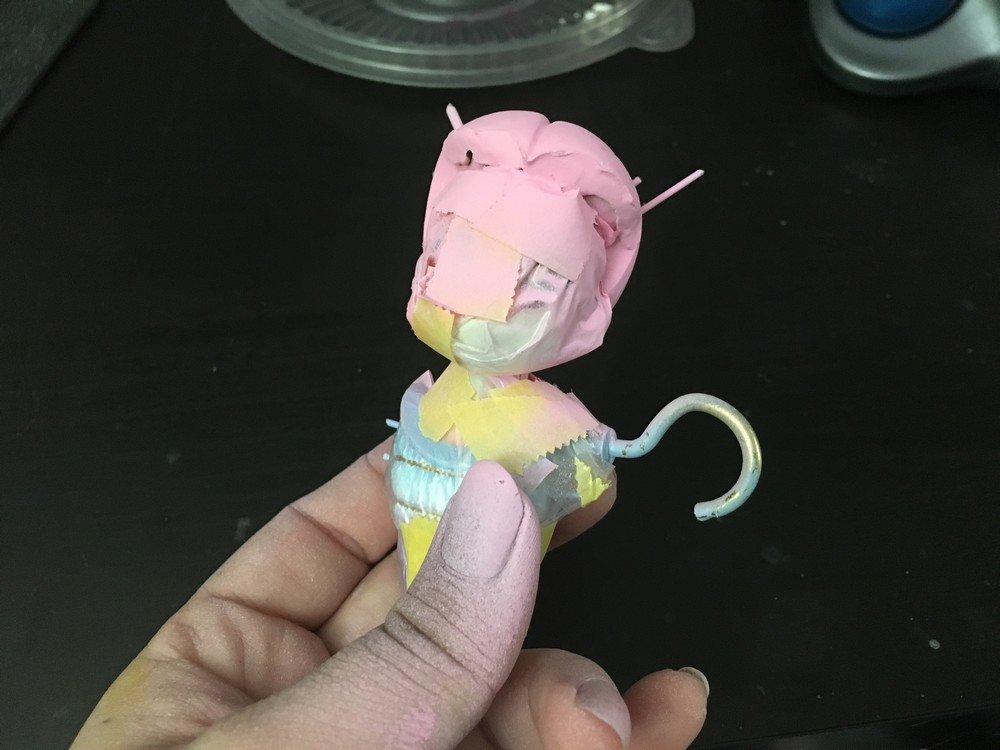
(Left) Started masking off her skin head and face to make preparations for painting the top portion of her dress. I am sure many will ask what product I use to mask in this mashion, its' just called Poster tak, you know, to postion posters on a wall without damaging walls xD Stuff works great, but you need a tooth pick for application to roll the putty into place and to stretch it. You have to mix a bit in your hands and pull / tear it apart to make it easier to work with. (Right) Chibiusa - "Kill meeeeee..." xDDDDD Used some plastic to cover her head. Bu tyeah the great thing with this putty is it can be reused to an extent, just keep tearing and stretching it until most of the paint is off of the putty, though given I use acrylic, not sure how other paints react. Obviously if you paint metallics, don't reuse it.
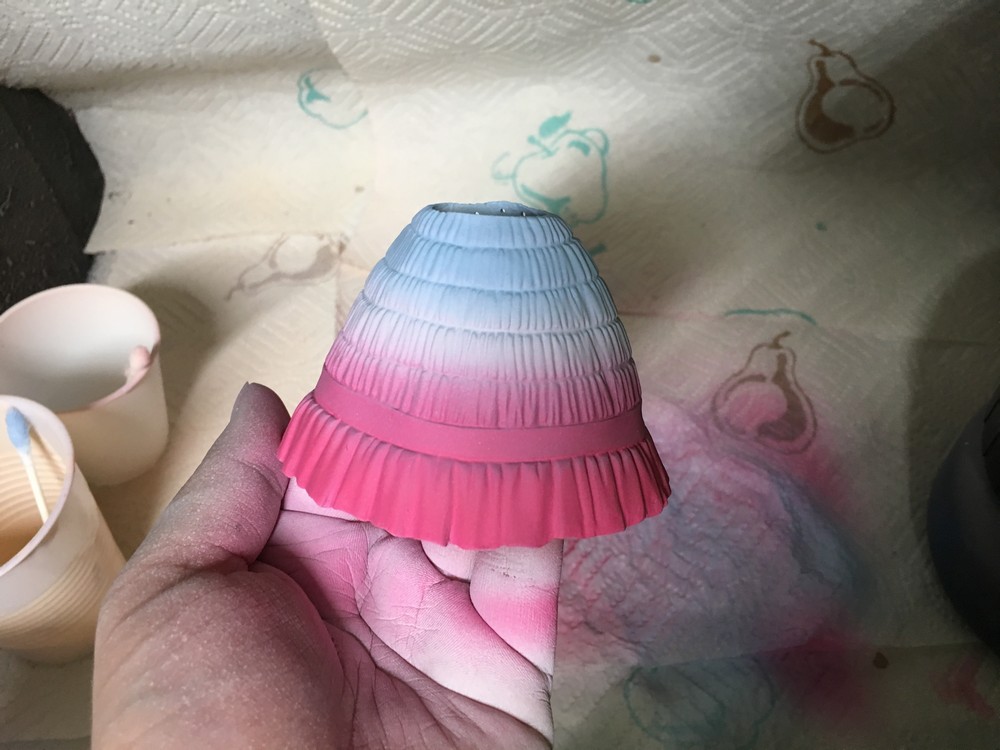
Sorry for picture blur, this is the color we approved on to be applied to the dress.
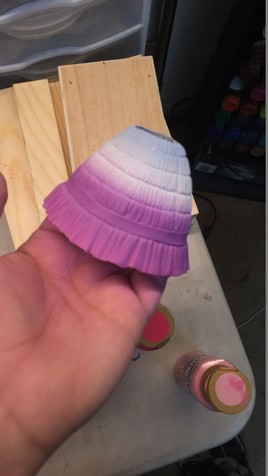
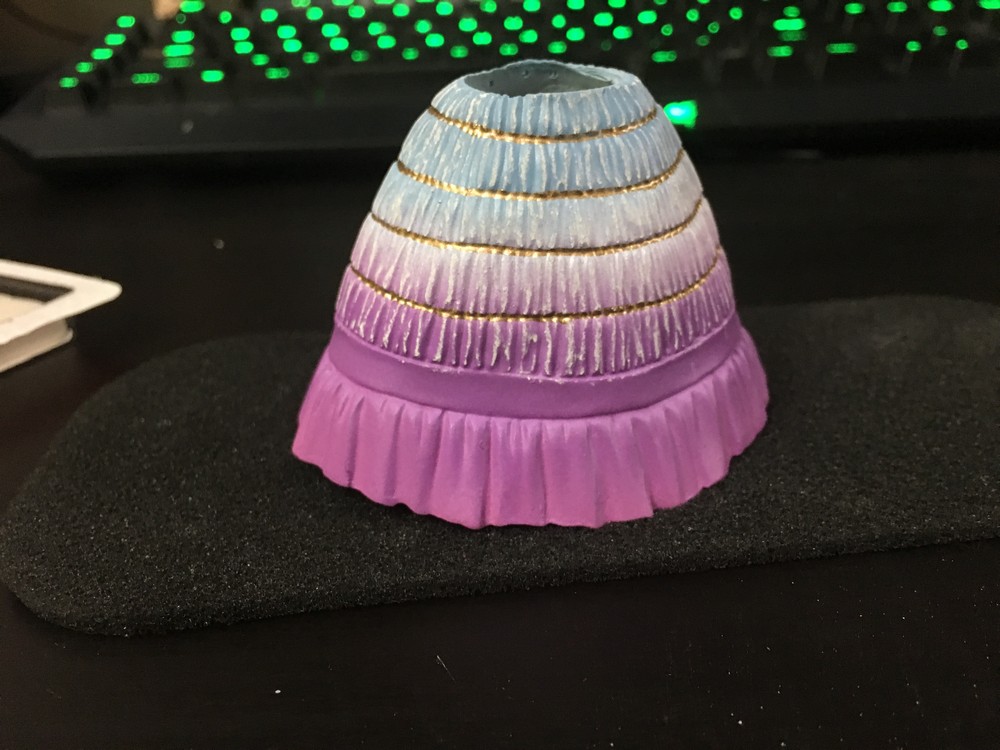
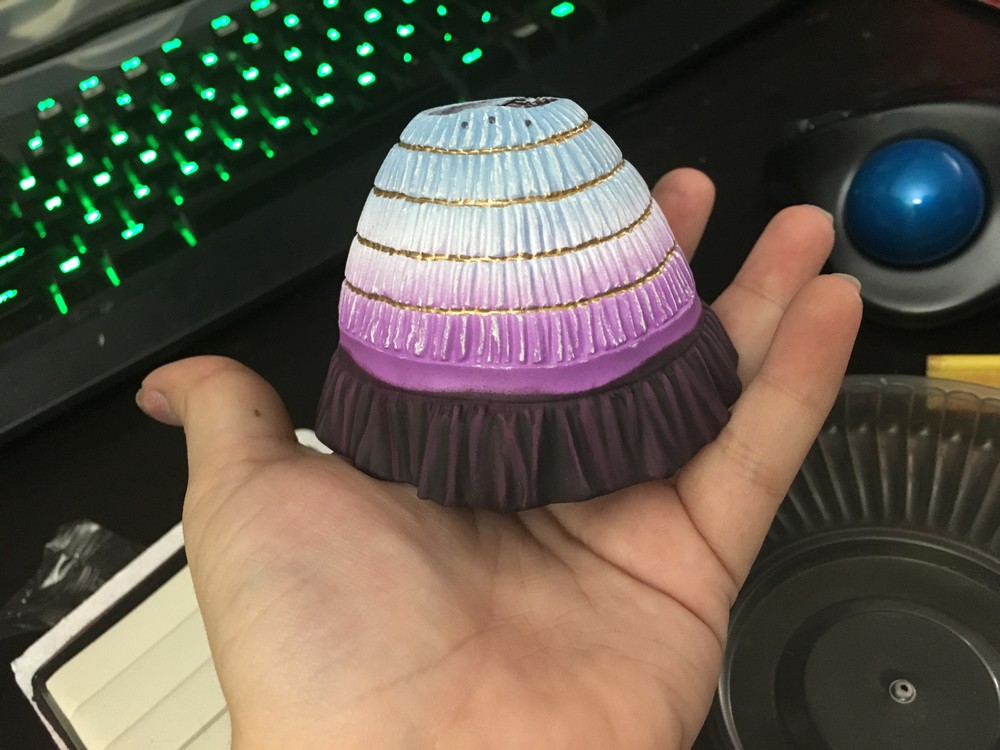
Top of dress was not final in this photo, took a few attempts to get the gradient to work just right between the baby blue, white and purplish magenta.

Since she wanted to add white to the tops of the ruffles, my one idea would have been to hand apply thinned out white paint and hand paint each ruffle, but time was short for rush order delivery so we tried other ideas. The other was dry brushing white, the third was running pastels over the top of the ruffled vertically. She liked the tough pastel look so we went with that. But tried something a bit different for this application. I took some Workable Fixative which I use to seal my color pencil works with, and applied it on a test area of her dress top, so far no issues with the sealant issue, but was able to apply pastel layers and or pencil marks without issue. The fixative also gives tooth to paper so you can apply pencils in layers. The test was a success and look forward to use this technique in the future.
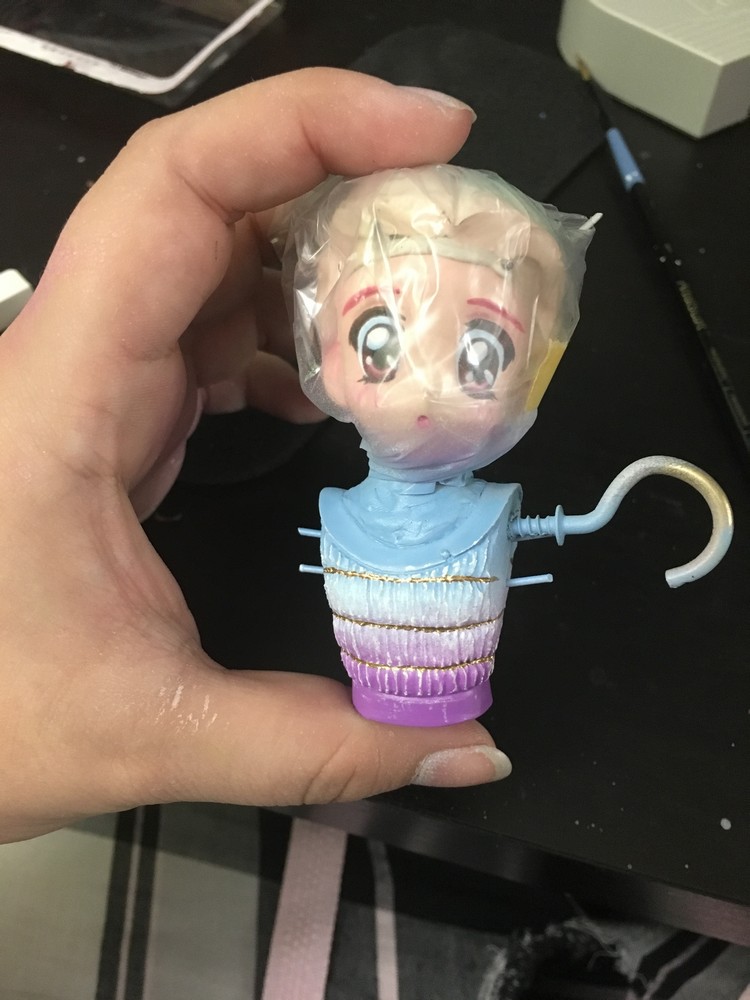
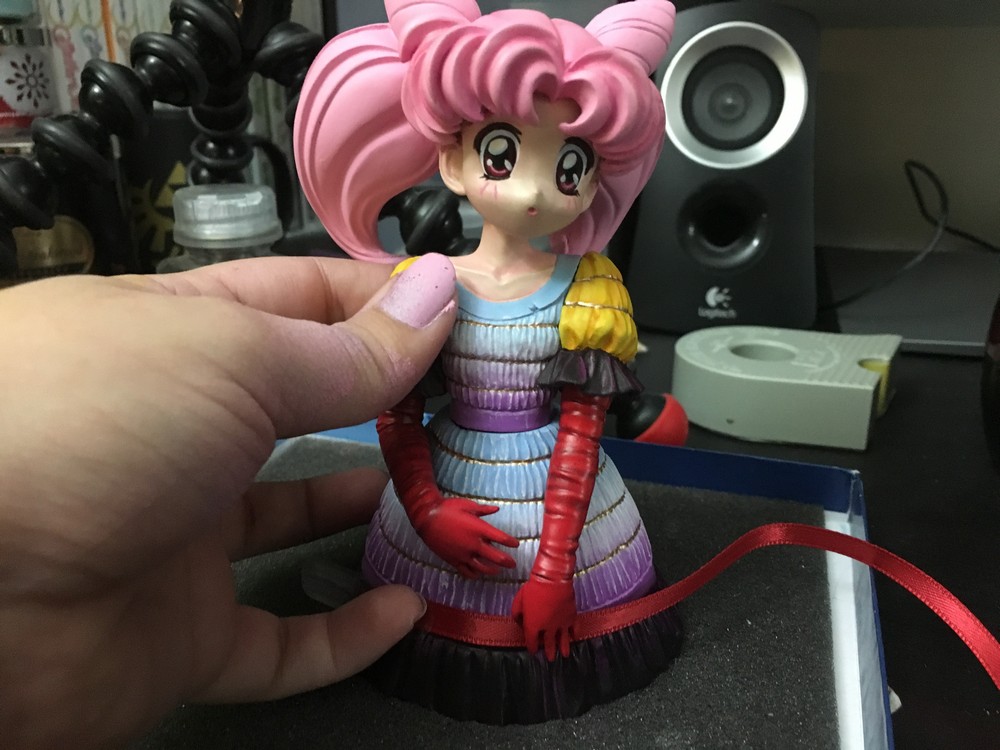
After applying 3 thin coats of workable fixative then added enamel gold seams to the dress.
Same relative comment above, sealed 3 times in fixative and added gold seams.
Started masking off shunks of her dress so I could make way painting her blackish ruffles, except the black is going to be a dark reddish brown tone, so I can make way to add shadows and highlights.
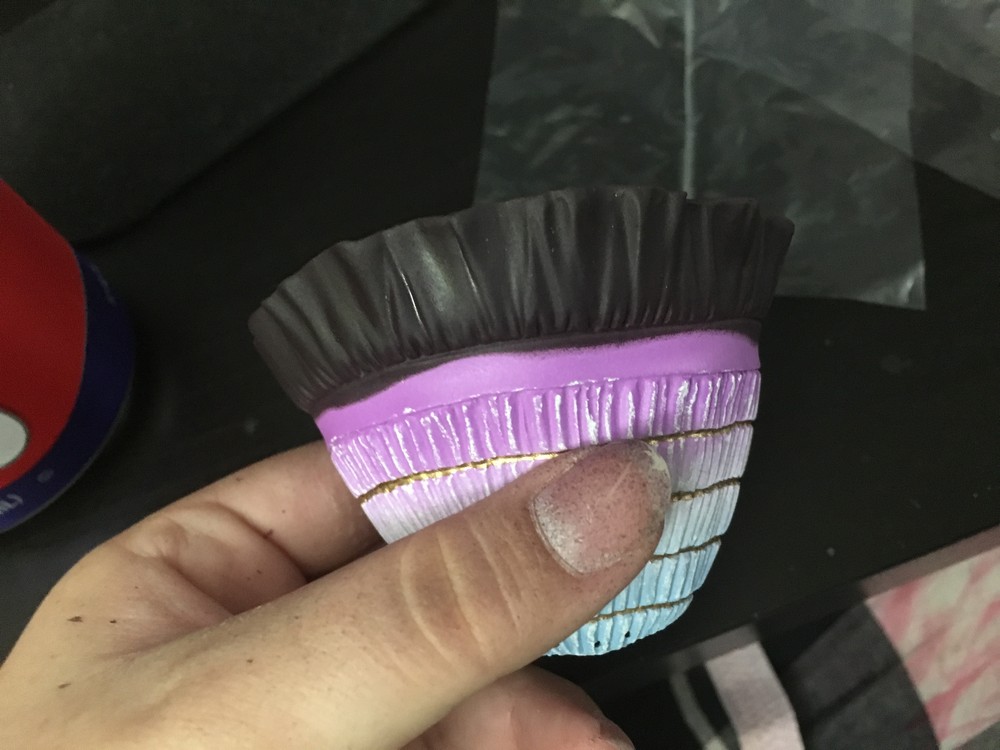
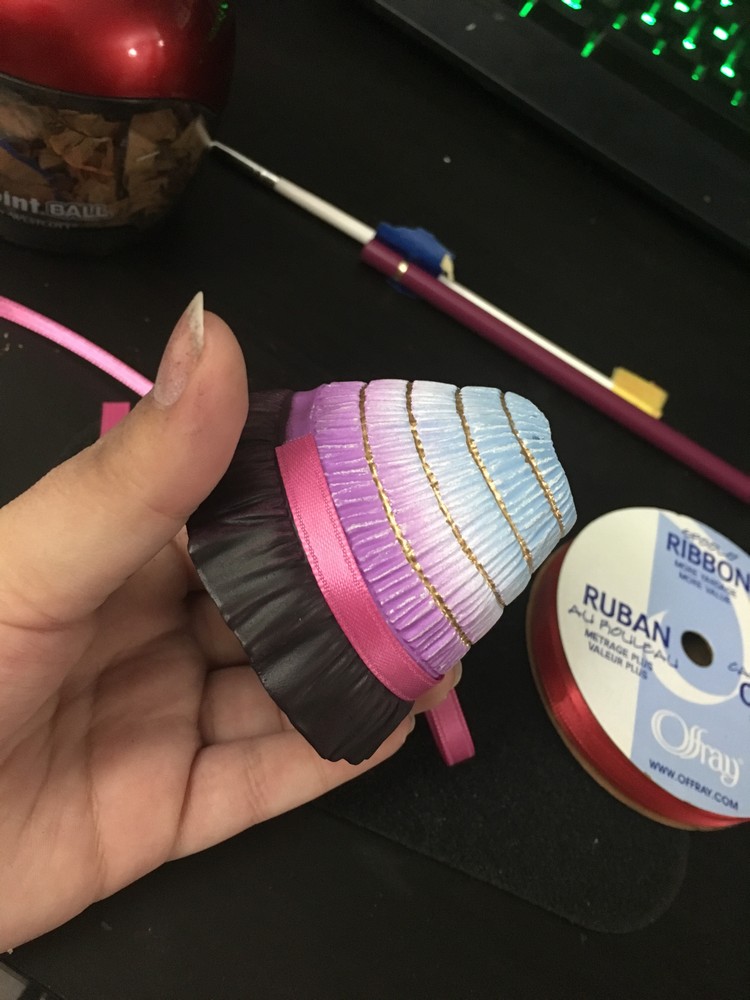
After applying a few thin coats of the reddish brown. Didn't worry too much for accurate masking, given that one trim area will be covered in ribbon.
Started maskking the rest of her body to make way for me to paint her hair.
After adding thin light purple highlight layers to her ruffle trim BEFORE sealing it in fixative. Once I seal, the colors pop more.
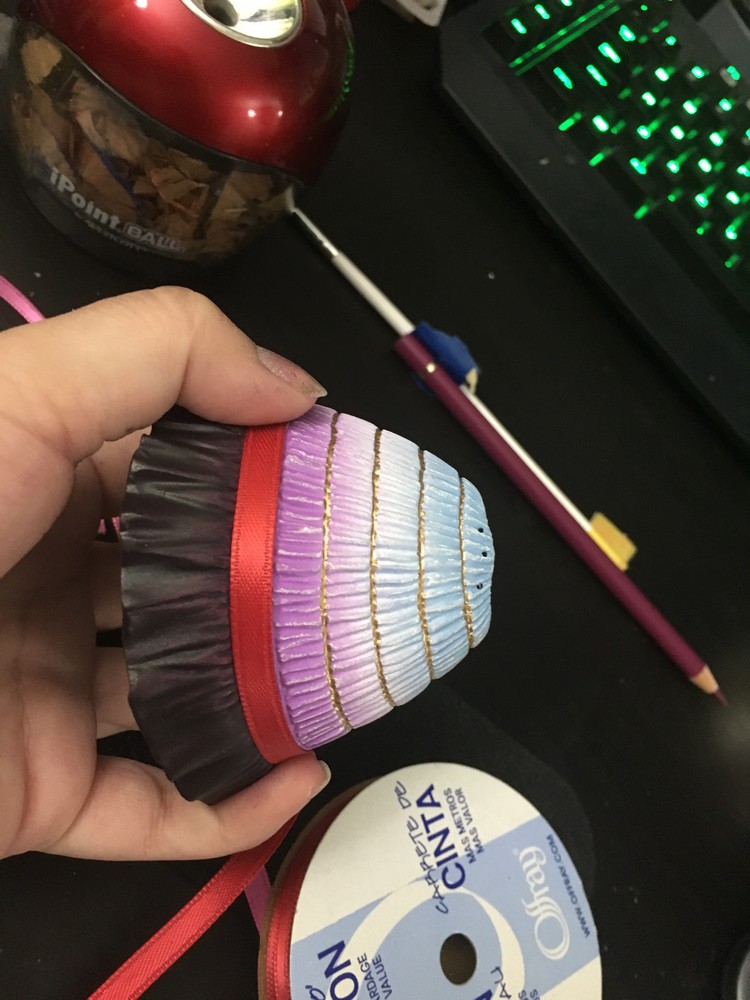
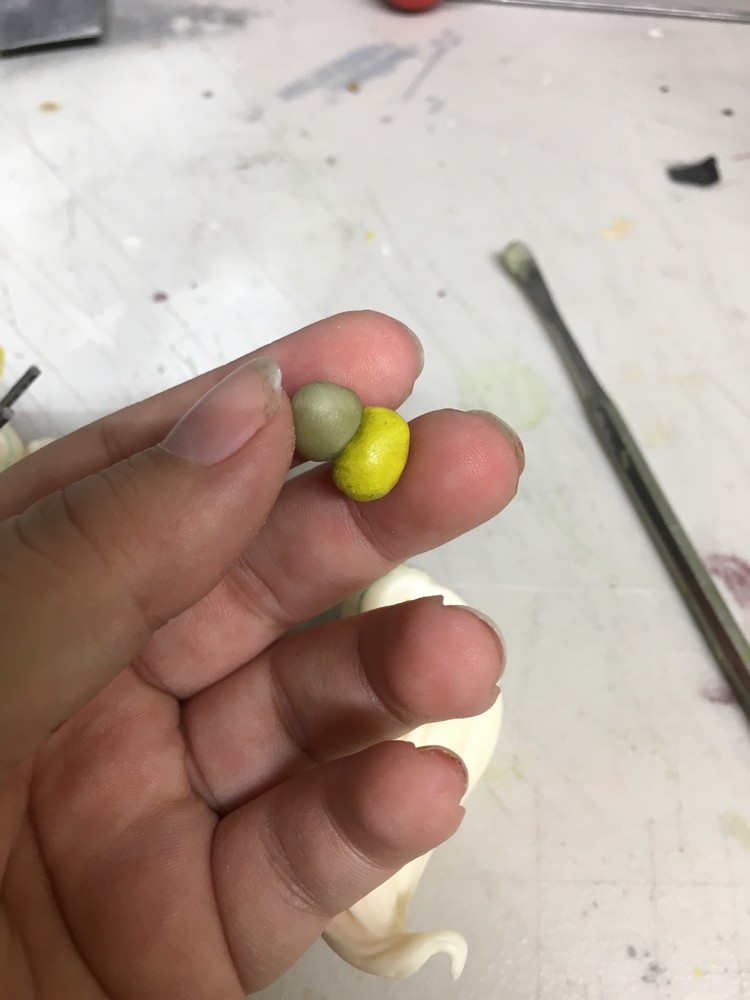
Ohhh decisions decisions...we wound up going with red, LOL.
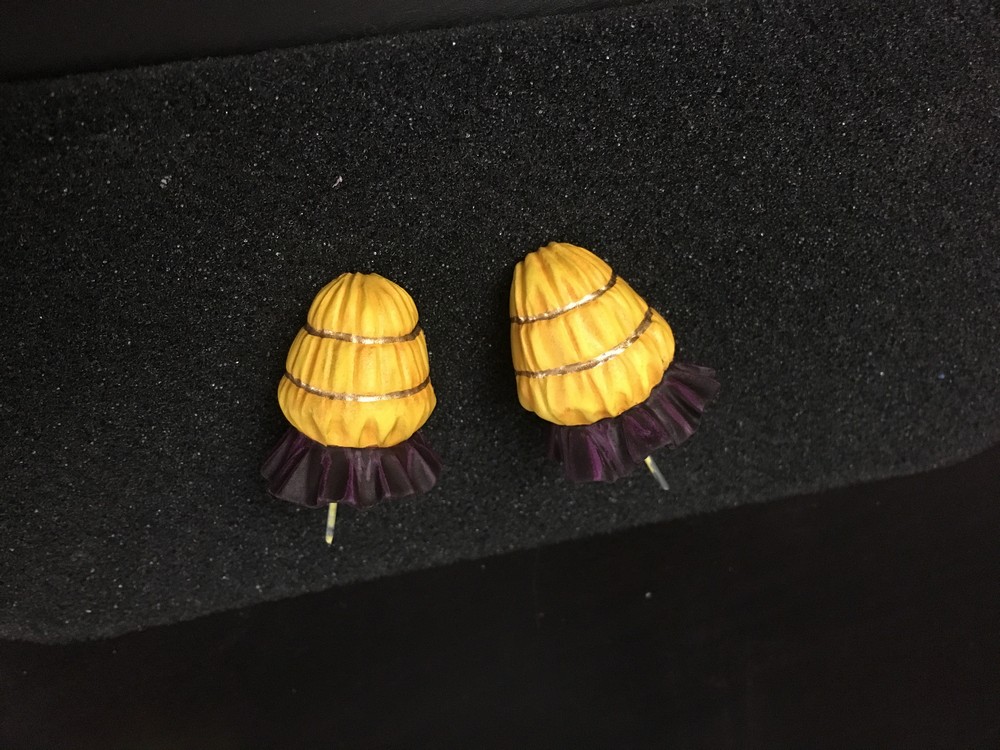
Painted a base coat warm yellow, then orange yellow pastel shades, added gold enamel for the seams, then same method as the dress ruffles.
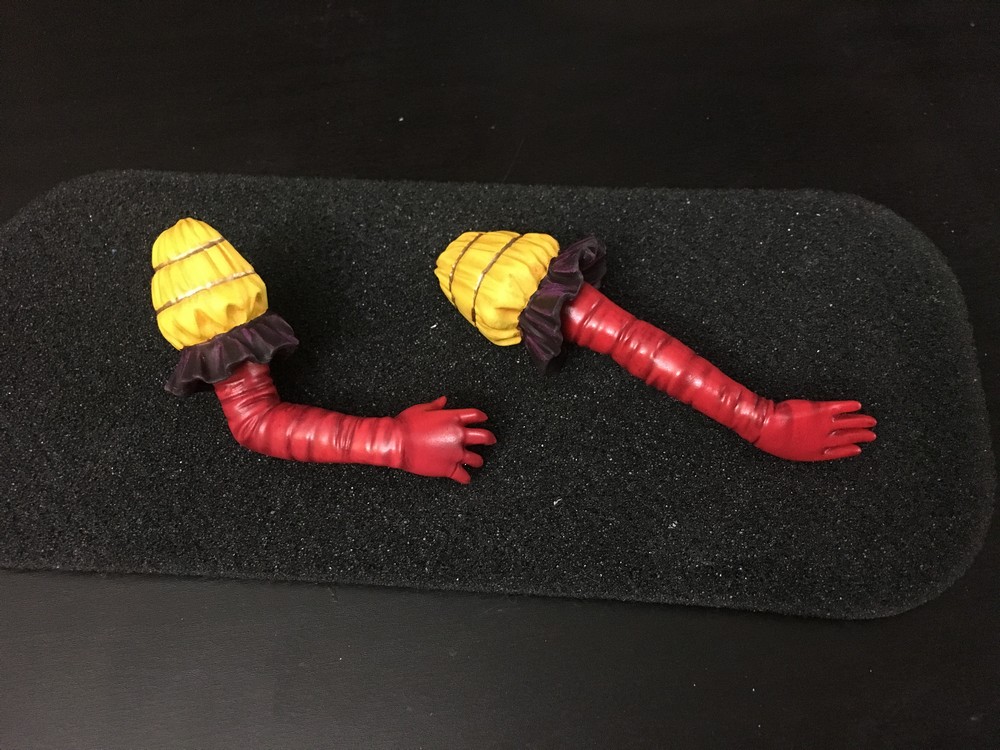
Gloves finished and sealed in a satin finish. True red base coat with deep purple pastel shading.
After a few coats of baby pink to her hair as her base coat.

After removing the masking once I blow dried her hair and letting it dry naturally for an hour and a half.
Below is just me showing you how I made her back bow, pretty simple just takes some fiddling around to get it just right. As for adhesion I used a double backing scrap book stickys instead of glue, given that glue can seap through the ribbon trima nd look wet and messy.
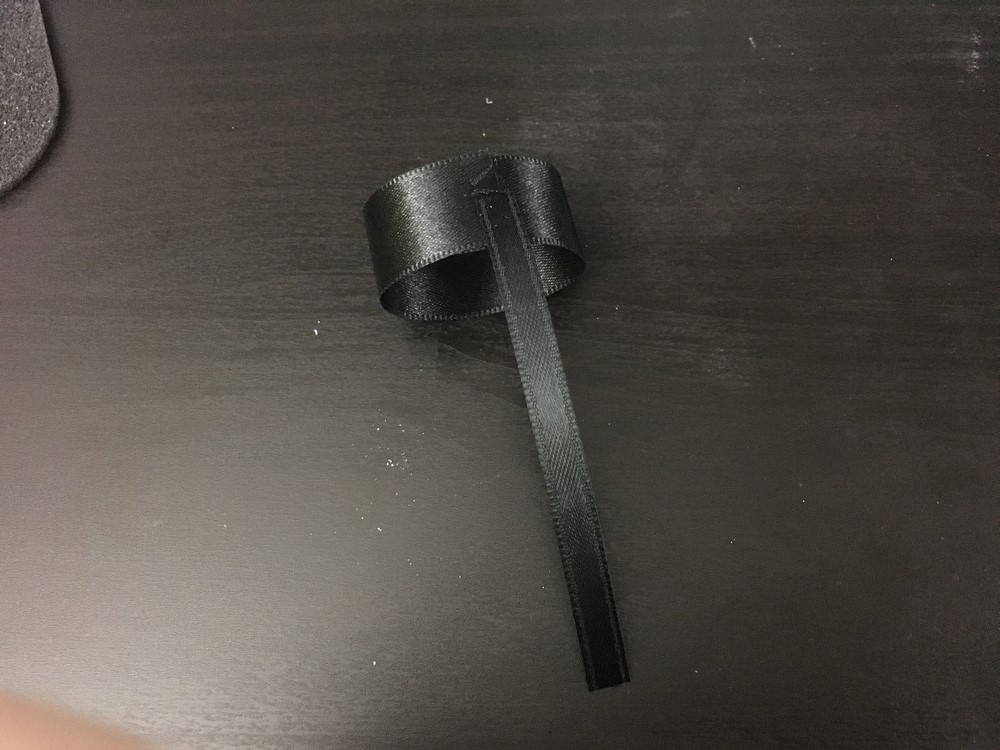
(Left) Used thick ribbon to make the main ribbon base, used ouble sided sticky stuff to bond them intoa loop. Then attached a smaller ribbon trim with adhesion stickeys.
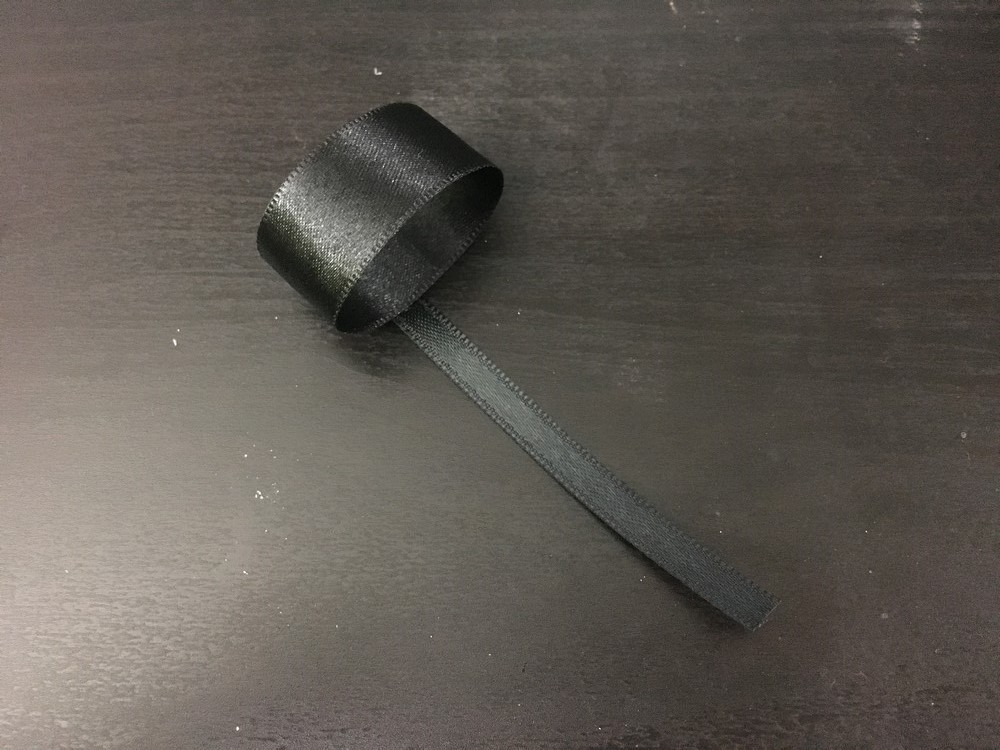
(Left) Looped the smaller ribbon around the back and trimmed of the excess once I knew how much I wanted the bow to purk. Used adhesion to stick it to the back.
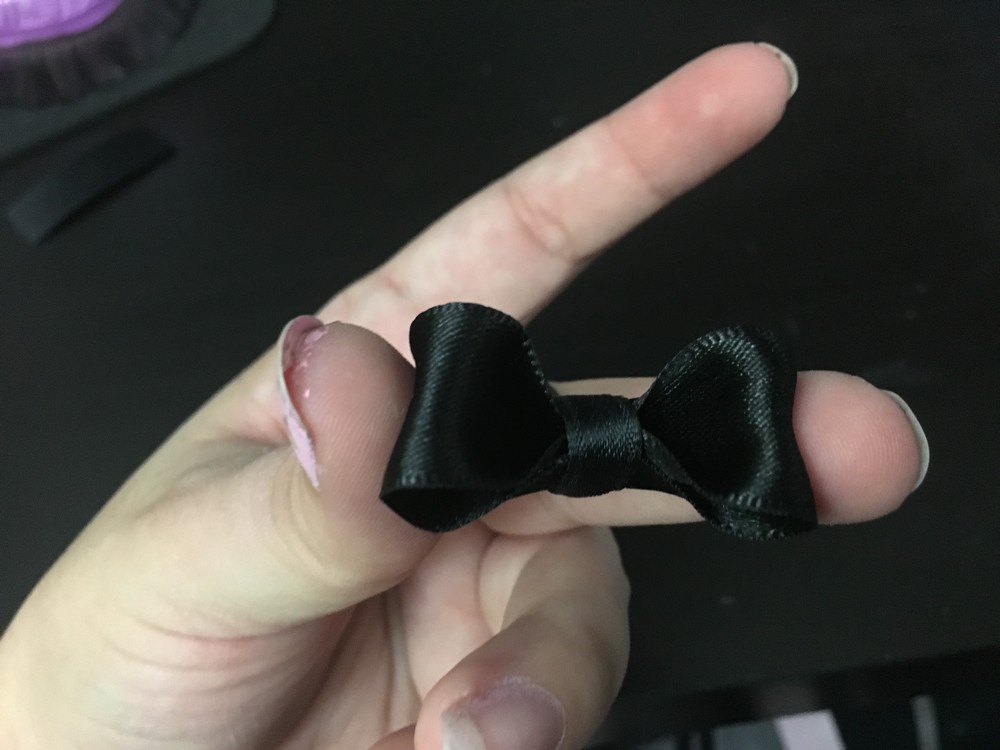
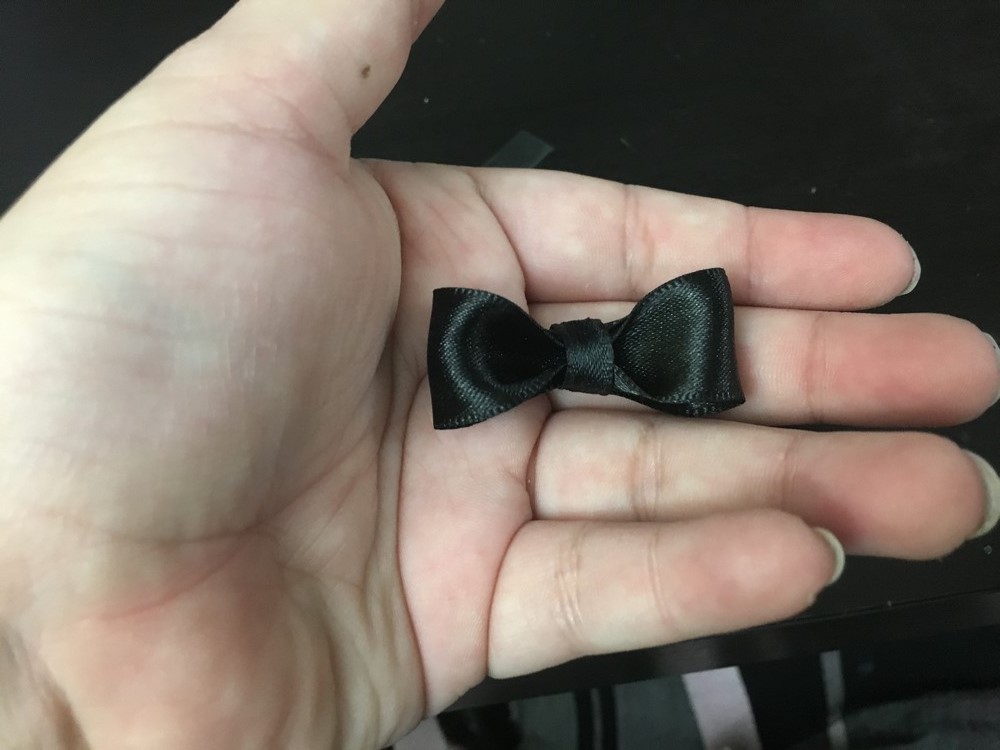
To make the bow even more purky, I punshed the edges inward to fluff the edges up.
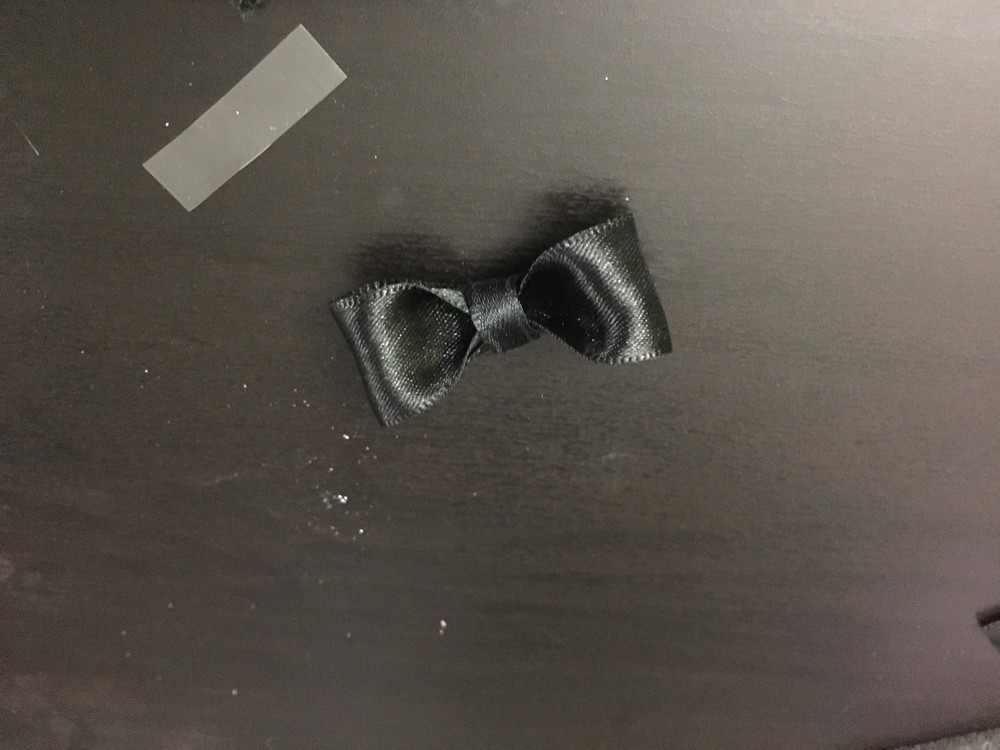
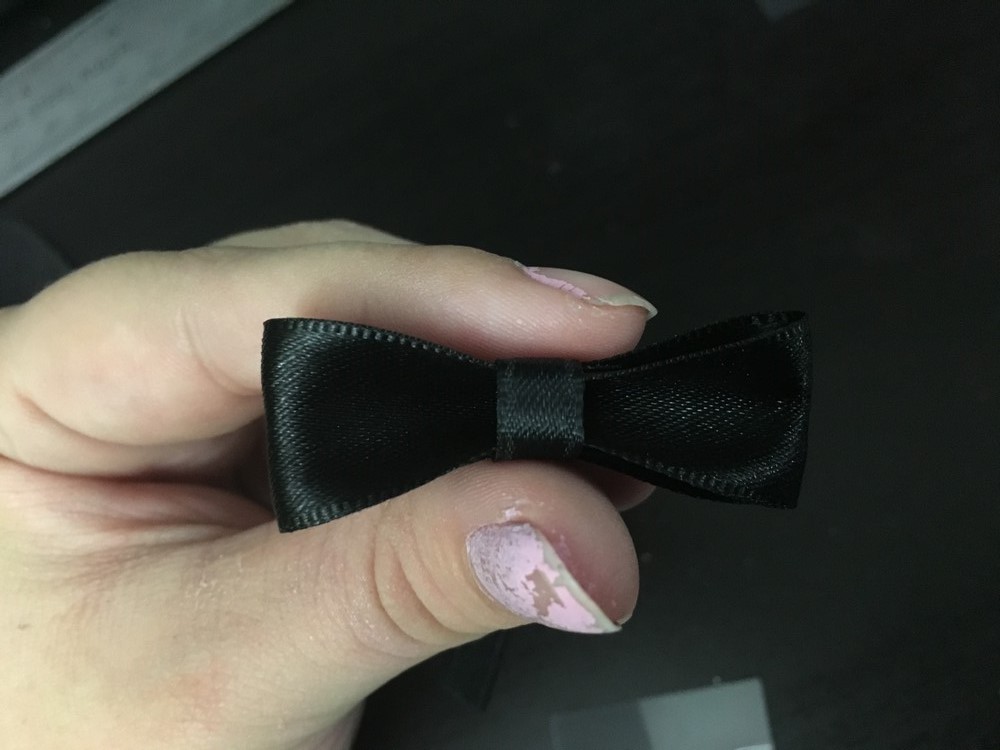
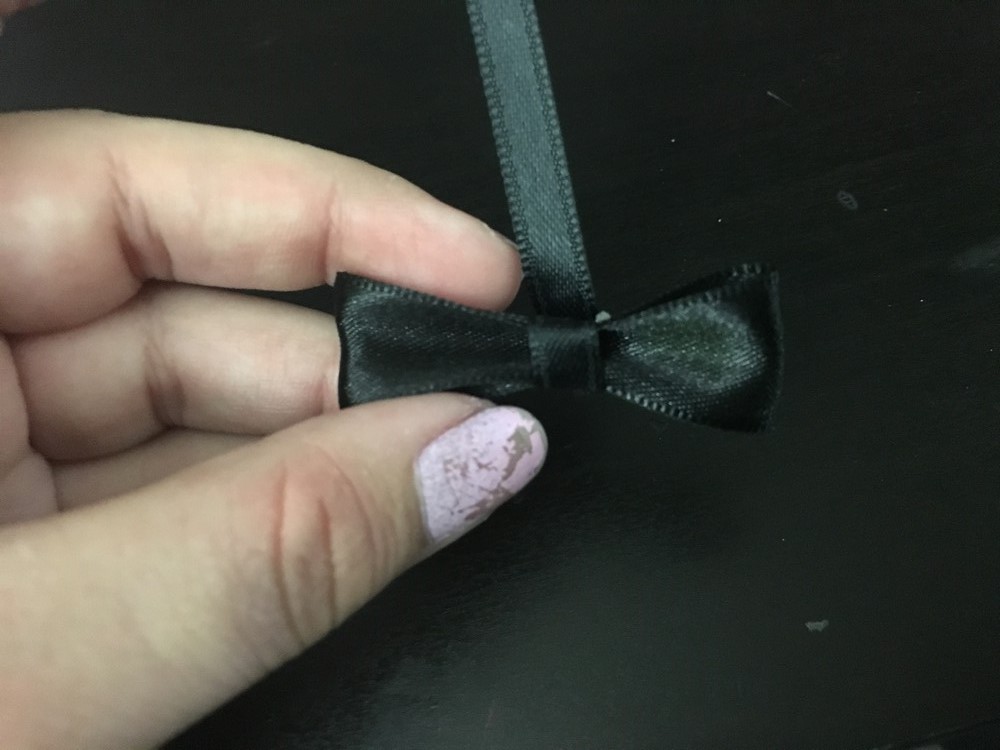
Finished bow result. Once the painting s done I will attach it to the back of her dress and add two long thin ribbon tails, just like the first chibiusa I did.