


Hiya! I’m Samantha, Garage Kit Builder & Illustrator in the USA.
For Work Schedule Updates - Click Here
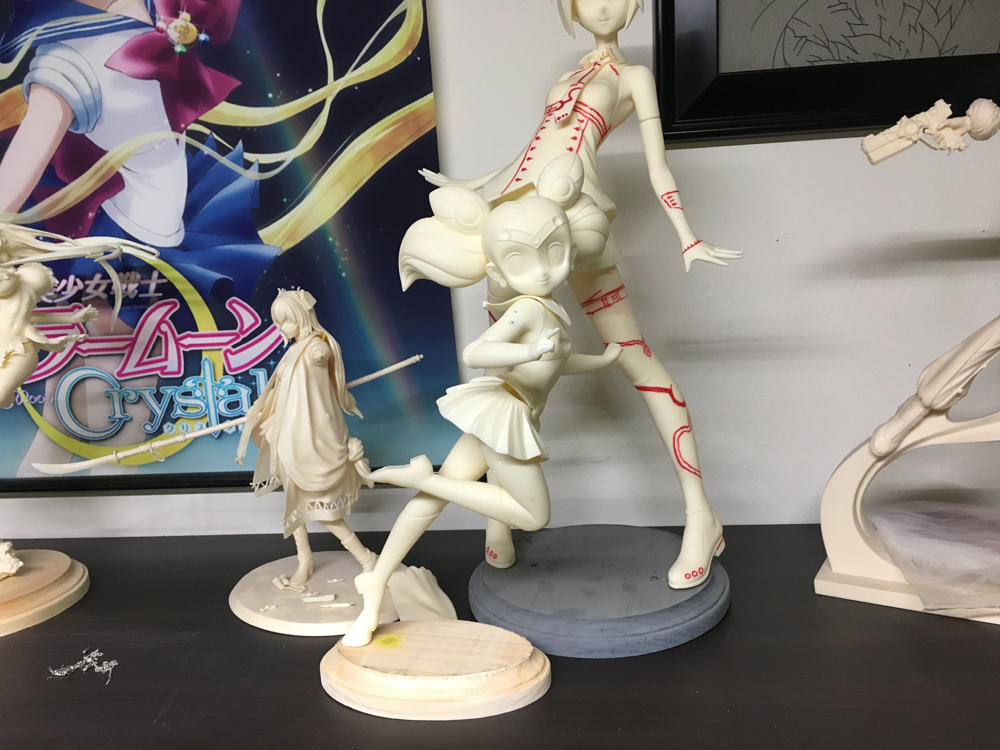
1/5 Super Sailor Chibi Moon
Commissioned Piece Client requested any future orders to have small bases, since she likes them small and works well for her storage. With that being said, I wanted to post a small tutorial on a Super Sailor Chibi Moon. In this brief tutorial, I will show you how I turned a small base to support larger figures, especially ones that have a leaping pose for any shaped base.

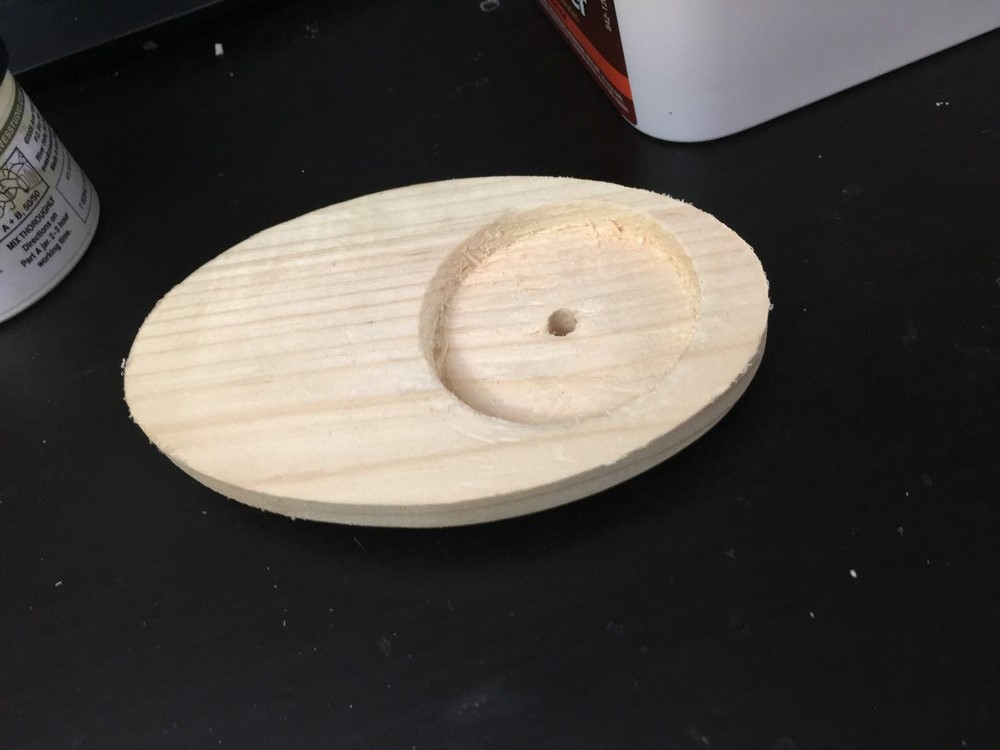
Here is the base in question. Reletively small oval base my client liked we will be modifying with weights so it supports the figure. To the right of the base, I went to Lowes and found some heavy washers for a vew cents, so I went ahead and picked up 3. These were the heaviest that they had in this size that will work well for the base.
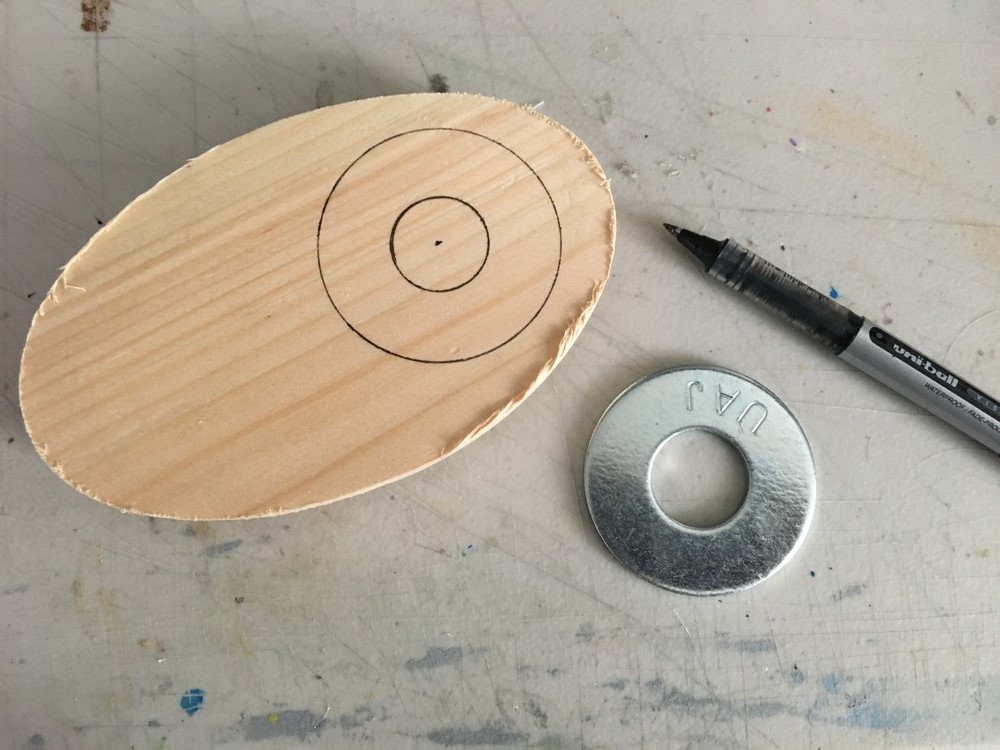
Next I placed the washer on the underside of the base and drew a circle template where I will be drilling on the base. I had to position it in such a way where the pilot hole will not drill through the side of the beveled edge of the base or threw the base too much. The dot is where I need to pre-drill a hole to prevent the wood from splitting.
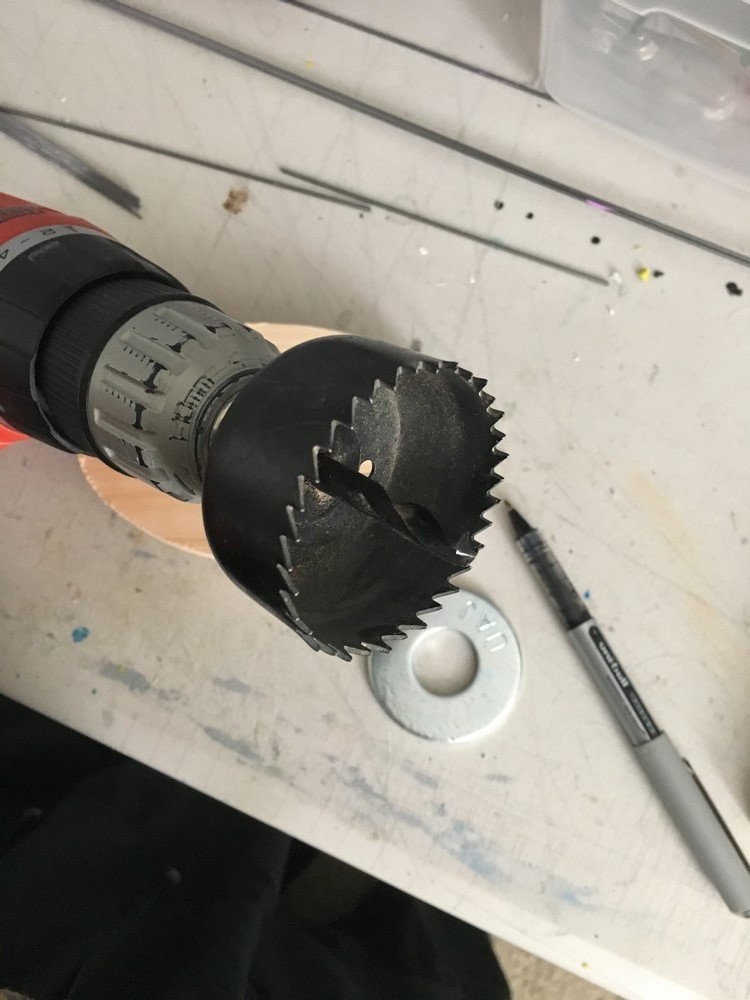
This is the hole saw I will be using, it was the only one I had but their are hardware stores that sell ones for wood, but this will do fine for what I need for it to do..
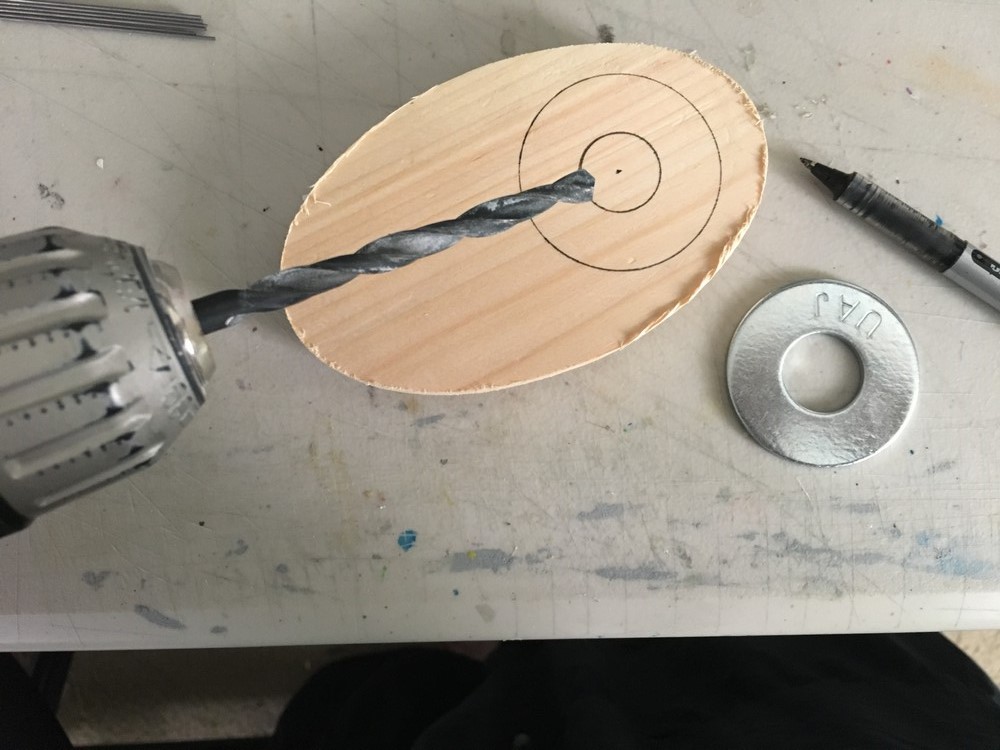
Next I grabbed the drill bit portion of my circular hole saw and pre drilled my hole. But what I did not show was I used two different sized bits, going from smallest to largest to prevent wood splitting. Don't go full force with a large bit
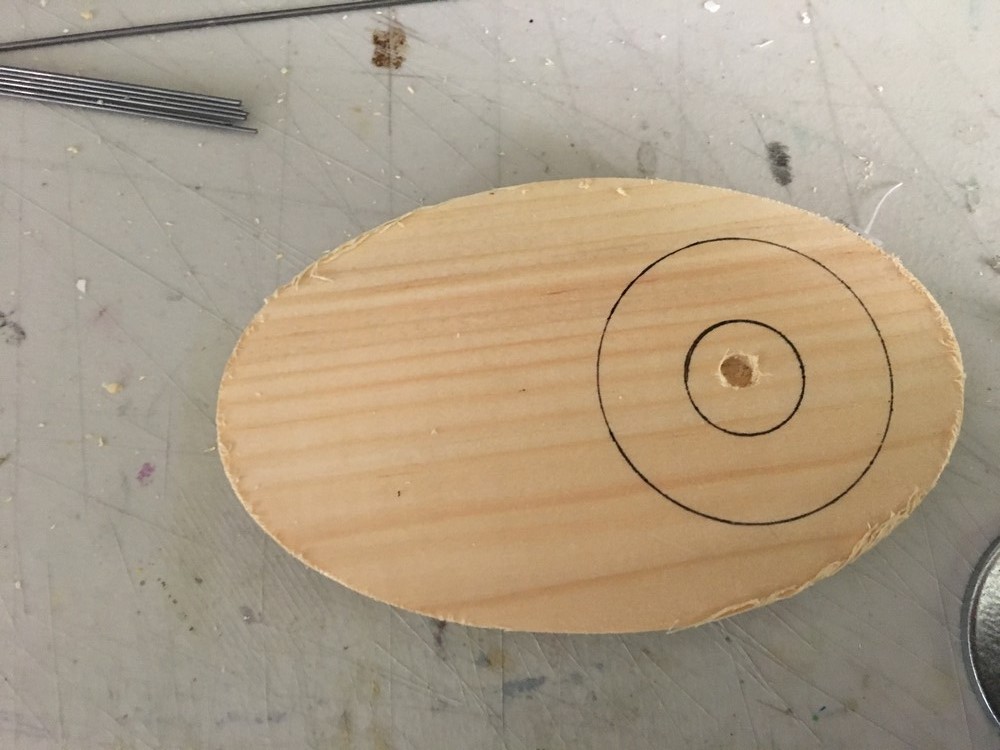
After I drilled a small anchor hole in the base, I then proceeded to use my hole saw to drill a bit of a way through the base. Reason I did not drill too far into the base with the drill bit is so that my hole saw can grip onto the base as I drill.
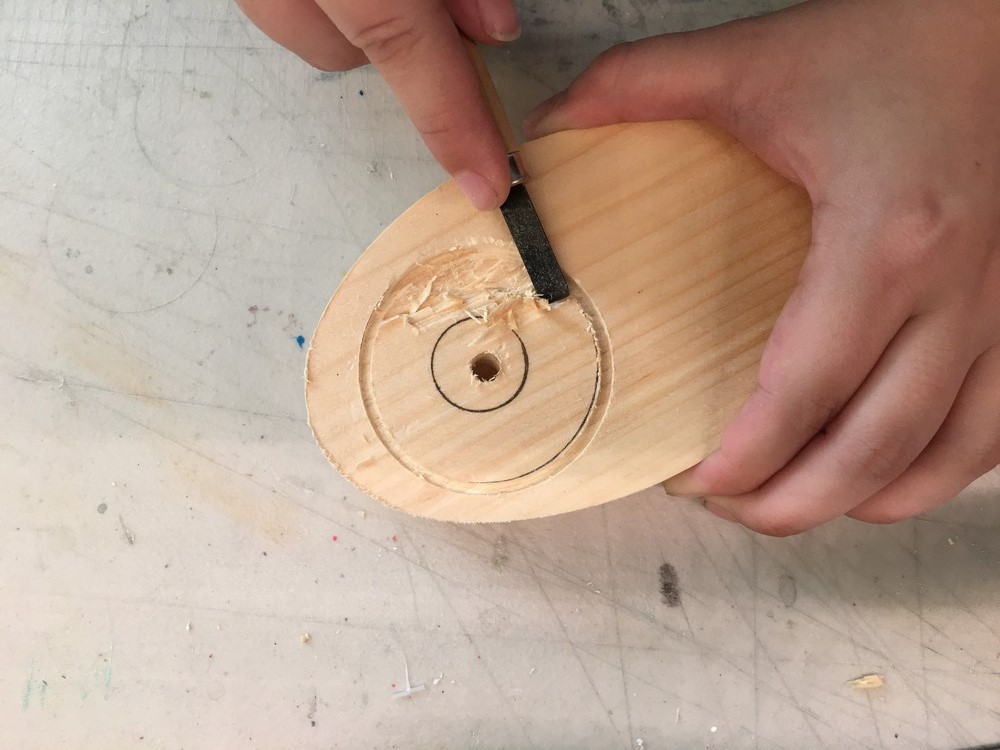
Next, I took some cheap wood carving toold and proceeded opposite of the wood grain to peel away some layers of the wood, so that way when I do go against the wood to carve, itll be easier given I have a safety border edge to carve.
After that, I then started carving with the wood grain in layers to deepend the hole and to clean it up more.
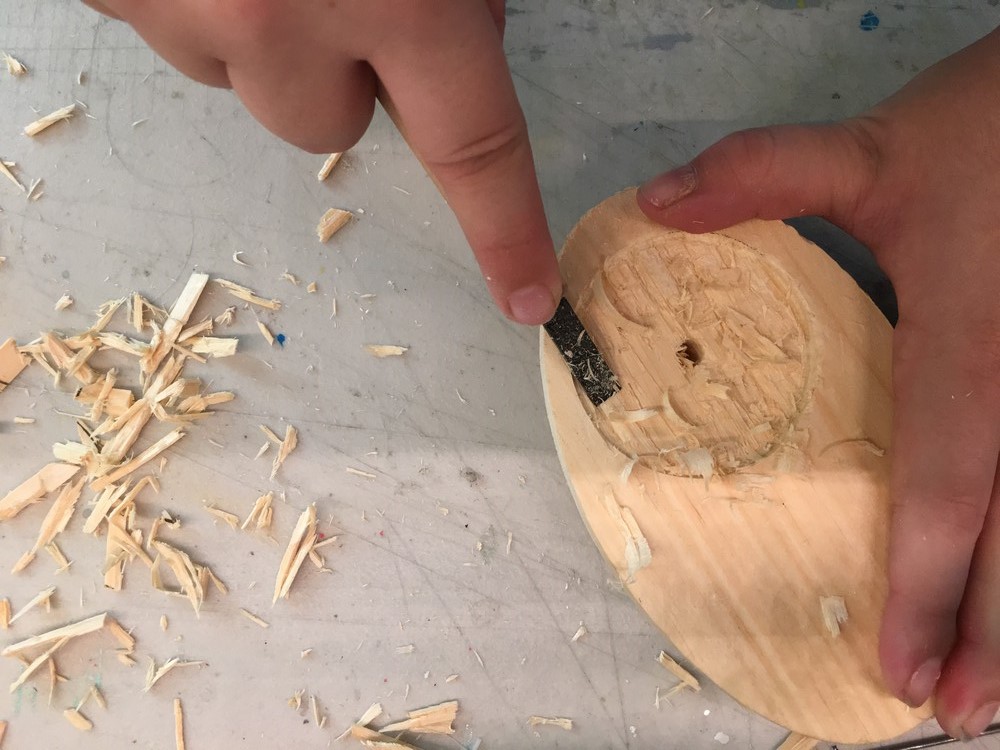
Here I just used a random carving tool, similar to doing lenoleium prints, and just went around the rounded edges to clean them up a bit.
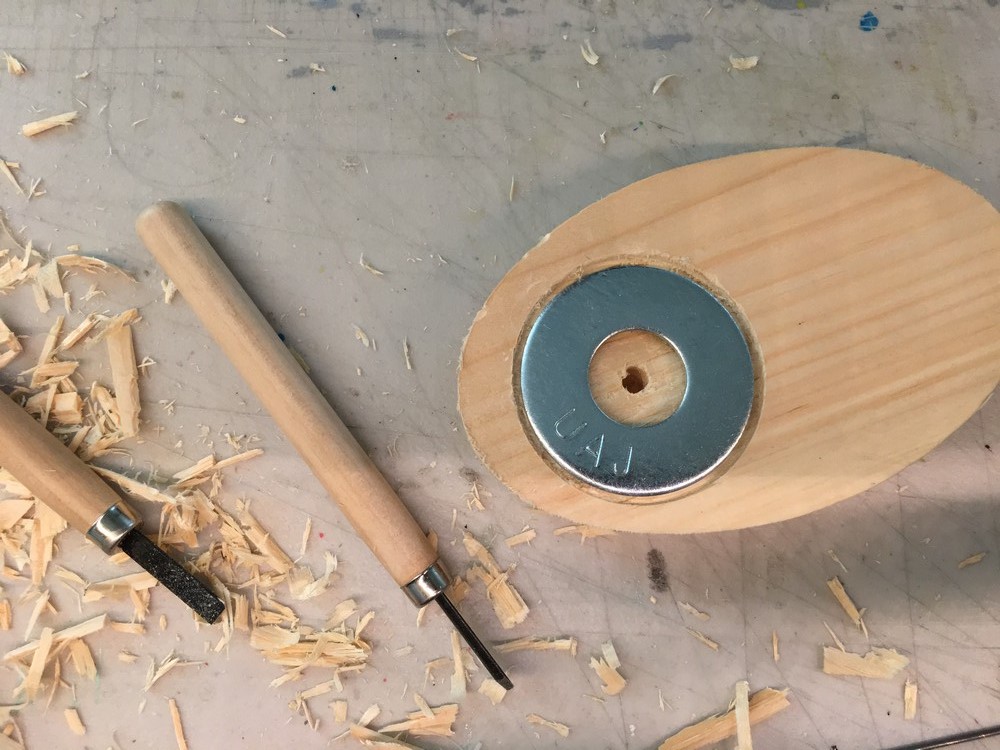
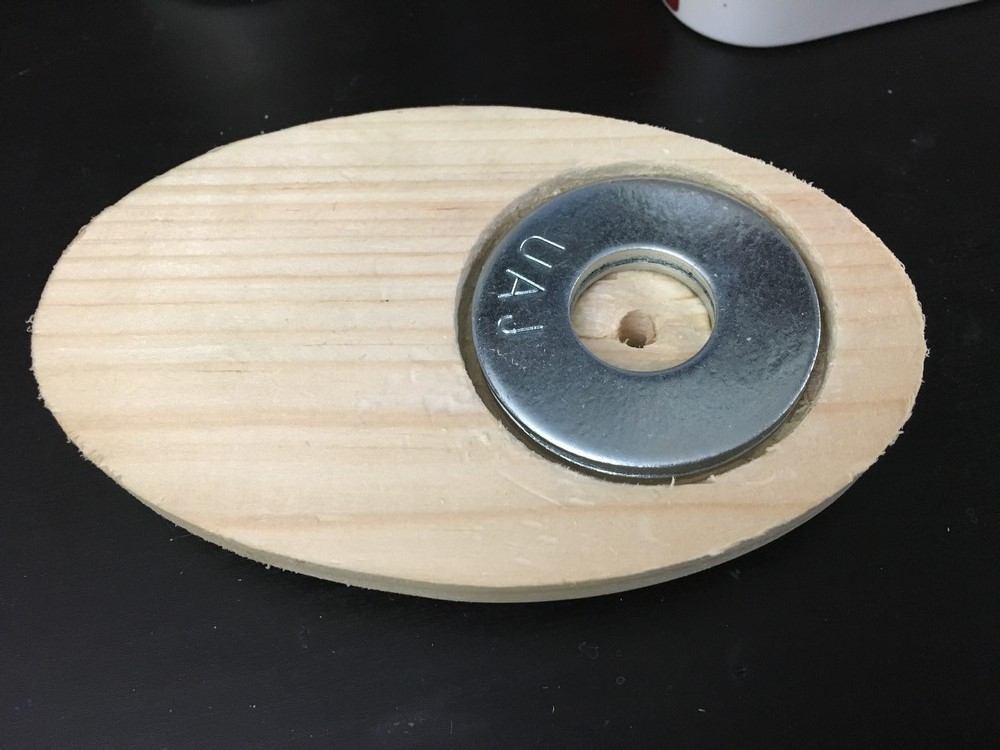
And there you have it! Fits two perfect washers perfectly/ Now, if I needed to add more, I could drill and carve father down or drill another hole on the other side but this would do the trick for me.

Actually wound up carving more out in the end.
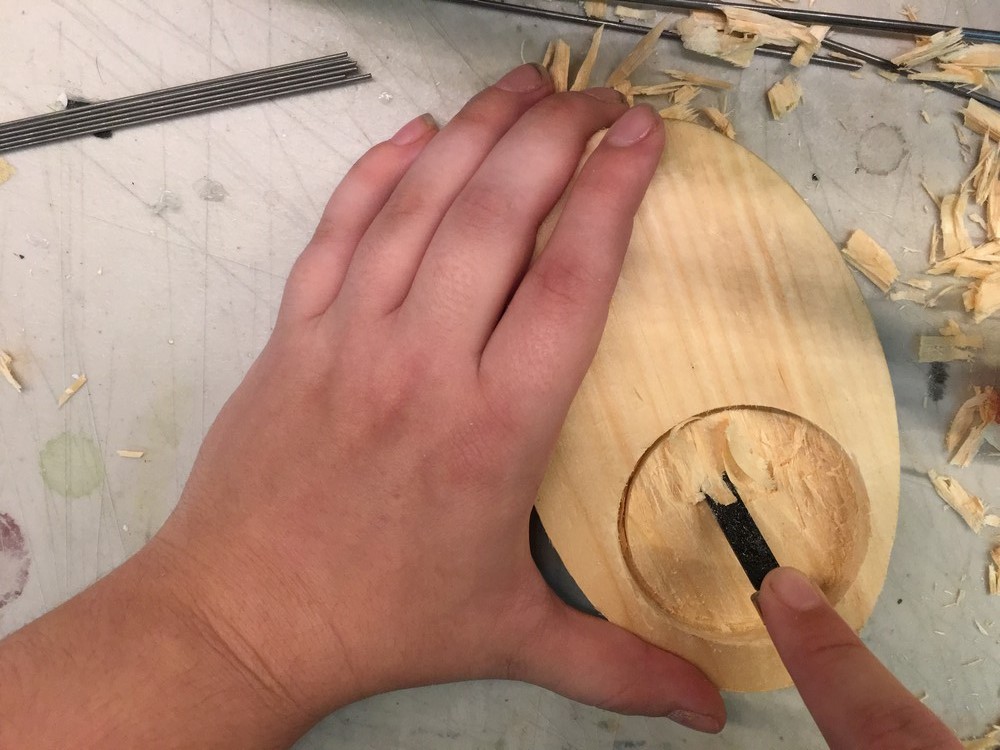
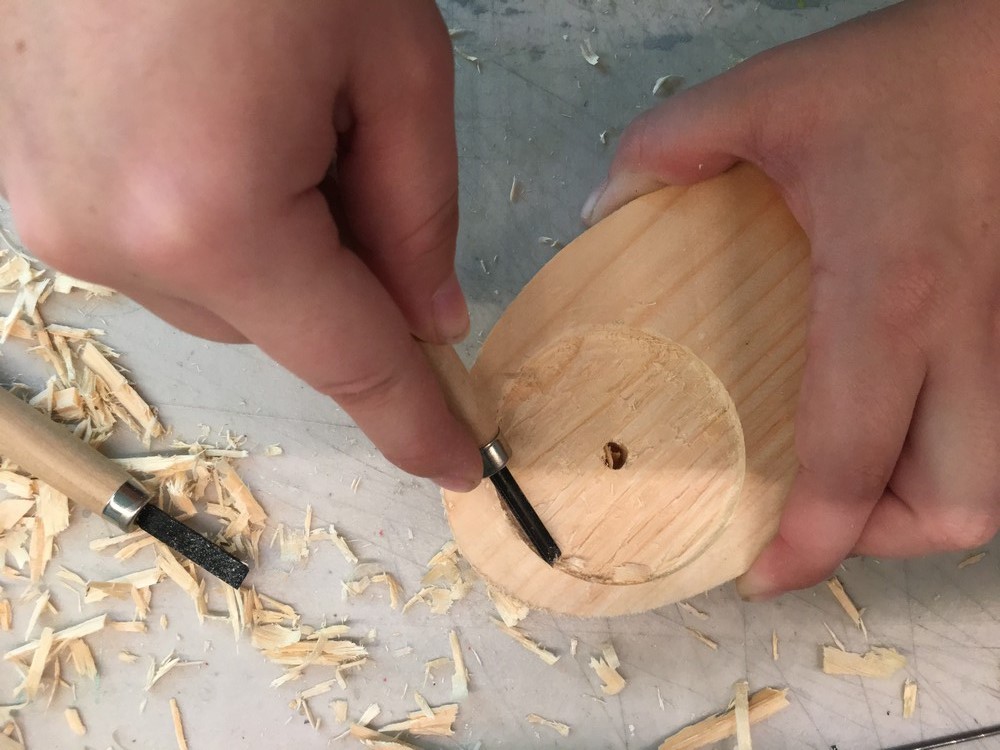
NOTE: Never carve with your hand infront of you, I was being dumb here but worked with many cutting tools so it didn't phase me, but still, safety is first, dont do it. Use wood clamps if you need to to get a good steady hold on the base.
There we go, all cleaned up to an extent to put the weights in.
Once the hole was done, I then just used super glue to layer the washers ontop of anotheer and used clamps to clamp them all down before putting them back into the base. Your probabaly thinking you could usehot glue, nope it wont work, trust me.

After the washers were dry from thee super glue, I then put Apoxy Sculpt Putty in the center and around the edge gaps of the base and let it dry over night. You could probabaly use some paper clay or anything for this part. This was just the stuff I had on hand at the time.
Since I dug a hole a little too far, I added apoxy sculpt putty to the hole as well and smoothed it out later.
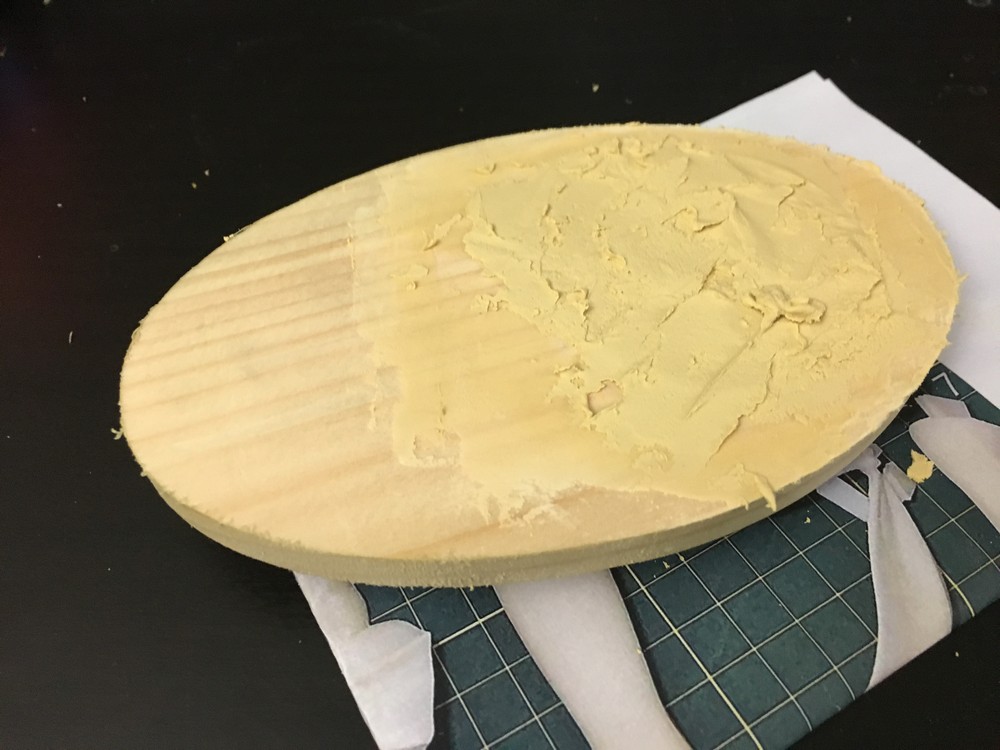
Now you are probabaly thinking "Yeesh that's a mess!" Well, yeah it is, LOL! Got carried away and added too much wood filler to the underside of the base xD ( Obviously when working with thusff like this, you apply in layers so you don't have a gooey center xD) Eventually I used my putty knife and scraped off the rest but still leaving a little mound ontop of where the washers are so I can sand it smooth for later. Again you can use anything to fill in the hole, but don't want to waste expensive putty and more over use a filler that is right for wood, lol.
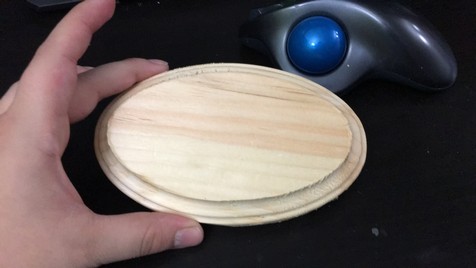
Once I sanded the bottom of the base smooth I then proceeded to weigh the base from it's original format to the modified look.
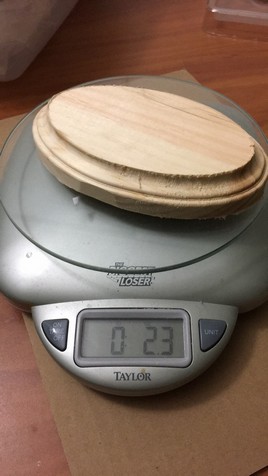
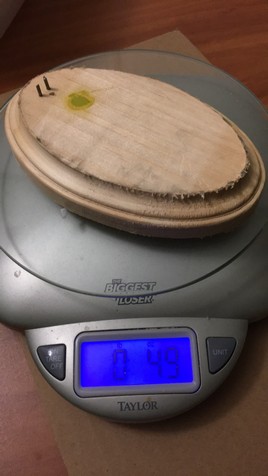
As you can see it is quite a difference in weight!
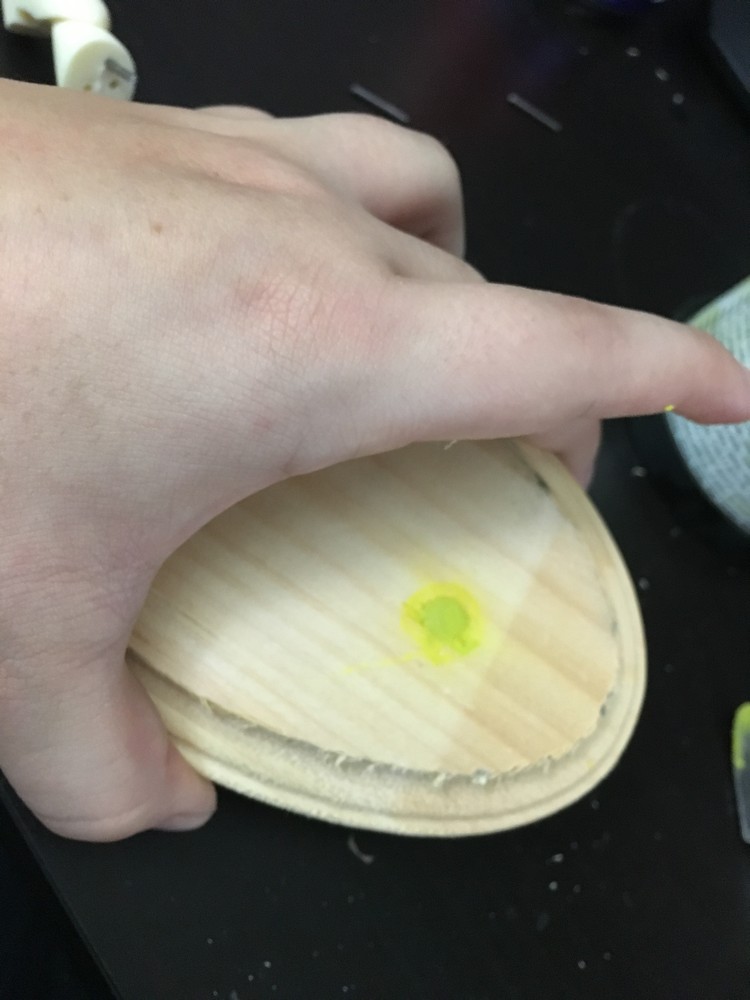
This is just a quick shot how the leg will be inserted in the base xD After assembling her, she hold up great with all of her parts and her heavy head! =O Hope this tutorial was of some help! Works great for any base size, material and wood shape!