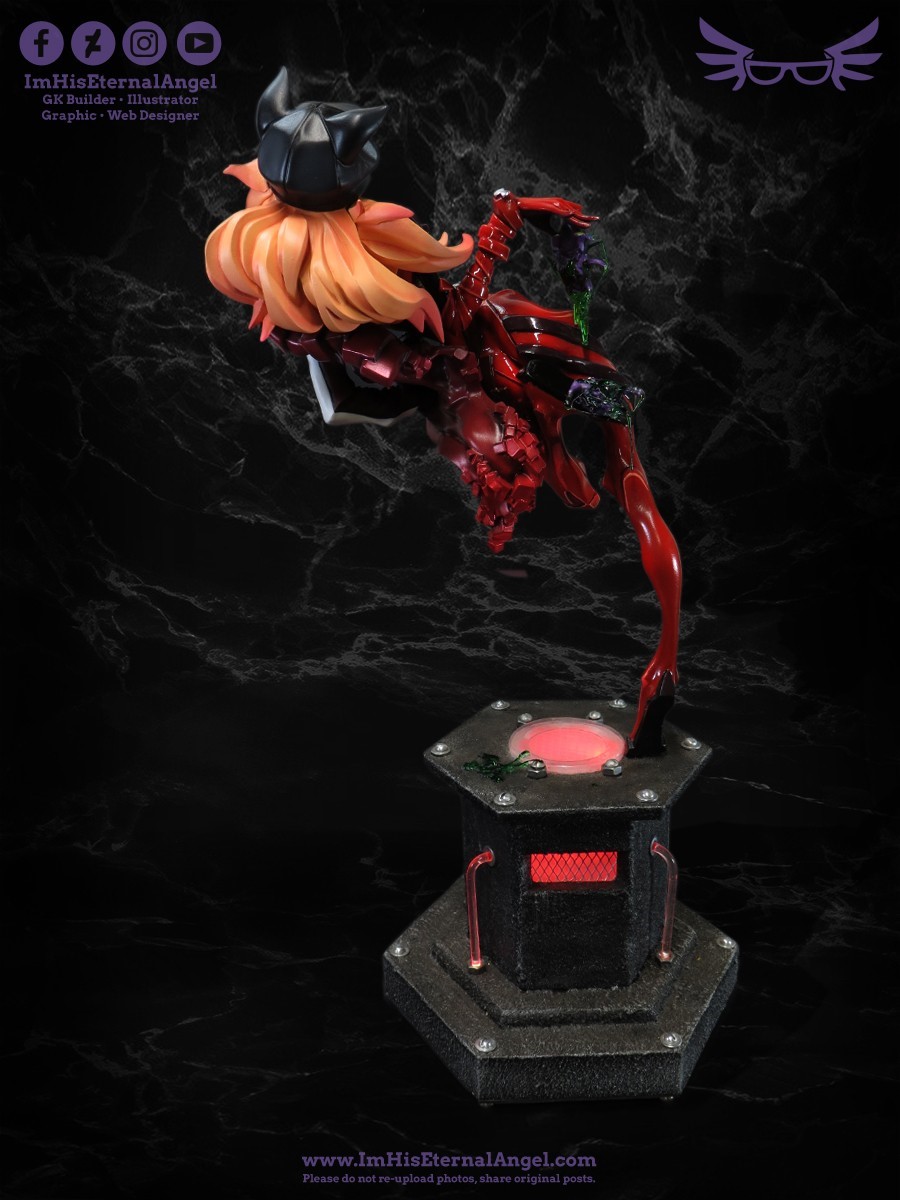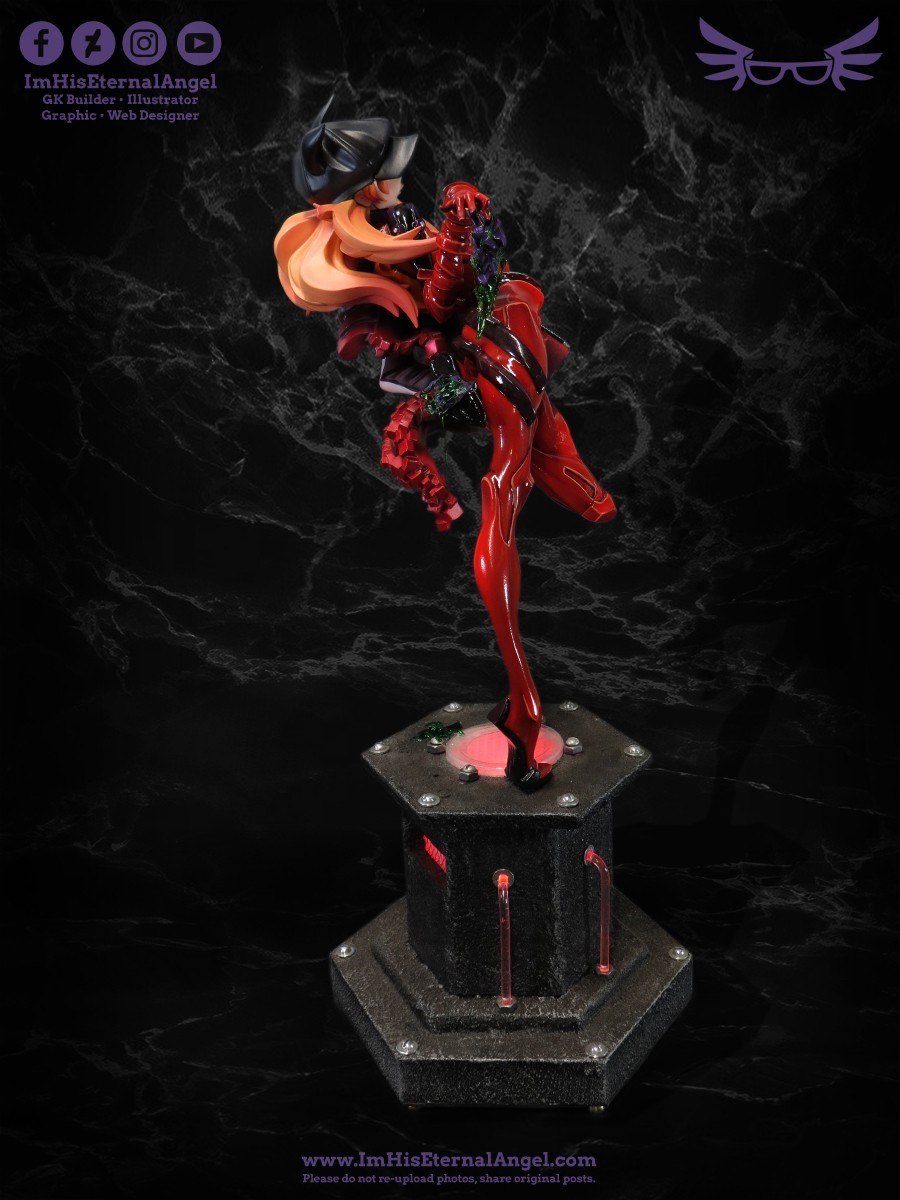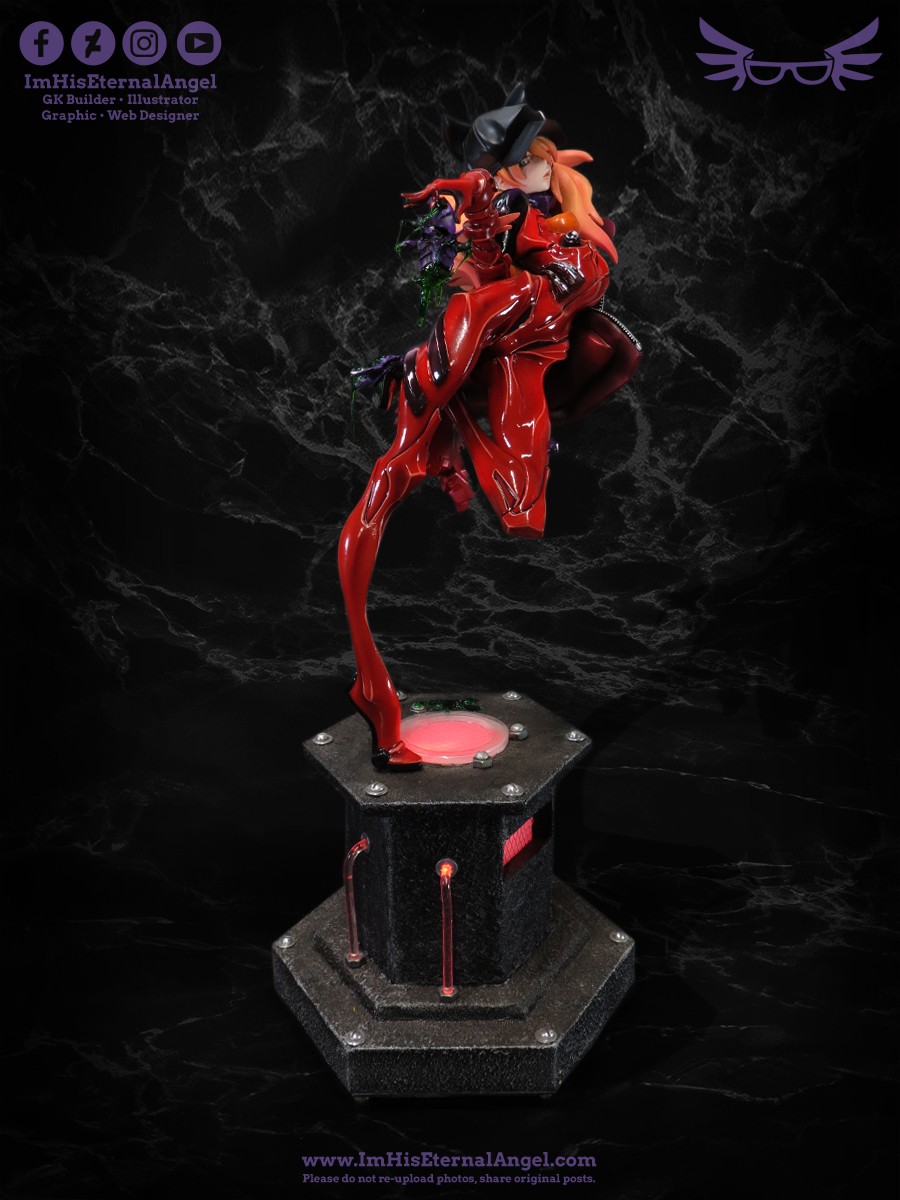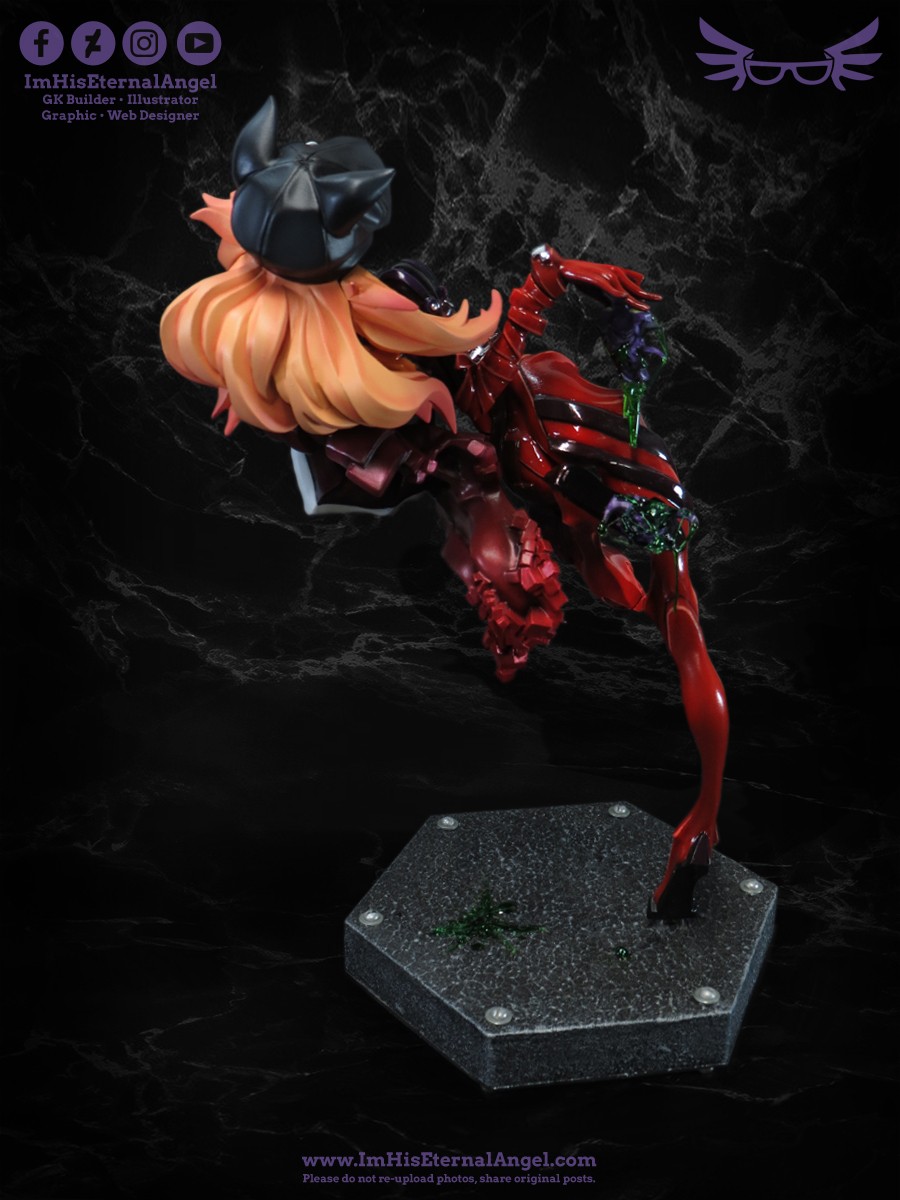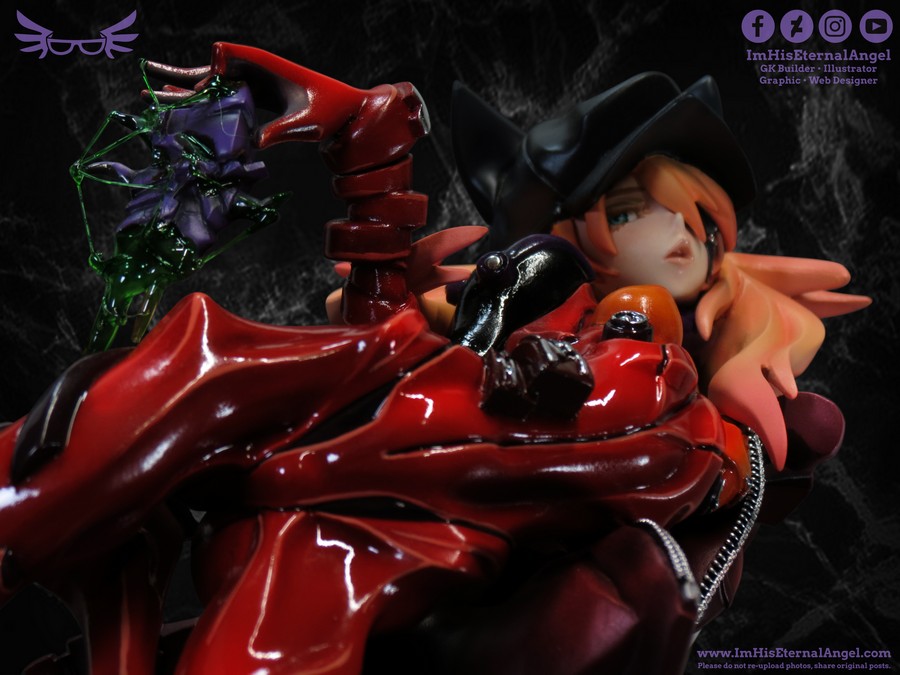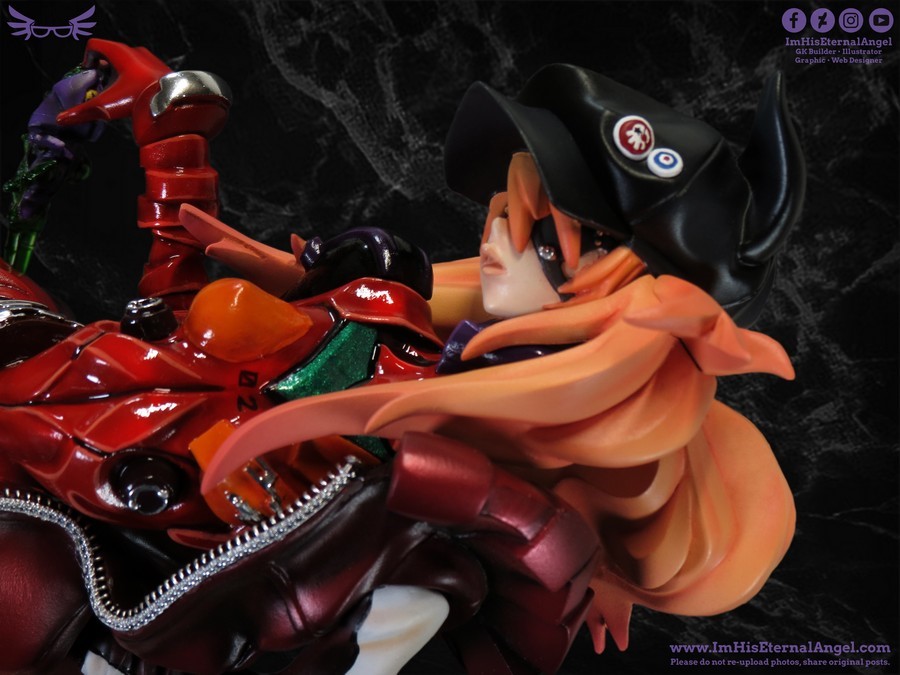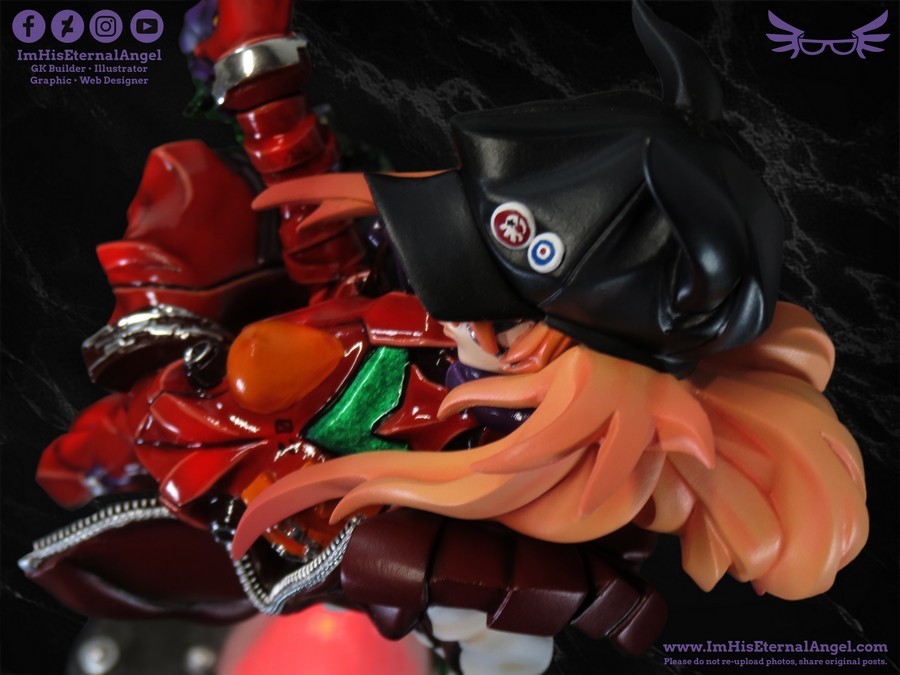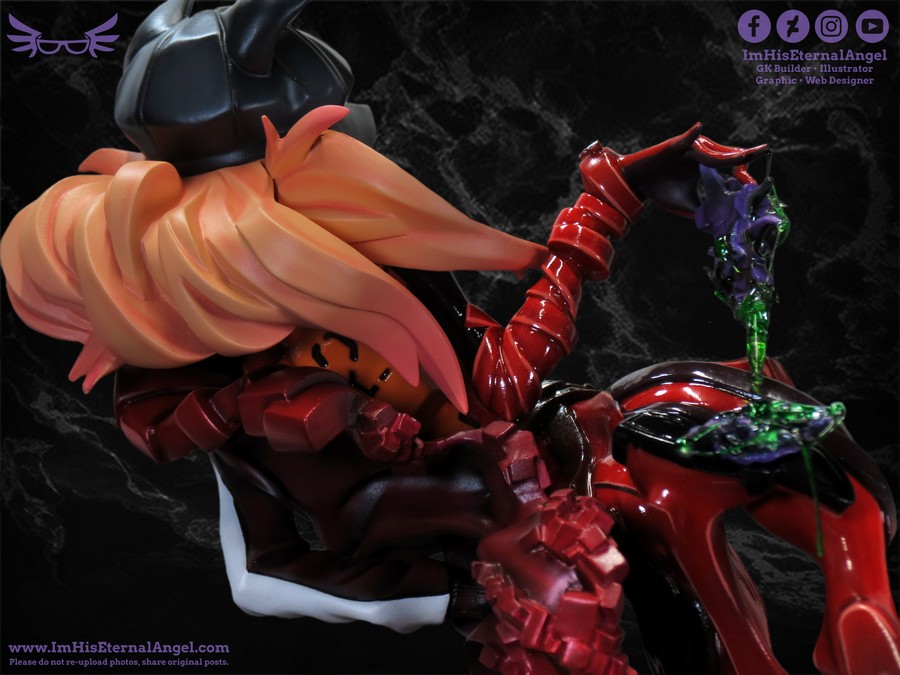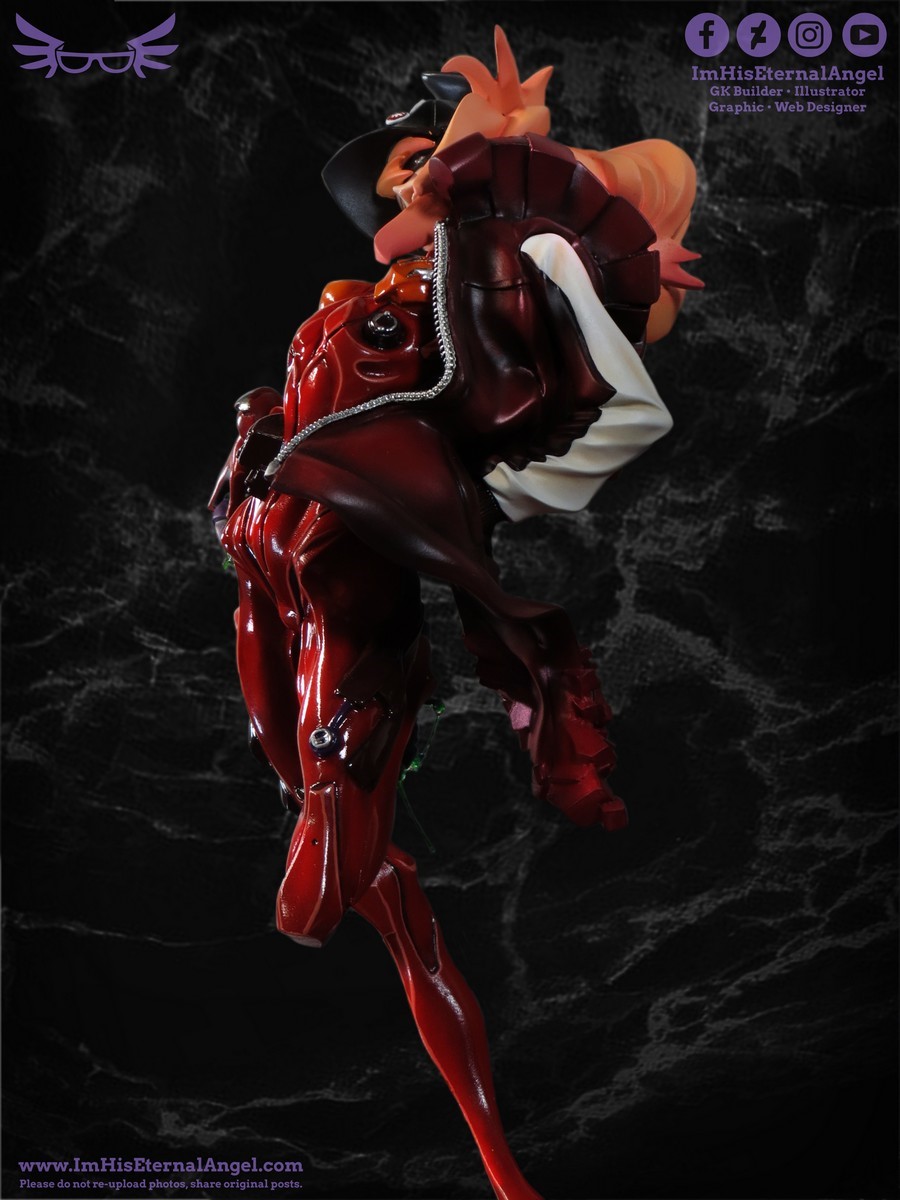


1/6 Asuka
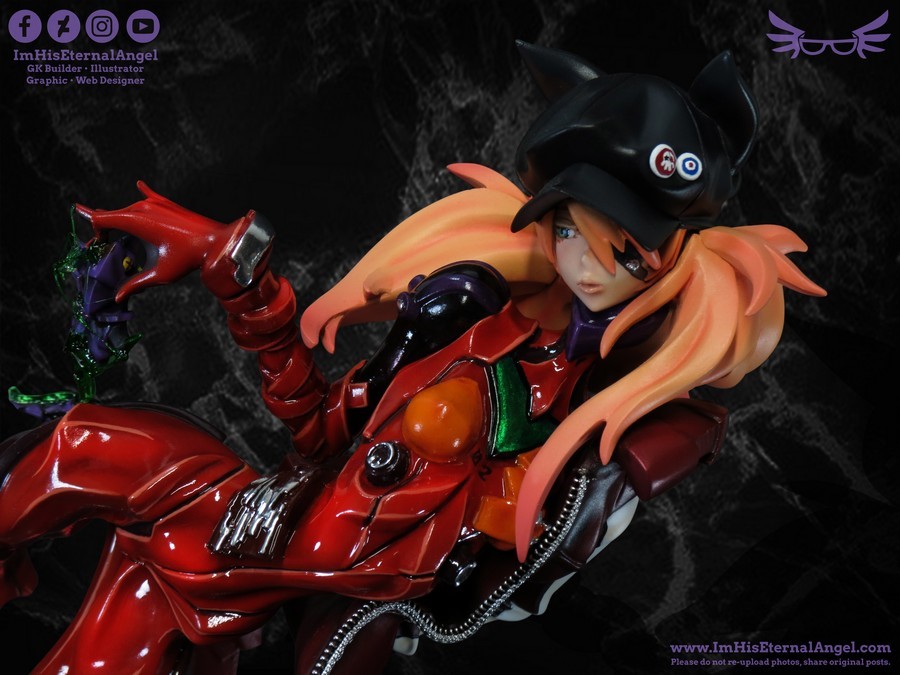
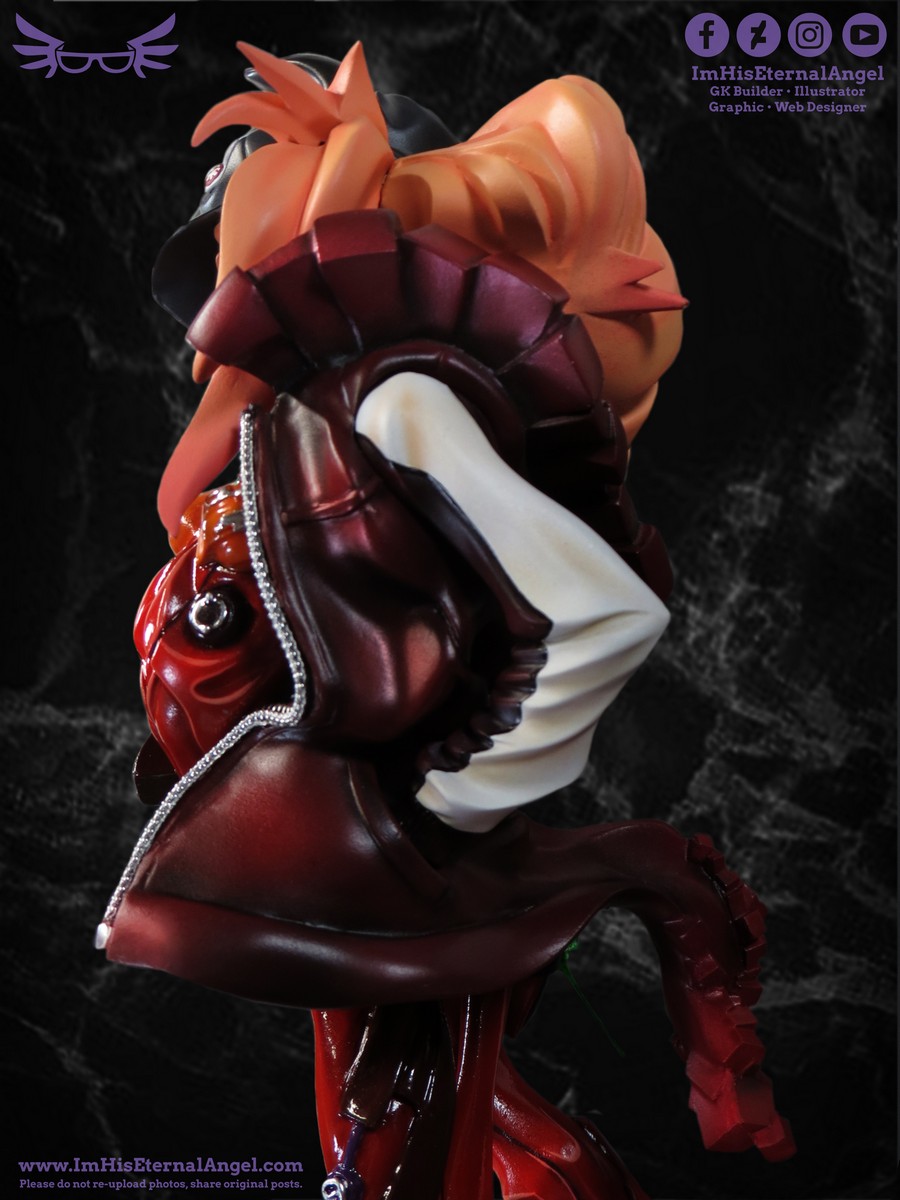
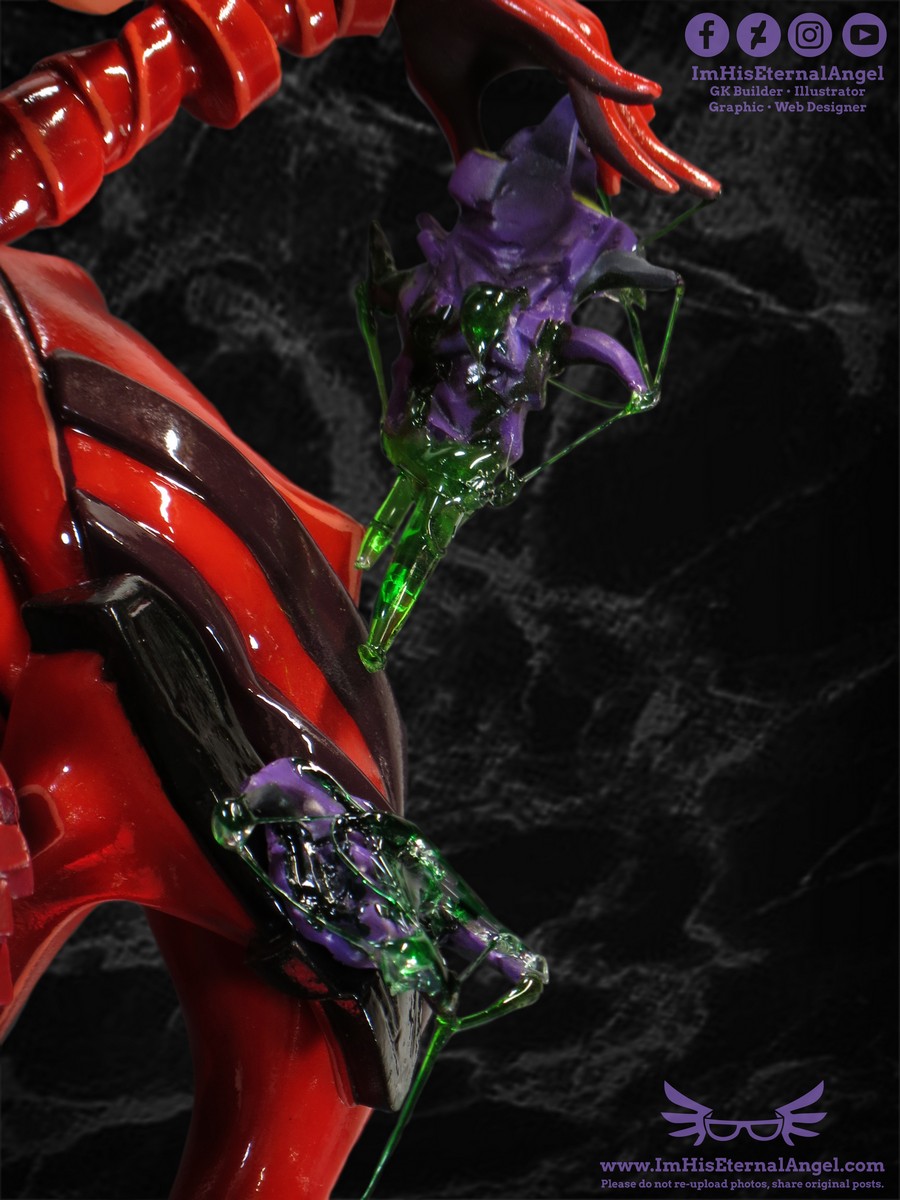
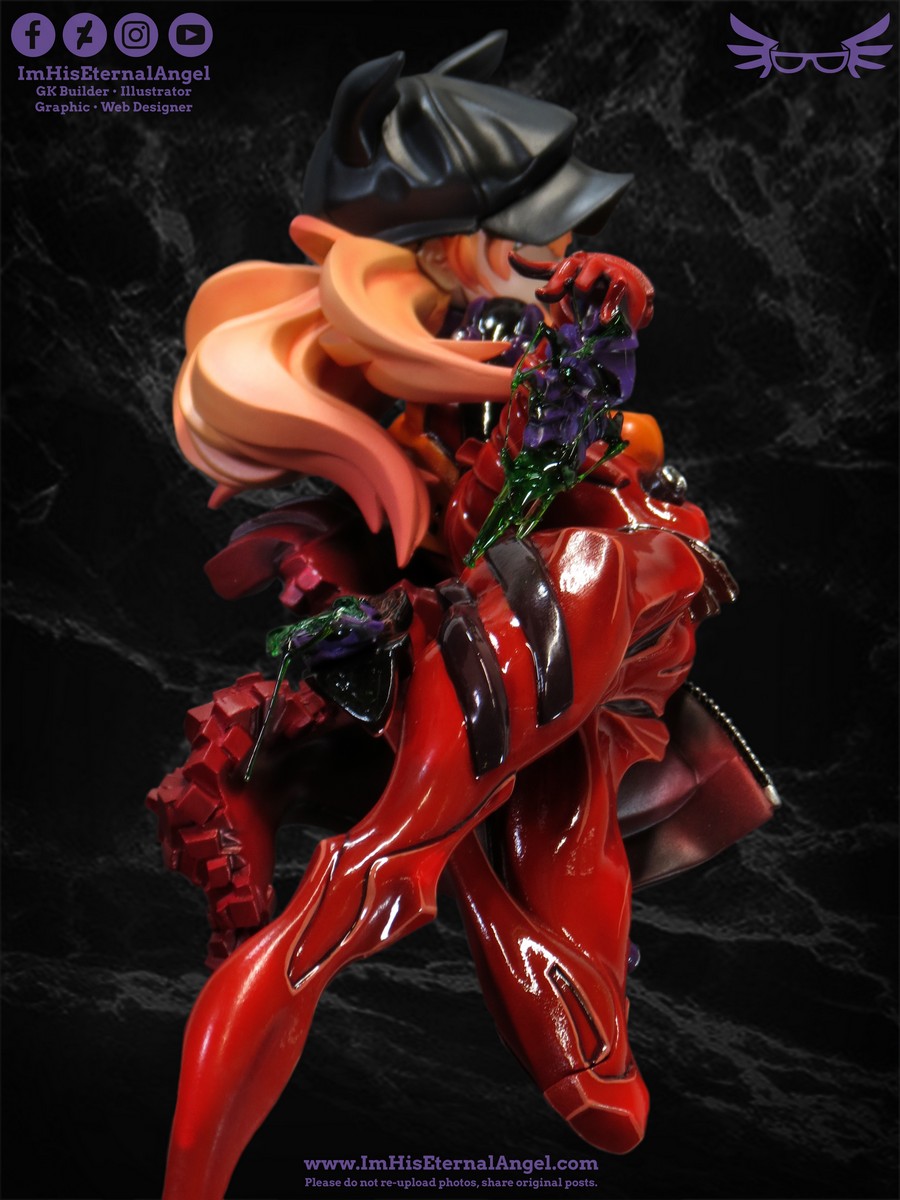
Commission completed on March 3, 2018. Client requested I paint the kit in the form of a few official reference photos instead of reflecting off of the original sculptors promo photos. Eveything for this kit I used a mix of acrylic and Valejo paints for highlighting as well as hand shade pastels. Shinji's crushed (bug) eva I remade some bits so the guts were transparent. I made this look by using melted pieces of acrylic rods and clear transucent hot glue with a lighter. Tamiya Clear green is used to color the guts. The buttons on Asukas hat were remade since I lost the originals xD
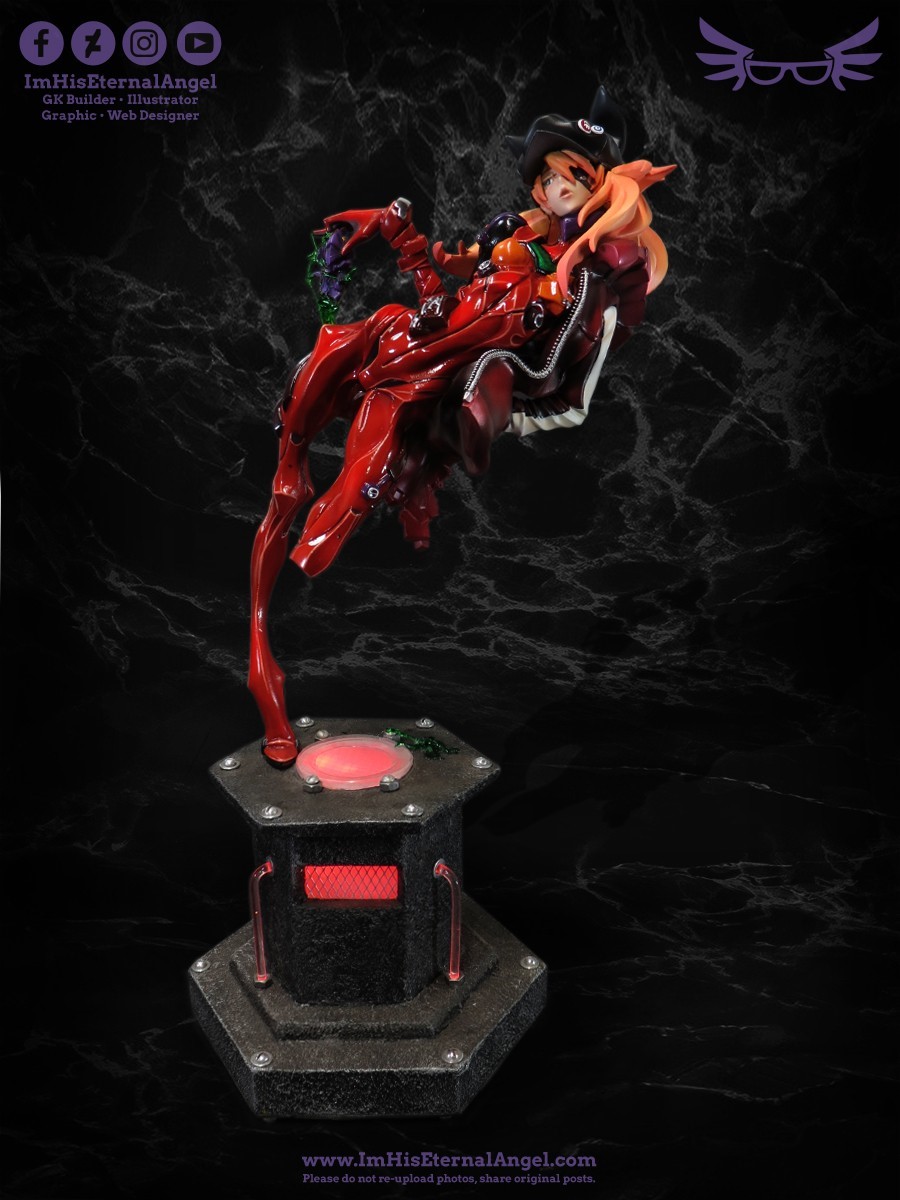
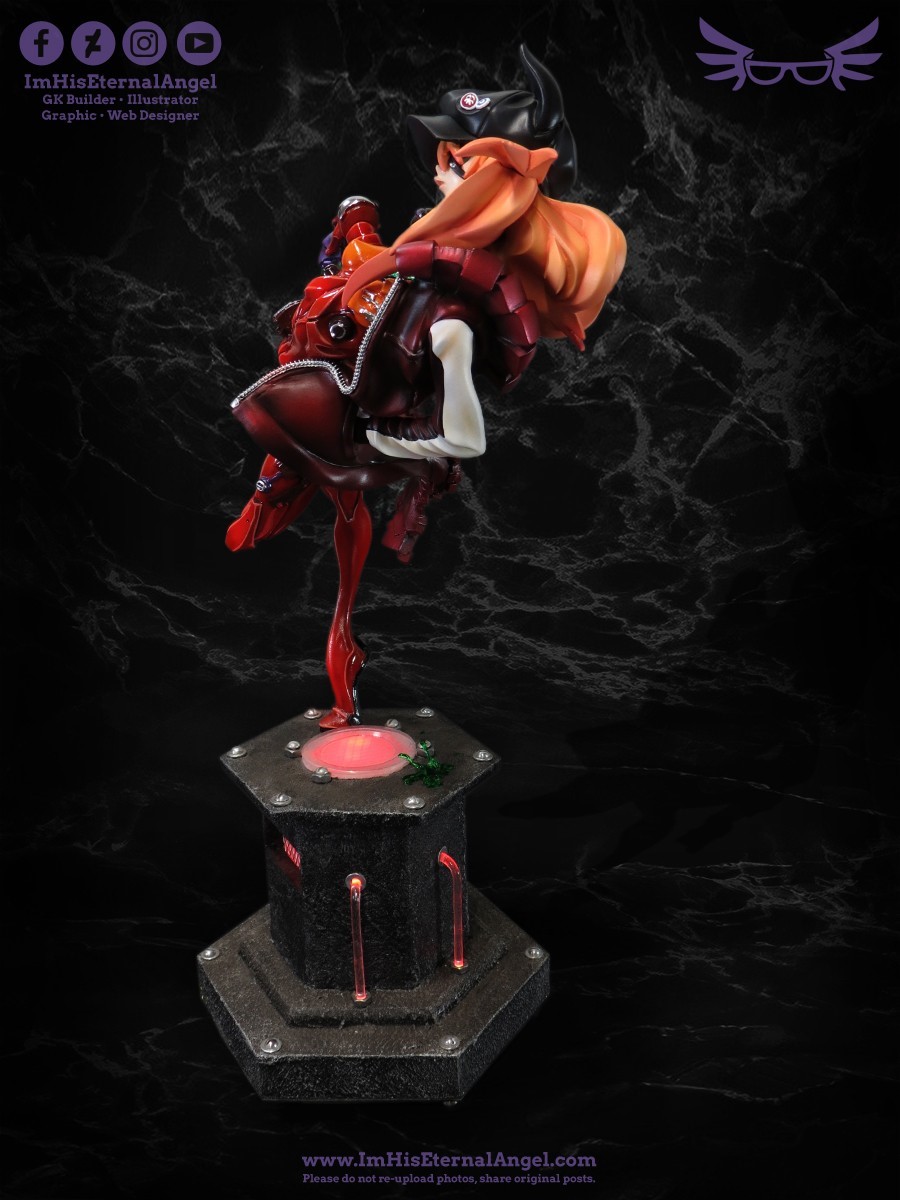
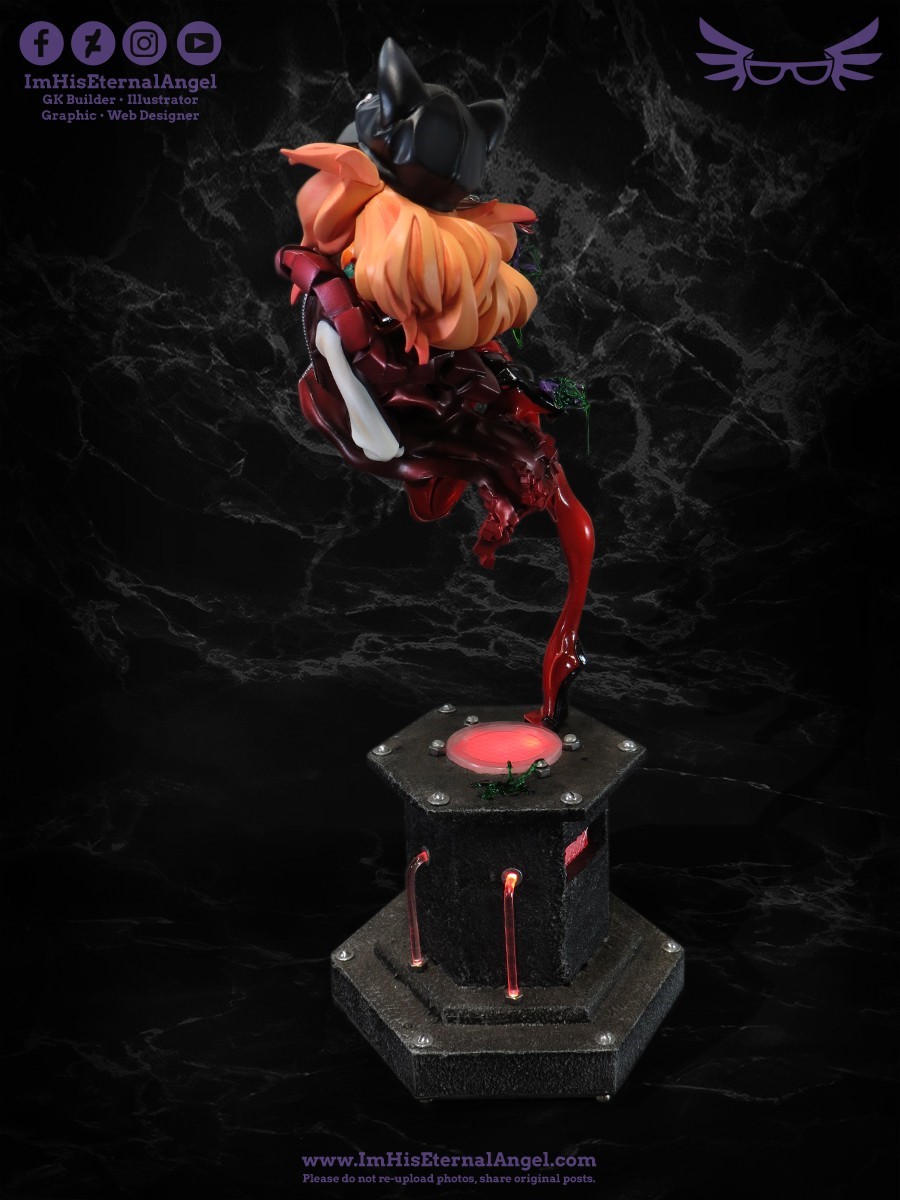
The base took the longest time since I purchased many materials to make the original concept display base my client wanted to do. But due to limitations of wood cutting supplies, we had to go an alternate route. The original concept was a square base with a few cut out rectangular ports for an LED light to shine through and covered in a cast iron texture. Cutting these panels by hand was very difficult without screwing up the angle of hand cutting the wood. So later on after further research, I found a hexagon tube looking thing made of wood. I cut the wooden hexagon tube in three portions, that way it was easier to cut out the center panel easily in one cut to make the view ports for the base, then proceeded to glue the hexagon cut layers back together to make the base tall again. The base had to be a specific height because of an LED timer battery pack that is concealed inside. Overall supplies I used what was lying around the house and storage barn such as washers, mini screws and bolts, cut up jellow shot lid (for the top of the base LED vew port), some screw on pipe connectors? (that I screwed on the bottom of the base to raise the platform up, wire mesh, opaque thick clear plastic from a container, the pipes were made of heat bended acrylic rods, the larger wooden hexagon bases were attached later but these were purchased through someone on a miniature facebook page that laser cuts wood and had spare hexagon wood bases. Has quite a bit of weight to it which is necesarry for how this figure tilts on one leg. THe larger hexagon base I had help from my fiance using a scroll saw in the basement to cut a rectangular port so we can slide the battery pack in and out under the base. After everything was aseembled, I covered the bottom of the base in adhesive foam and made a folded flap so the battery pack stays in place and does not fall out. The texturing of the base was using a mix of textured sands mixed with black acrylic paint. Application was by dabbing all over the base. After drying I dry brushes different colored silvers and sealed in gloss to get that shimmer effect.